A useful advantage that guitar players have over many other instruments is the ability to bend the strings. Bending strings can give your guitar playing life and individuality, as well as add a unique layer to your sound. Most guitar players you know have their own style or signature bend. It can change a stale, robotic riff into a memorable one. It’s important to learn and practice bending early and often because we use it in almost every genre of music. And if it’s done incorrectly it will stand out in your song in the worst way possible. Let’s take a look.
Contents
What is a Bend?
Pushing a Note
The first thing we need to know is, what is a bend? A bend is when you play one note, and then push it (or pull it) so that is sounds like a different note. There are many different kinds of bends you can do. In this article, we will focus on the most common type: a full bend.
Full Bend
Pulling a Note
A full bend is easy to understand. It’s when you bend a string from one note a full step up. So, if you play a C note and do a full bend, it will become a D note. If you aren’t familiar with all the notes on the fretboard yet, an easier way to think about it is with frets instead of notes. So, if you play a note on the 5th fret and bend it to the 7th fret, that’s a full bend.
How to Do It
String bending is a very individual technique. Almost everyone has a slightly different style, however, there are some basic ideas that remain the same for everyone. The most important thing to remember is that you need a strong foundation. This will make it easy to accurately bend any string. But how do you build that foundation and how do you practice it? Let’s break it down.
Resting Hand Position
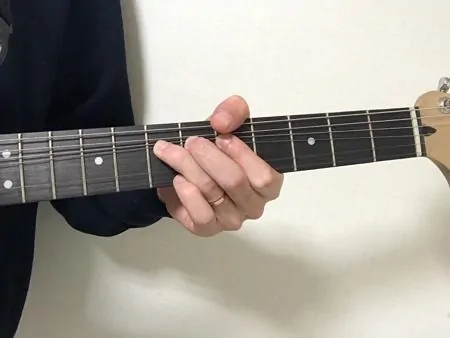
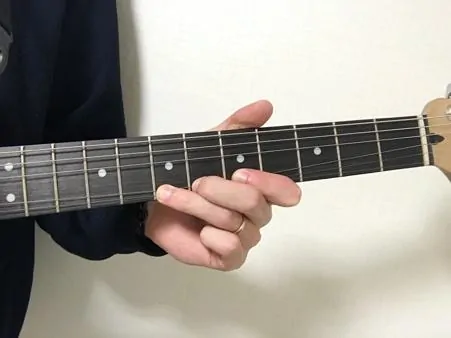
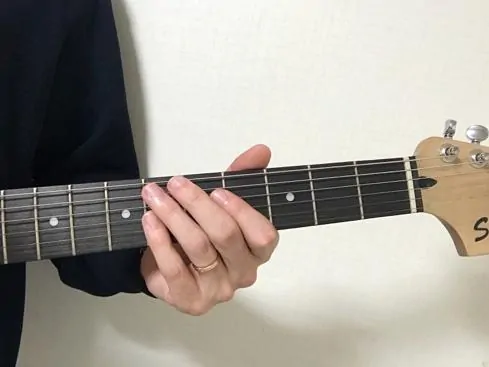
If your guitar is nearby, grab it. Now, put your hand on the neck and let your fingers rest on the strings and your thumb naturally curve around the top of the neck. This is very similar to how you will need to position your hand when you’re bending a string. Notice that your thumb is touching the neck, and you have multiple fingers on the fretboard. These are key foundational ideas that you will always need to use when bending.
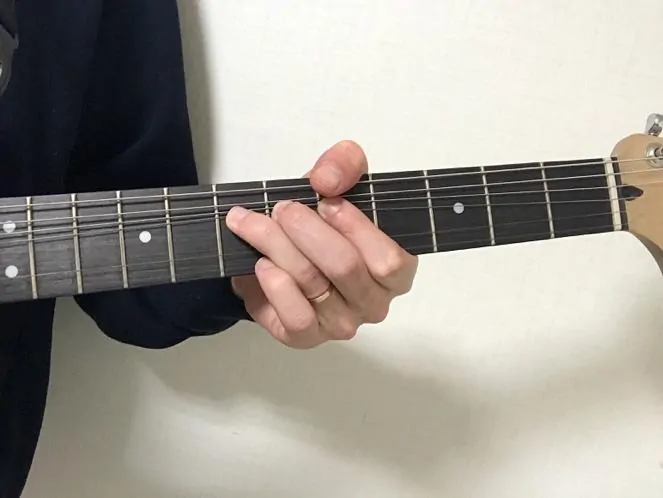
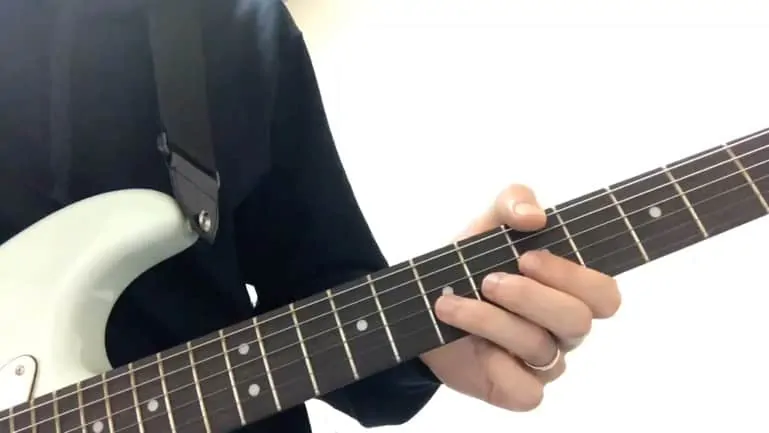
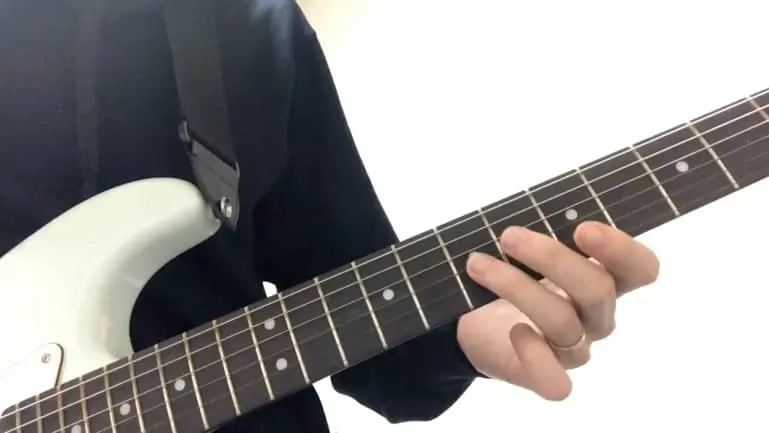
In the picture, you can see that almost my whole thumb is pressed up against the neck, not just the tip. If your thumb is low on the neck it will be uncomfortable and make it more difficult to bend the string.
The power and strength of your bend should come from your wrist and fingers, not your fingers alone. Your wrist should be turning and giving you extra torque to easily move the string with the help of your fingers, pushing or pulling it.
Let’s look at this picture one more time. You can see that my index and middle finger are both on the same string that my ring finger is bending. And my thumb and hand are firmly connected to the neck.
Full Bend on the G String 7th Fret
It’s a good idea to remember that the more fingers you have on the same string, the more support you will have. For example, the most common finger you will use to bend with is your ring finger. So, don’t leave your index and middle finger dangling, lay them down on the same string your bending. And because they’re behind the note your holding down, they won’t make any sound, just add support!
You will rarely bend a string with just one finger. Generally, you should always avoid that because it’s needlessly difficult and inconsistent.
Correct Bend with Full Support
Taking a look at this video, you can see that most of my hand is touching the back of the neck. My thumb is bent around the neck. And I have three fingers touching the same string. All of this gives me support to bend the string easily and accurately.
In the second video, you can see that my thumb and palm are not secured to the neck, and I only have one finger touching the string. This gives me almost no power or consistency. You can hear a clear difference between the cleaner notes and sound in the first video, and the awkward ones in the second.
Incorrect Bend with No Support and One Finger
How to Practice It
Staying with full bends, here’s a very easy way to practice your bending technique and to train your ear. Hit a note and listen to it. Then go back two frets, hit that note and bend it up to match the first note you played. You can do this on any string, on any fret. This is a great and easy way to get your hands and ears used to bending strings in tune. The more you practice the more effortless it will be, because your hands can quickly develop muscle memory.
Recap
To recap, your hand and fingers need to be sturdily connected to the fretboard and neck.
Don’t let extra fingers go to waste. If you’re not using them, put them on the string. Use everything you can to create support and a good foundation. Without it, your bends will be inconsistent and playing them will be very frustrating. Also, when you start bending strings your fingers are probably going to feel pain like they’ve never felt when playing guitar. During this time, don’t stop playing. If you have to take a rest for a day, do it, but don’t quit for a long time. You need this time to harden the tips of your fingers. Once they callus, you won’t feel it again!
If there is anything specific you want to hear about next or if you have any questions about this article, please leave a comment.

Tyler Farley has worked as a guitar teacher in both the United States and South Korea. He has taught people from different age groups, cultures, and wide skill gaps to play guitar. His core belief: Music makes us uniquely human, we should share it with each other whenever we get the chance.
The three guitarists whose playing influenced him the most are Joe Bonamassa, Dave Mustaine, and Prince.
He has played guitar for over ten years and although he is not even close to being good at them, he tries to play piano, bass, and drums as well. His taste in guitar playing and music overall is eclectic to say the least. He listens to and tries to play everything from jazz to hip hop to metal to blues to soul. Recently, his ‘most listened to’ has been A Tribe Called Quest, MeloMance, and anything Cory Wong is on.
