You may think that learning how to play guitar is something that only some people can do — that it requires some kinds of inborn talent. This is not at all the case. Great guitarists all become great simply by playing… a lot. This article is all about beginning that journey. In it, I will lay out the process for learning the fundamentals of the guitar in just one week. If you practice hard, you will find that after that week is over (and maybe even during it) you have started to see yourself and your life differently. You will have become a guitarist.
What is required to begin this journey to learn how to play guitar is nothing but dedication. If you play every day, as much as you can, and if you find ways of enjoying your practice, then you will make great strides very quickly. It is unreasonable to expect that you will be playing very advanced music after one week, but it is entirely possible that you will be able to write and improvise music (and start learning songs by ear) in a way that will fulfill you. It will draw you in. You will want to play for another week, a month, a year, a decade. One day, you will have some kind of mastery of the instrument, and you will thank that version of yourself that picked it up to begin with.
As you begin to practice to play the guitar, you will want to take a look at some beginner guitars. I will discuss buying a guitar in more detail in a few sections, but for now it is enough to get your feet wet.
If you are wondering what picking up an instrument will do for you, take a look at this study about musical structure. It turns out that the structure of music mirrors the structure of human movement (and with it, our brains, thoughts, and life).
Contents
Learn How to Play Guitar – The Outline
The first part of this guide is a brief, but hopefully illuminating, buying guide. Purchasing your first guitar is an essential part of learning the instrument, since an inferior piece (or one that is simply the wrong choice of instrument for the kind of music you will be playing) can greatly hinder your progress.
After the buying guide, I describe the basic principles behind good technique. Great chops are not something, strictly speaking, that can be learned, and even beginning technique is far too dependent on personal style to be described exactly in a way that will apply to everyone. But these principles ring true in virtually all cases.
The remainder of this article is dedicated to helping you design your practice routine. It is important that you not only learn to play every day, but that you establish some sort of regiment. The sections toward the end of this guide are meant to tell you how to practice various essential musical concepts so that you can quickly develop musical dexterity.
I offer examples of step by step routines — outlining 7 days of practice for each musical concept as you learn to play. In total, you if you follow these routines, you should expect to practice for around an hour a day as you learn to play guitar.
It is not required that you follow these how to play guitar routines exactly to learn how to play guitar. The idea is only to get you thinking along the lines of a practicing musician right off the bat.
Selecting an Instrument
To play guitar well, before you learn to finger a chord, before you learn what a scale is, and before you learn how to hold a pick, you need to have the right tools at your disposal.
You have decided to begin playing the guitar, and that means that you have already selected one of the very best instruments out there. But now you need to become more fine grained. You need to know what sort of guitar you’re looking for — acoustic? Electric? Hollow body? Solid body? Shredder axe? Country guitar? Blues Guitar?
Once you have selected the type of guitar you will need, there is still work to be done. You need to consider brand, price, overall quality, and versatility (among other factors) to choose a specific guitar to buy. It is useful at this point to be able to go to a guitar store and physically try out various guitars.
When you begin your search for your first guitar, there are many things to think about, but none is more important than this one — use-appropriateness. What I mean by that is that the guitar that is best for you is the one that suits the way you will be using the guitar the best. If you are going to be using it for strumming chords at a coffeehouse, then you will want a different kind of guitar than if you will be using it for shredding scales with a rock band.
If you will be playing rock, electric blues, or any harder music, then you are likely on the market for an electric guitar. You may not realize, however, that there are many kinds of electric guitars that are suited specifically to different kinds of playing.
First, there is a distinction to make between solid body and hollow body electric guitars. Solid body electrics are made from solid pieces of wood glued together, whereas hollow body electrics are carved or assembled so that the interior of the instrument is hollow, much like an acoustic guitar.
Hollow body guitars come in two different types — first is a thin hollow body, called a semi-hollow guitar, and second is a full hollow body guitar. Semi-hollow guitars are most often used in blues guitar and some less traditional jazz. They are also used in certain kinds of rock. These guitars have great, round clean sounds and they tend to take effects better than their full hollow body counterparts. They have a tendency to feed back at high volumes, but not as much as traditional, thicker hollow body instruments.
Full hollow body guitars are generally used in jazz, although they are also sometimes used in blues or rock (for instance, Steve Howe from Yes often uses a Gibson ES175, which is a very famous hollow body guitar used for decades by great jazz guitarists such as Joe Pass).
Full hollow body instruments tend to feed back easily, and for some people they do not take effects such as distortion pedals very well, but to others they offer a great, round, robust tone. Some people even very much enjoy the sound of a hollow body guitar distorted by a stomp box or a crunchy amp.
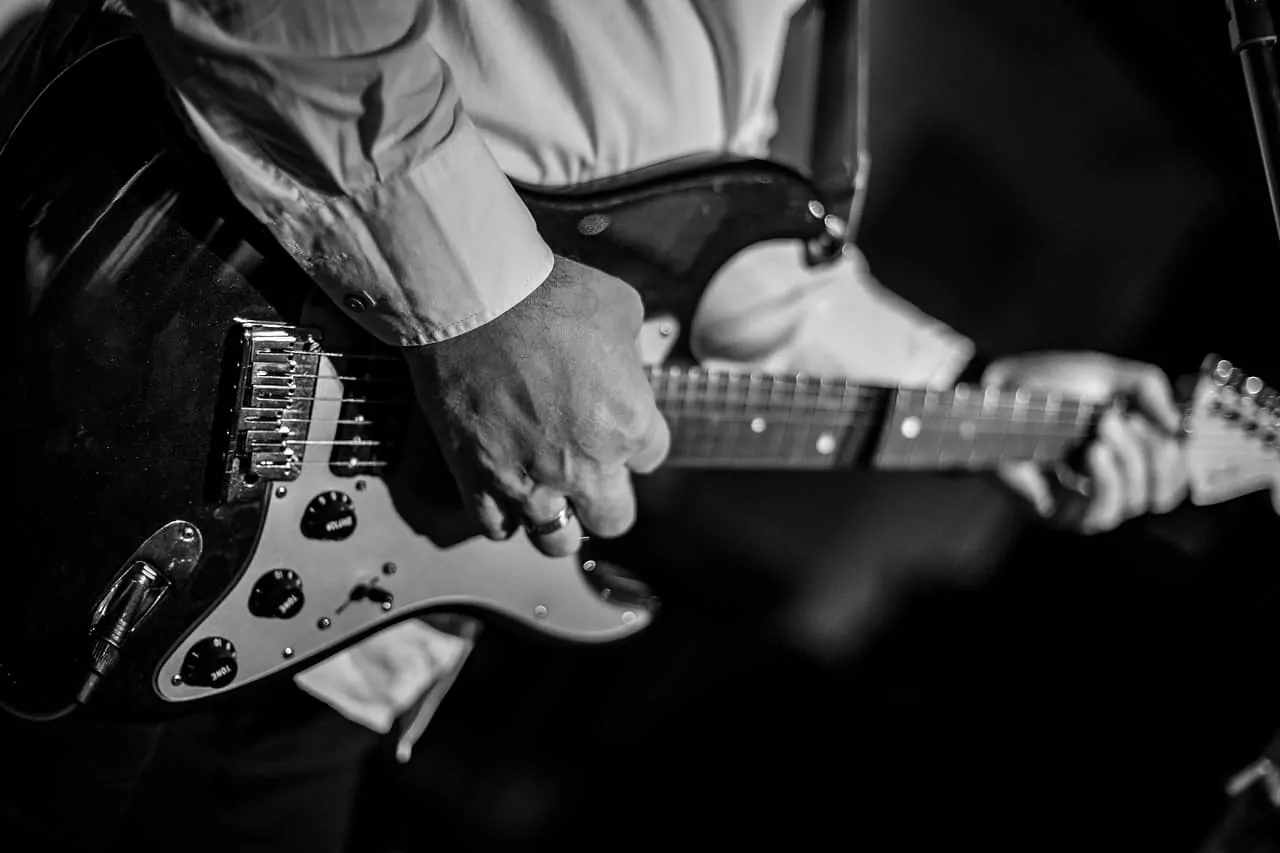
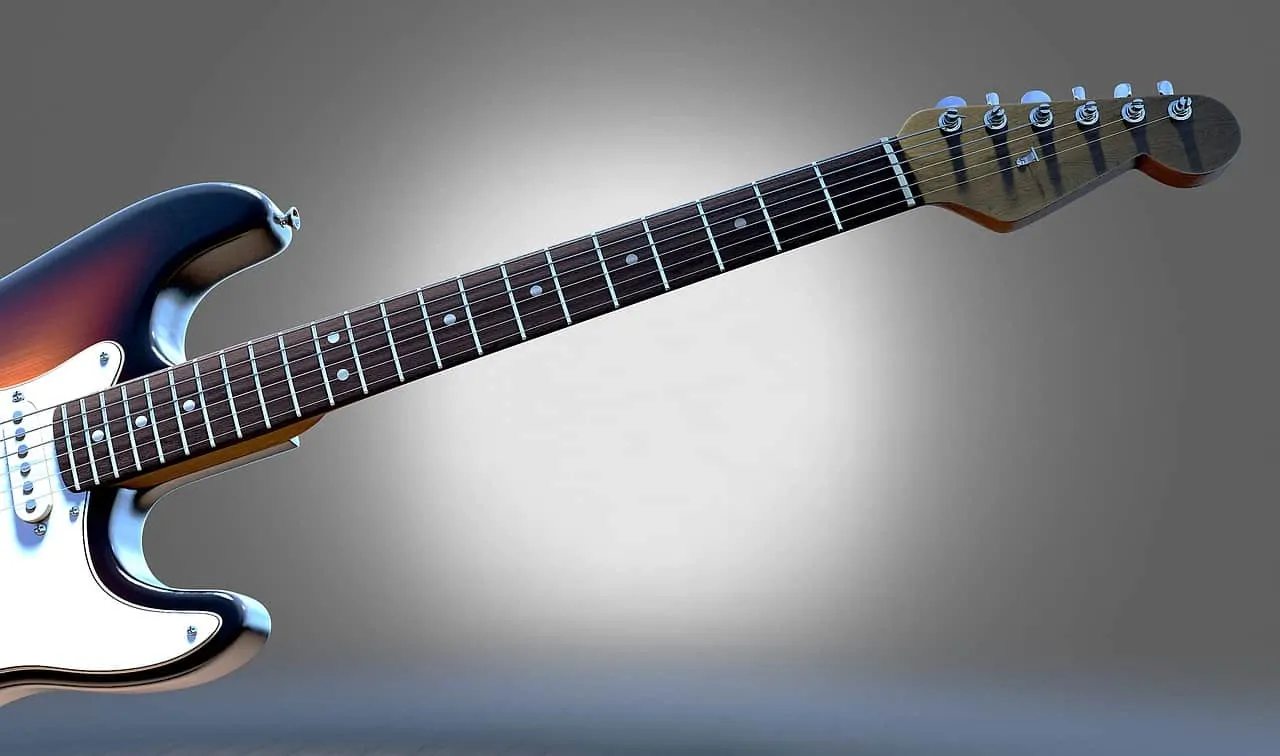
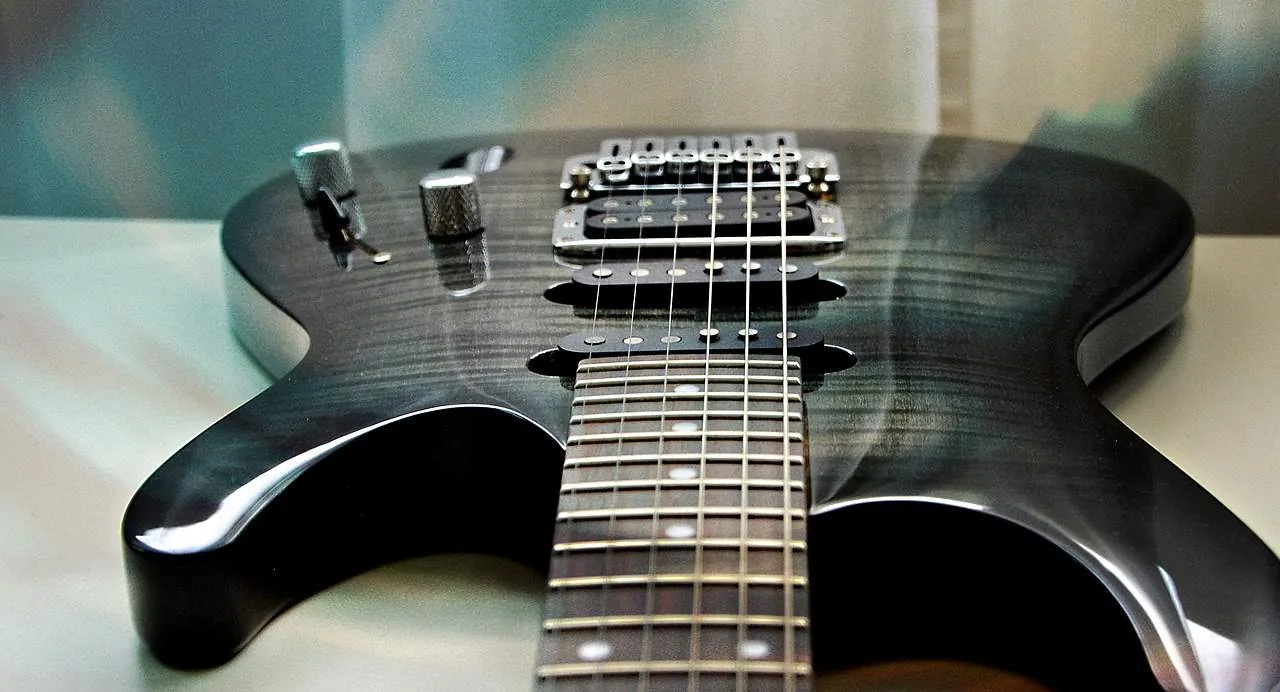
Solid body guitars are designed with rock, metal, and electric blues in mind. These guitars do not feed back easily and they take effects very well. This means that they can be used in all sorts of different ways to achieve all sorts of different effected tones. Solid body guitars are used by blues guitarists (in the style of Stevie Ray Vaughan for instance), classic rock guitarists (think Hendrix, Clapton, and just about every other rock icon), country guitarists (Fender telecasters are nearly synonymous with country guitar playing), metal guitarists, fusion guitarists, and virtually all neoclassical and shred guitarists.
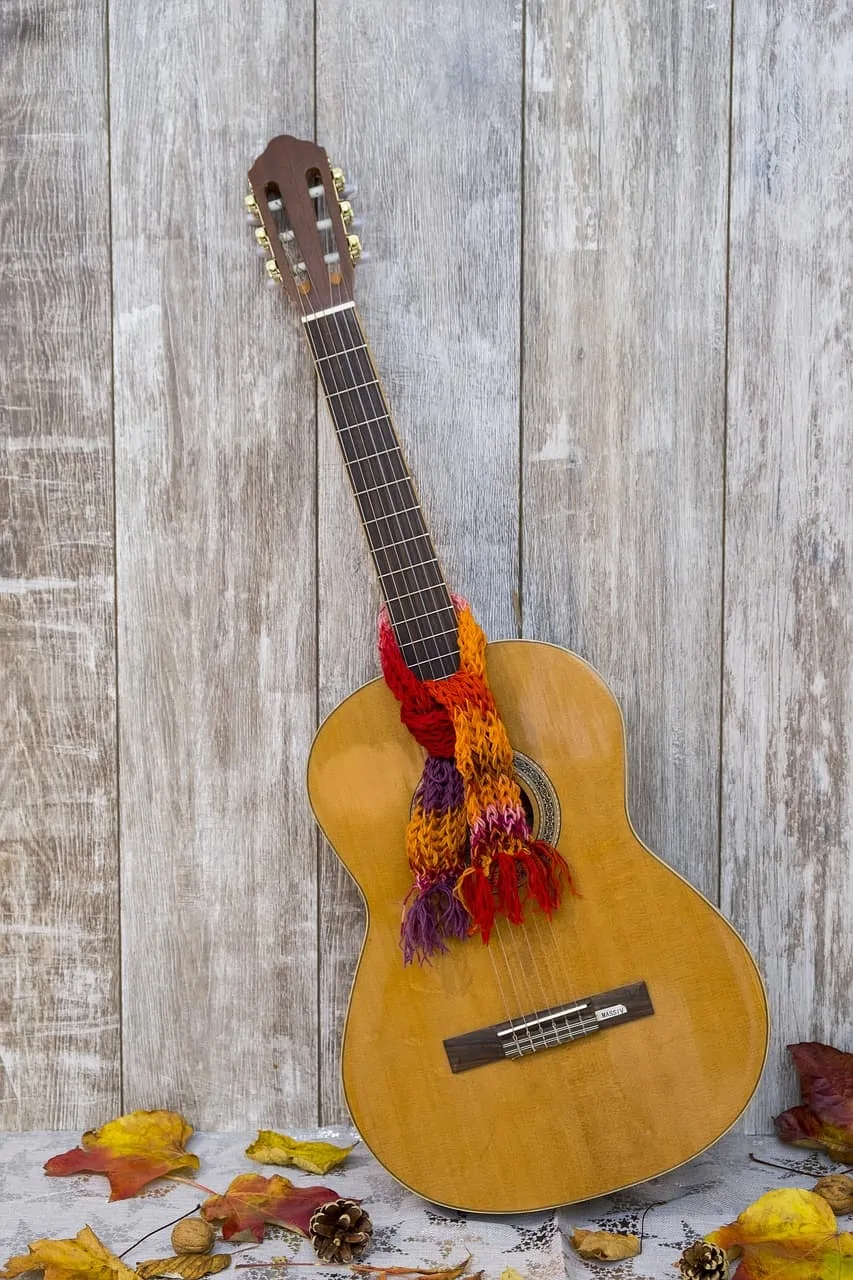
Acoustic guitars are entirely different animals than their electrified cousins. They sound different, feel different, and lend themselves to being played differently. Most professional guitarists play both electric and acoustic guitars, but many have a strong preference in one direction or the other.
When you are looking for an acoustic guitar, you need to first determine whether you want a purely acoustic guitar (with no electronics built into it) or an acoustic electric guitar (which can be plugged into an acoustic amp or a PA system). Most high quality acoustic instruments are not acoustic-electric, and players often rely on mics and acoustic pickups to amplify them when they play live.
Acoustic instruments range in price wildly — from around a hundred dollars for introductory instruments to many many thousands for some truly beautiful unique pieces. Generally, when you are looking for a beginner instrument, you will want to spend somewhere between $200 and $500, and when you are looking for a fully professional instrument you will need to spend somewhere between $1000 and $3000.
One thing to consider when looking at acoustic guitars is their body type. There are small-bodied guitars such as Gibson’s L-00 instruments, and their are larger-bodied instruments such as dreadnoughts (Martin dreadnoughts are some of the most famous). In between lie just about every shape and size you can imagine.
Considerations
When you have decided what type of guitar you are looking for, you can begin to think seriously about which specific model to buy. Nothing with replace going to a music store and playing some instruments (or borrowing your friends’ pieces) but here are some things you will need to think about:
- First, you will need to think about the brand. The brand of a musical instrument can tell you a lot about its overall quality.
- Second, you will want to consider the price of the instrument. Is it in your budget? Is it TOO cheap? Is it overpriced?
- You will want to do some research and get a feel for the overall build quality of the instrument you are considering.
- You want to think about how versatile the guitar is. What sorts of music are you planning to play? Will this guitar allow you to play all of those styles?
- You need to think about how easy the guitar is to play and learn on. How fast is its neck? How low can its action go? What are other players saying about this guitar?
- Finally, if the guitar is electric or acoustic-electric, you will want to know something about its electronics. How good are its pickups? What kind of pickups are they?
Other Purchases To Consider
Before you begin learning to play your instrument, you may also want to consider buying a more complete set of gear. If you are simply buying an acoustic guitar, then you may need nothing more than a few sets of strings, some picks, a tuner, a strap, and a capo. But if you are going electric, then you will need some source of amplification as well as perhaps some effects pedals. You will need guitar cables, and you may or may not want to invest in computer software that will allow you to record yourself.
The final piece of the puzzle that I recommend to all of my students taking their first guitar lessons and trying to learn guitar is a metronome. This will help you learn guitar in more ways than you can imagine as you are learning and practicing. There are reasonably good metronomes available as apps for smart phones and tablets that are quite inexpensive.
How to Play Guitar – Technique
Technique is more than just positioning your body in a certain way. When you have good technique, you are freer and looser — you can do more things with the instrument. This gives you more expressive control. And in the end, that’s what it’s all about.
There are a lot of musicians who are obsessed with technique (we will call them “shredders”) and there are just as many who think that being able to play extremely fast, difficult lines is unnecessary and even counterproductive when you’re trying to be an artist (we will call these musicians “anti-shredders”). The truth is that speed, fluidity, and general technical ability does not make a musician; it does, however, make a musician capable of playing more things (and playing them well). And this is hugely important.
Technique, when it is truly present, is completely invisible. It doesn’t put itself into the fore of the music; rather, it enables a performer to do things they want to do — things that the music calls for, whatever that may be — without having to worry themselves with how they will do it. In general, thinking less about what you’re playing (while you’re playing it) is a good thing, and the same goes for thinking about how you are playing it.
What I am about to describe are some of the fundamentals of what I think of as good technique. These things are simple, and they are easy to understand. They are important for every beginning guitarist. But these are the very same principles that apply to extremely high level playing. If you practice them and you internalize them than you will find yourself able to do more and more with your instrument very quickly.
Holding The Guitar
Let’s begin at the beginning: how to hold a guitar.
Holding the guitar incorrectly will make it hard for you to gain any real control over the instrument. It will also inevitably lead to pain and even injury. After years of holding my guitar in a particular way (on my right knee) I developed severe back and neck problems that I am still trying to reverse.
There are, generally, two ways to hold a guitar sitting down — on your right knee and on your left knee. It is most common among rock guitarists (and most other non-classical and non-jazz guitarists) to hold their guitars in this way. Some players cross their right knee over their left knee in order to position the guitar higher and more in the center of their body.
This way of holding a guitar is fine for a lot of people, and if it feels comfortable to you then by all means try it. But be weary of long practice sessions in this position. Particularly if your knees are uncrossed, then playing in this position will have your back and neck bent unnaturally. This can lead to injury.
It is also more difficult to reach certain parts of the fretboard in this position. Some players who play this way are accustomed to temporarily adjusting the position of their instrument when they need to reach the upper region of the fretboard.
The other way to hold a guitar sitting down is to place the instrument on your left knee. This is borrowed directly from classical guitarists, who do this with small acoustic guitars and place a stand under their left foot to raise the instrument up to their hands.
Playing this way has the advantage of taking a lot of strain off of your back and neck (although you will likely still have to turn your head to the left quite severely to see certain parts of the fretboard). It makes it easier to reach the entire instrument as well. It also positions the body of the instrument on an angle, which makes it easier to have proper left and right hand technique.
An alternative to placing a stand under your foot is to use a strap with the guitar raised rather high on your chest (still placing it toward your left knee). This is for many people, including me, the ideal position when you are standing and playing as well.
When you are standing, you have a choice about where to place the instrument on your torso (to the left or to the right) and also how high to raise the guitar with the strap. My suggestion is to mimic the position of your instrument when you are seated. There should be one way that you play whether you are standing or sitting. It is best to avoid setting your strap so that your guitar hands low while you are standing, as this makes it nearly impossible to play as comfortably as when you are sitting.
Left Hand Technique
In general, the idea behind good left hand technique is to keep it relaxed but be very precise. You want good pressure on the fretboard, but not so much that it altered the tone or pitch of the note you are fretting. You will want to curl your fingers and wrist so that only the tips of the fingers are pressing the strings.
Most guitar instructors recommend not learning to reach your left thumb over the top of the neck. This gets in the way of having proper technique in your fingers. However, there have been many great guitarists — including Jimi Hendrix — who have played this way.
In your left hand, when reading scales, note the number notation: your index finger is #1, middle finger #2, ring finger #3, little finger #4. Learning how to position each finger correctly is half the battle.
Right Hand
Your right hand, whether you are using a pick or not, should be easy and relaxed. You will want to built precision and strength in you hand over time, and that will require a lot of timing practice, but you should never be stiff or tense.
It is best to position your right hand at an angle so that your wrist is slightly cocked and your hand is close to perpendicular to the strings (if you are playing fingerstyle) or so that there is little to no bend in your wrist at all (if you are playing with a pick). Holding the instrument at the proper angle will help with this.
One study found that experienced guitarists use less physical effort to play. This is likely because playing better almost always means playing both more relaxed and more economical. Keep that in mind as you practice.
Learn How to Play Guitar in 7 Days
In the sections that follow, I choose one theoretical concept to discuss for each section. I am not supplying chord charts are scale diagrams, as these are readily available all over the internet for free. I am not teaching you the basic structures of music in the common theoretical way — introducing them as abstract ideas that you need to learn and apply to your instrument. This is also readily available online and through in-person lessons in your area (or video chat lessons worldwide). What is not readily available is any kind of advice of how to think about these structures, how to use them, and how to practice them. That is what these sections are devoted to.
The idea is to read these sections and then spend 7 days practicing the concepts I have discussed. At the end of that 7 days, if you have put the time in, then you will have made more progress than you likely though possible.
Open Chords
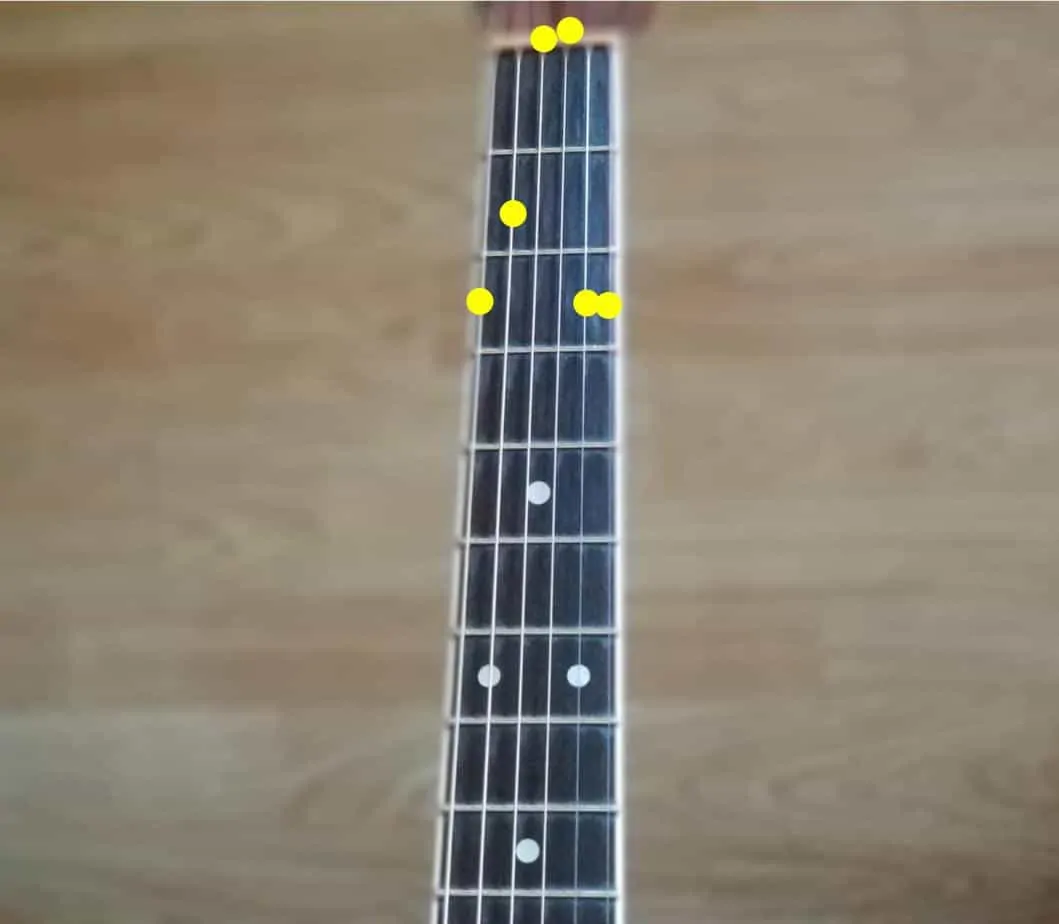
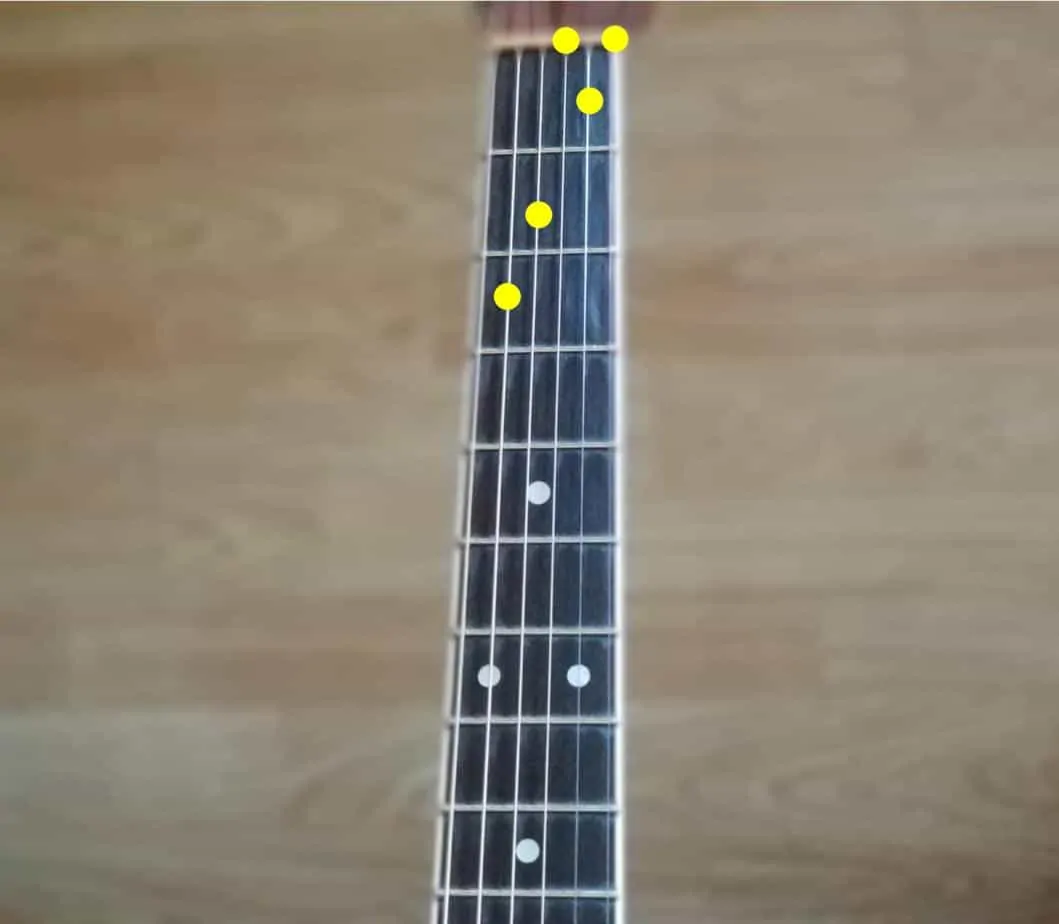
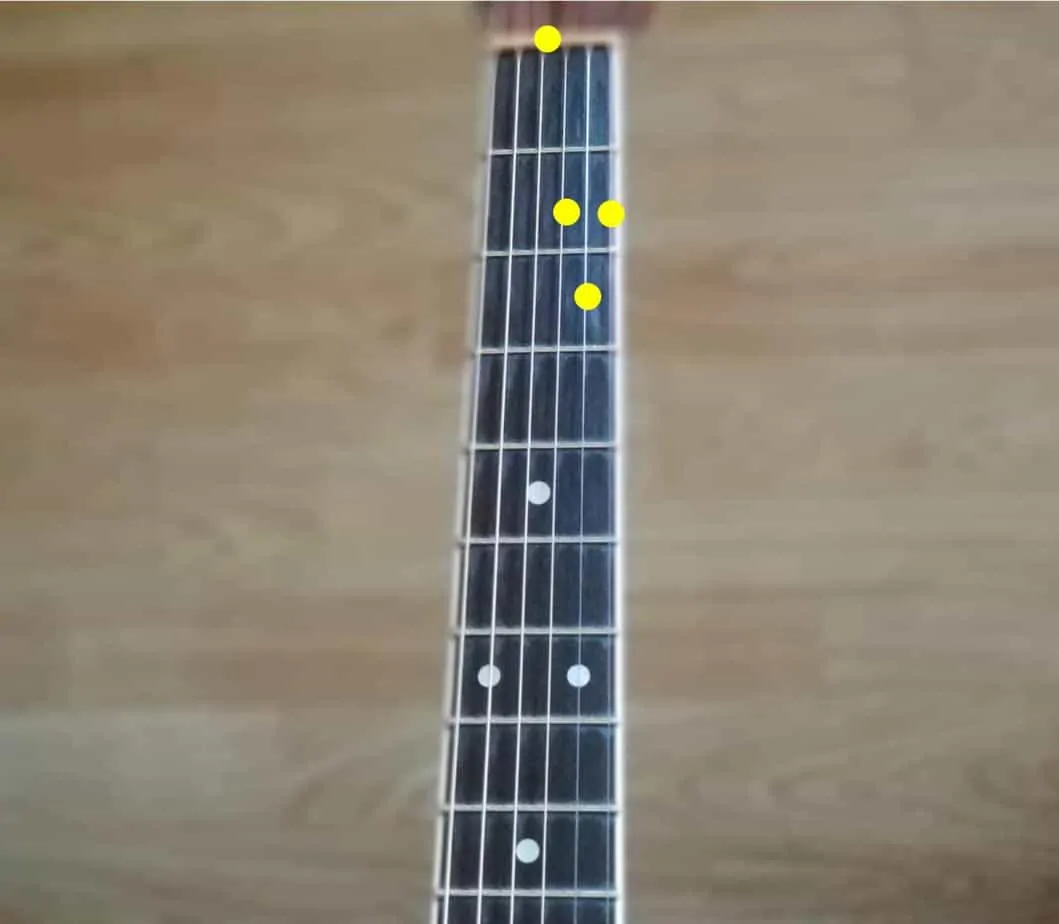
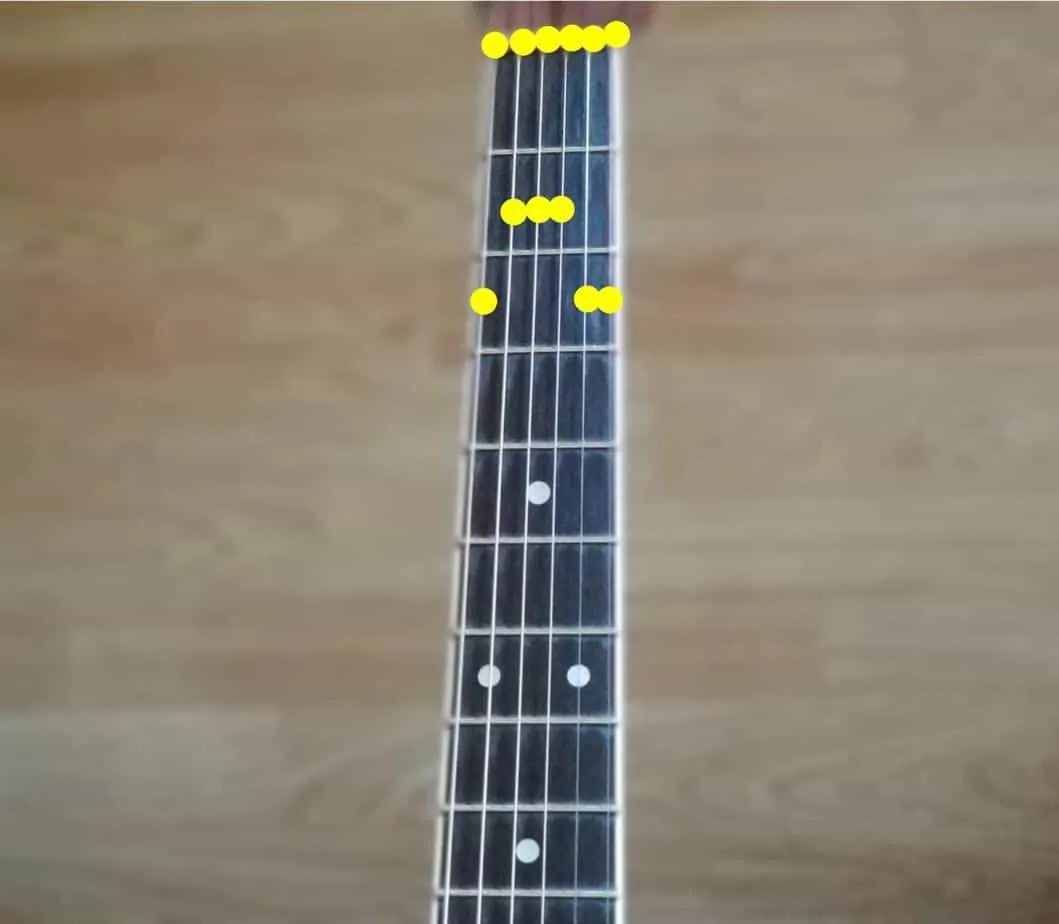
G Major open chord
C Major open chord
D major open chord
E Minor: Index Finger on 5th String at 2nd Fret, Middle Finger on 4th String at 2nd Fret
A Minor: Index Finger on 2nd String at 1st Fret, Middle Finger on 4th String at 2nd Fret, Ring Finger on 3rd String at 2nd Fret
Open chords are, quite simply, chords that you form on the fretboard that use one or more open strings. This means that while some of the notes of the chord are fretted — they are made by pressing your left hand (or right hand if you are playing left-handed) fingers onto the fretboard — at least one note in the chord is made simply by picking or plucking an open string and allowing it to ring.
These chords are generally fretted toward the top of the neck and are most of the time easier to fret than non-open chords (which often utilize some kind of “bar” formation with one of your fingers, which is when you place your whole finger across the fretboard to hold down multiple notes at once).
In general, open chords are thought of as beginner chords; however, they are the fabric of much of the music that we have all listened to for years — folk, country, bluegrass, classic rock, country blues. Many of The Beatles’ songs as well as most of what we hear from The Rolling Stones and countless other classic rock bands were written and performed using mostly or exclusively open chords.
These chords are the kinds of things that you should play over and over again, allowing yourself to hear the way that progressions naturally arise out of them. Begin with the basic open chords — E minor, A minor, C major, G major, D major — and play just those chords in as many formations as you can. Play them quickly and slowly, loudly and softly. Play each note of the chords separately and play them all at once. Play these chords until they are more than just easy to remember and easy to fret — play them until they are automatic.
By playing open chords, you are beginning to put together harmonic structures. Basic chord progressions can be easily formed with these chords, and they can be heard readily. You don’t necessarily need to think about what is going to work ahead of time. Just play and let your ear be the guide.
Example Routine
One way to approach learning how to play guitar open chords in 7 days is as follows:
Day 1: Practice fingering the five essential open chords — E minor, A minor, G major, C major, and D major. Play them slowly and deliberately, being sure to keep even pressure on all of the fretted notes and allow the open notes to ring true. Play these chords over and over, trying to build muscle memory. Practice playing them without looking.
Day 2: The same as day 1, only now play the chords in different rhythmic patterns and with different right hand techniques. Play them quickly and slowly, as full chords and as individual notes played one after another, etc.
Day 3: The same as day 2, only now begin to combine the chords. Play them in sequences of 2 or 3 chords, in whatever order you like.
Day 4: The same as day 3, only now play longer sequences of chords. Listen for the way the harmony and the structure of the music moves as you change chords. Hear melodies forming over top of the chords in your head.
Day 5: Repeat day 4, only add to the five essential open chords the F major and B minor chords.
Day 6: Using all 7 of the basic open chords, practice writing and improvising as many different progressions as you can. Play at different tempos, using different rhythmic patterns, and using different right hand techniques. Listen carefully and take note of which combinations of chords sound good and which ones do not.
Day 7: Improvise freely. With your newfound open chord knowledge, play with abandon. Remembering the patterns and sequences that sounded the best, practice putting together entire songs on the fly. Whether you want to be an improviser, a composer, or both, this will help you.
The “Box” Scale
The E Box scale
The first scale most all blues and rock guitarists learn is called the “box” scale. It is also known as the minor pentatonic scale.
Scales are arrangements of notes that are used to define a harmonic context. In other words, they are groups of notes that, when played together or separately in different patterns, imply a certain key (which is what you might think of as the gravitational center of a piece of music at a given time — the note, and a scale based on that note, that defines the music more than any other).
Scales are used to select the chords that will be played that form the chord progressions of a song, they are used to select single notes and melodic ideas that are played over those progressions that will “fit” with the key that those chords are in, and they are used to generate endless amounts of licks, riffs, and, in general, musical ideas.
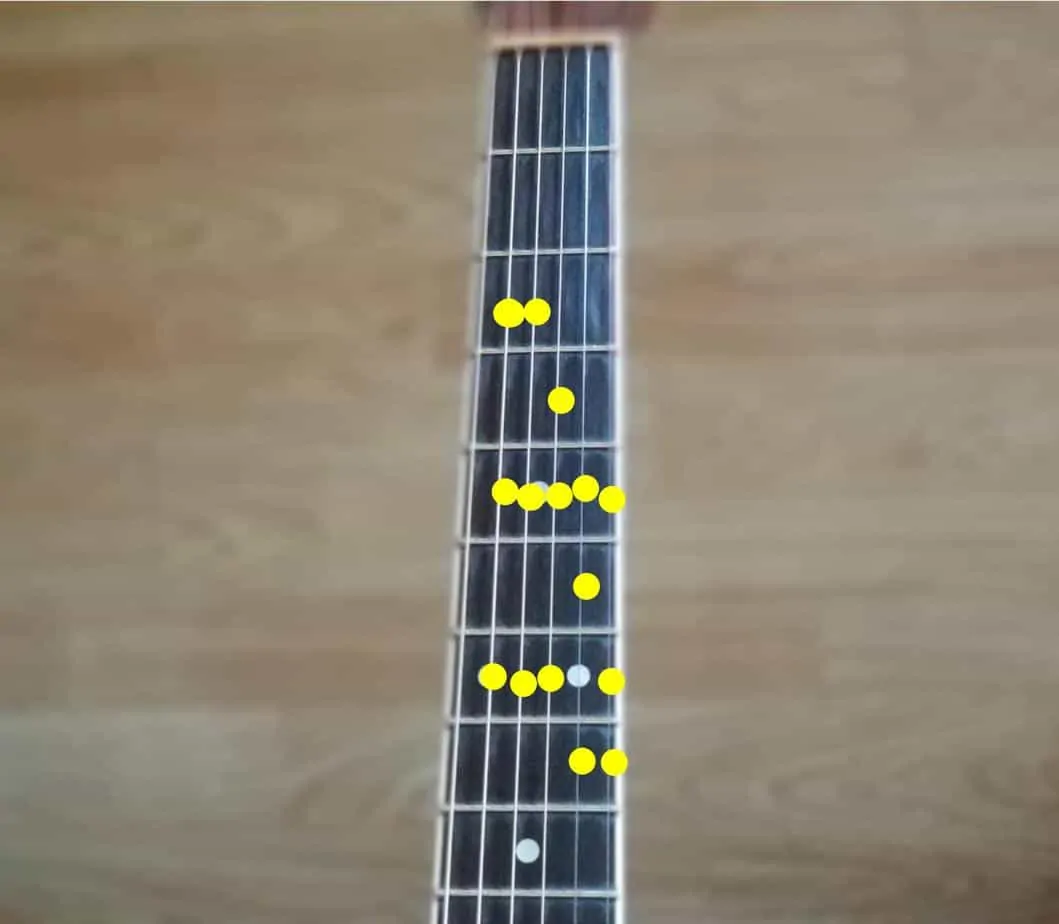
The box scale is so called because it forms a box on the fretboard. To play it, you play two notes on every string of the instrument. The first note of each string is on the same fret — so if you are playing the scale in E, then the first note on each string is that string played open; if you are playing it in G, then the first note on each string is on the third fret, and so on. The second note on each string is either two or three frets down the neck from that first note — on the lowest string and two highest strings, it is three frets down the neck (up in pitch), and on the middle three strings it is two frets down (up in pitch). This forms a box on the fretboard, hence the name.
The minor pentatonic scale is the foundation of all blues, rock, country, folk, bluegrass, and even some jazz music. Its sound is highly recognizable and it is easy to work with. As you play this scale, practice hearing different melodies within it as you arrange the notes in different orders. Play them in different rhythmic combinations, play them slowly, quickly, regularly, erratically, and every other way you can imagine.
You will start to see that if you play this scale starting on the open strings, then the notes fit very well over the most common open chords. This is how very many songs have been written — with open chords and the E minor pentatonic scale. If you experiment with this combination, you will find endless musical ideas.
Example Routine
Here is one way to organize practicing the box scale:
Day 1: Practice the box scale, slowly, in Em, making use of the open strings.
Days 2 and 3: Practice the Em box scale along with open chords to create song ideas.
Day 4: Learn the box scale in Am, starting on the fifth fret of the low E string.
Day 5: Practice the Am box scale utilizing the open strings, beginning on the open A.
Days 6 and 7: Practice using open chords along with the Am box scale to create song ideas.
The Major Scale
The C Major scale
The box scale is one of the shapes guitarists use to play the first mode, or ordered arrangement, of the minor pentatonic scale. There are four other shapes in this series. Each mode corresponds to one of the five notes in the scale, and each of the five shapes on the fretboards corresponds to one way you can play each of those modes. A mode is just that — the arrangement of a scale, beginning on one of its notes, so that the scale is played in straight ascending and descending order. In other words, a mode is produced by taking the notes of a scale, putting them in order from lowest to highest, and then selecting on the notes to begin on. Each of the notes then has a different mode — they will all contain the same notes, but they will begin on different notes or degrees of the scale. This is useful because each new mode implies a different key (center of gravity). If one mode starts on E, then that mode in in the key of E. Another mode beginning on G is in the key of G, even though it contains the same notes.
When we play the shapes that correspond to different modes on the fretboard, we can use them either to extend the mode we are already playing in up or down the instrument — which means that we are still playing in the original mode, only now we are playing those notes in different places on the guitar — or we can change the key of the song (by changing the chords they we are playing over) and use these new shapes to play entirely new modes.
Modes, as you can see, are both complicated to understand and extremely powerful. For this reason, learning the modes of the pentatonic scale is eventually necessary to becoming a great composer or improviser.
But the pentatonic scale is not enough for most people. At least some of the time, you need to have more notes in the scale. Pentatonic scales get their name from the fact that there are five (“penta”) notes in each octave of the scale. Common major and minor scales (which are the most common scales in Western music) have seven notes per octave. These scales seem more complicated at first, and they have more modes to learn (since there are more notes in the scale), but you can be on your way quite quickly if you simply focus on the simplest, most basic seven note scale in music: the major scale.
The major scale is easy to play and even easier to hear. Its sound is highly recognizable and it is the foundation of most pop, classical, and historical songs in the western world. If you start humming and make up a tune, you are probably using the major scale.
For this reason, once you learn the scale it is easy to begin applying it. As with the box scale, experiment by putting the scale in different places on the fretboard, playing it in different ways and with different rhythmic patterns, and listening to the melodies that you can make out of it.
Example Routine:
Day 1: Learn the C major scale beginning on the third fret of the A string.
Days 2 and 3: Practice the C major scale along with open chords to make song ideas.
Day 4: Learn the G major scale beginning on the third fret of the low E string.
Day 5: Practice the G major scale along with open chords to create song ideas.
Days 6 and 7: Practice the C and G major scales along with the Em and Am box scales and open chords. This will allow you to create a variety of song ideas.
Learn How to Play Guitar like a Pro
Playing guitar is a lifelong practice. There is no having mastered the instrument or how to play guitar, there is only being on your way to getting ever better. That is good news for beginners, since all you have to do to be a successful guitarist is pick up your instrument, play hard, practice often, and listen closely. Everything else is up for grabs; everything else is a matter of taste. People will tell you exactly what you have to do to be a guitarist, and most of them don’t know what they’re talking about. The only rule is to play.
If you begin your journey by reading this guide, thinking about the things I have written, and spending one week practicing the things I have suggested, then you will already be well on your way towards learning how to play guitar like a pro.

