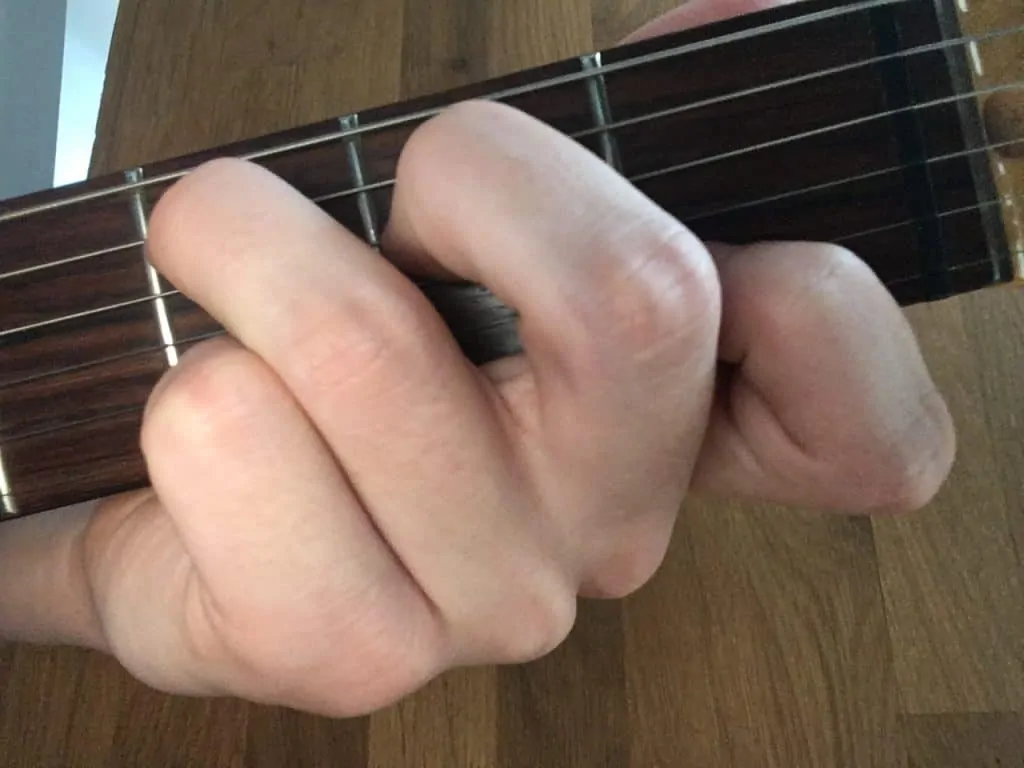
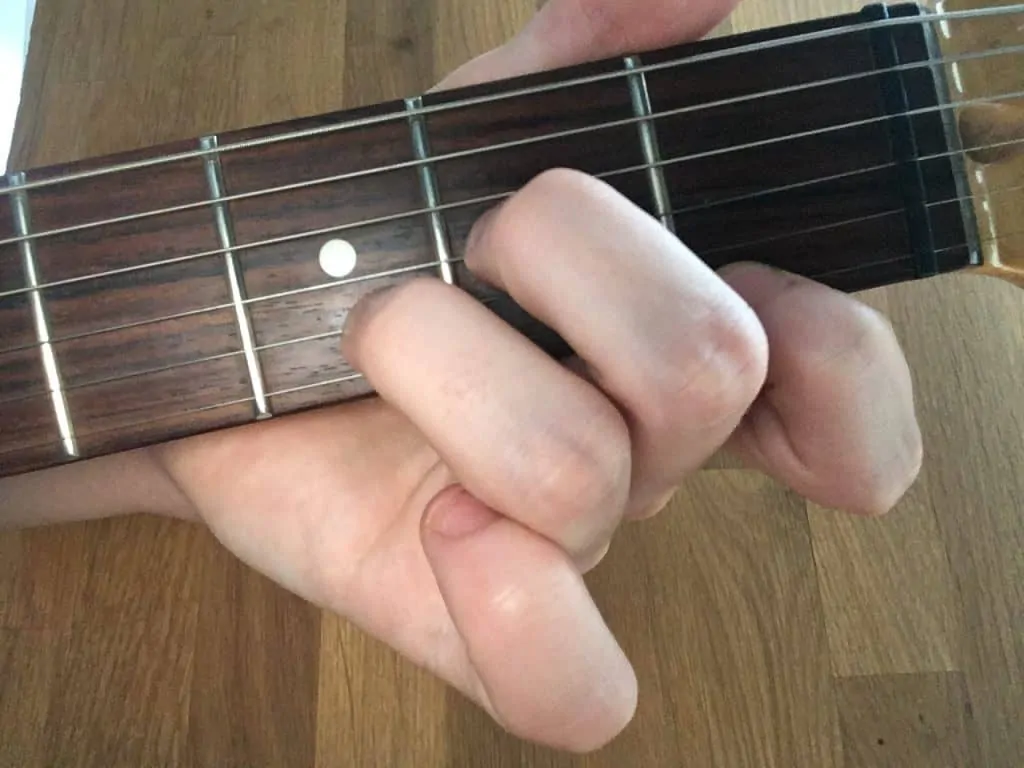
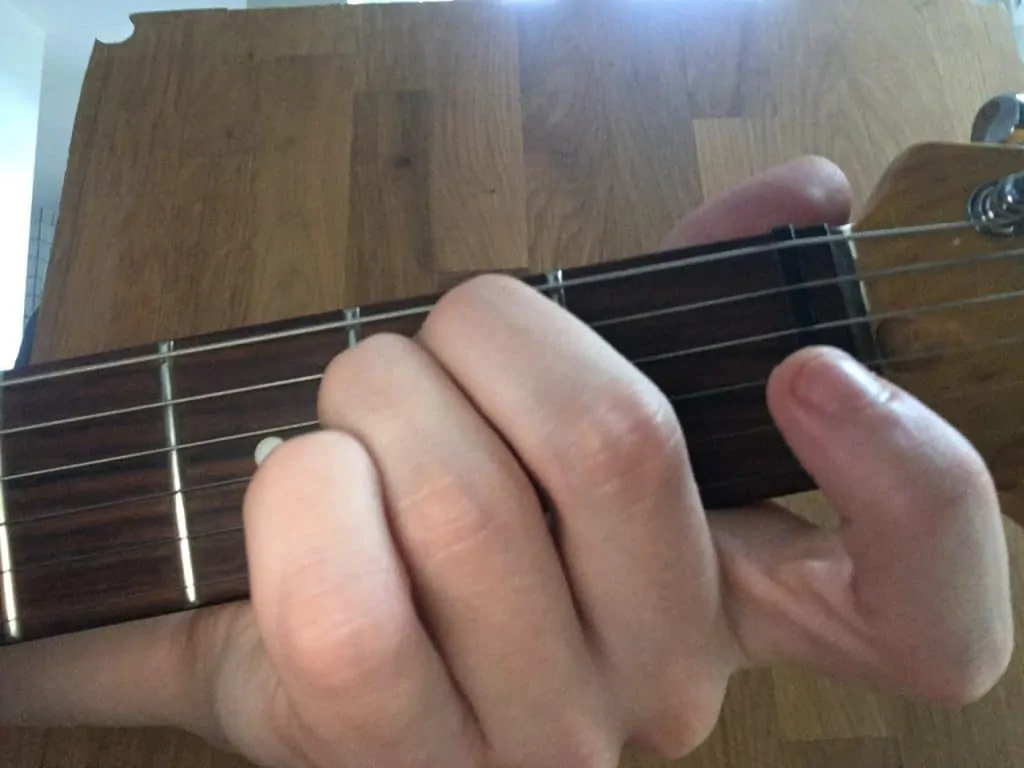
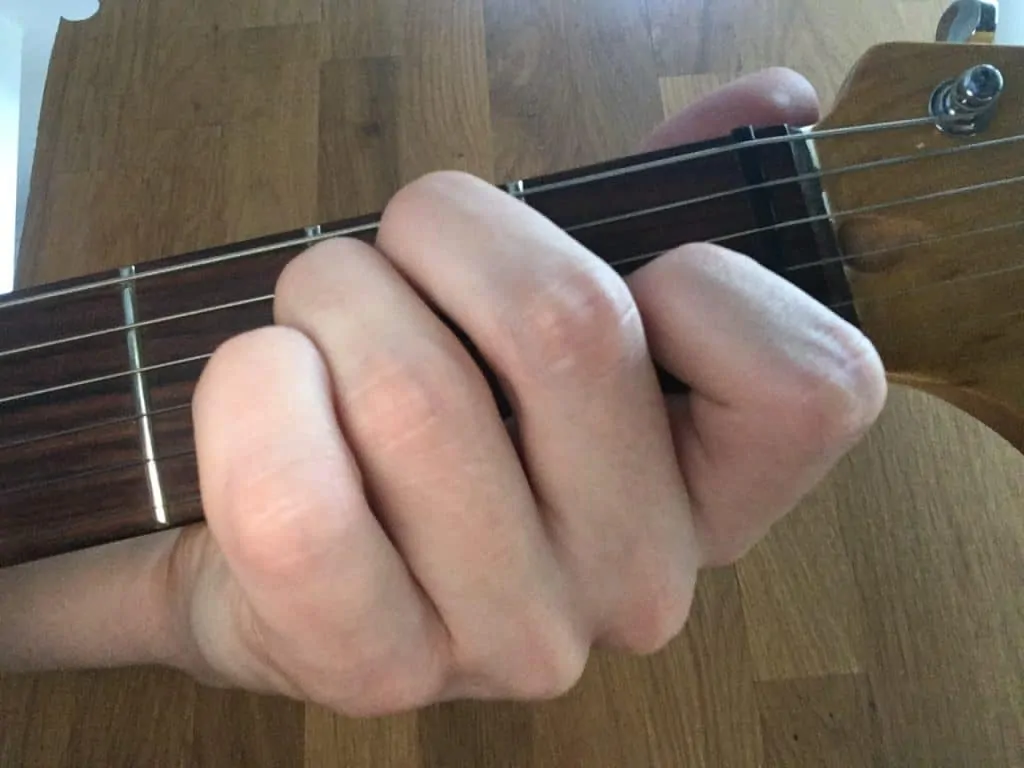
Depending on why you’re learning the guitar, playing chords may just be the most important first step you can take. They are the basis of almost every song, and in most cases, they are the key way to make your own versions of tunes immediately recognisable.
In this important guide you will learn:
- What a chord is
- Some basic chords
- A more difficult thing called a barre chord
- A helpful thing called a power chord
- Some more complex/extended chords
- A few different ways to play them
If you’re just starting out with guitar chords, then this will help you master them in no time…
What is a chord?
In its simplest form, a chord is more than one note played at the same time. However, strictly speaking, they don’t need to be played at the same time for a chord to be implied. If I played C-Eb-G together, they’d be a C minor chord- if I played a C, then an Eb, then a G, they’d still form a C minor chord.
On the guitar, you’ll form your chords using your fretting hand, by (normally) pressing down on more than one fret at a time (learn how to fret properly here), using your other hand to then play those chords in a variety of ways. There are many 1/2 finger chords (I’ll show you these very soon) and a lot of chords are actually pretty simple to get the hand of. Others not so much…
Technically any notes played together are a chord. If you strum a standardly tuned guitar without pressing down on any frets (E-A-D-G-B-E) you’ll get an Em11 chord and in theory, all 12 notes of the chromatic scale would form some kind of cluster chord. However, there are a lot of simple chords that we can start with that are much easier to play and comprehend:
Basic Chords
These chords are ones you can play with simple hand shapes and have open (no frets pressed) strings. I’ll tell you the notes, and then the best way to position your fingers.
- C major: (C-E-G) Press your 4th finger onto the 3rd fret of the 2nd string; your 3rd finger onto the 2nd fret of the 3rd string; your 2nd finger onto the 1st fret of the 2nd string. Make sure you hit the open 1st and 3rd strings when you play it. Why don’t you learn more about C major?
- D major: (D-F#-A) Press your 2nd finger onto the 2nd fret of the 3rd string; your 4th finger onto the 3rd fret of the 2nd string; your 3rd finger onto the 2nd fret of the 1st string. Make sure you hit the open 4th string when you play it.
- D minor: (D-F-A) Press your 3rd finger onto the 2nd fret of the 3rd string; your 4th finger onto the 3rd fret of the 2nd string; your 2nd finger onto the 1st fret of the 1st string. Make sure you hit the open 4th string when you play it.
- E minor: (E-G-B) Press your 2nd finger onto the 2nd fret of the 5th string; your 3rd finger onto the 2nd fret of the 4th string. Make sure you hit the open 6th, 3rd, 2nd and 1st strings when you play it.
- E major: (E-G#-B) Press your 3rd finger onto the 2nd fret of the 5th string; your 4th finger onto the 2nd fret of the 4th string; your 2nd finger onto the 1st fret of the 3rd string. Make sure you hit the open 6th, 2nd and 1st strings when you play it.
- G major: (G-B-D) Press your 3rd finger onto the 3rd fret of the 6th string; your 2nd finger onto the 2nd fret of the 5th string; your 4th finger onto the 3rd fret of the 2nd string, your 5th finger onto the 3rd fret of the 1st string. Make sure you hit the open 3rd and 4th strings when you play it.
- A minor: (A-C-E) Press your 3rd finger onto the 2nd fret of the 4th string; your 4th finger onto the 2nd fret of the 3rd string; your 2nd finger onto the 1st fret of the 2nd string. Make sure you hit the open 5th and 1st strings when you play it.
- A major: (A-C#-E) Press your 2nd finger onto the 2nd fret of the 4th string; your 3rd finger onto the 2nd fret of the 3rd string; your 4th finger onto the 2nd fret of the 2nd string. Make sure you hit the open 5th and 1st strings when you play it.

You might notice we’ve skipped over a few seemingly obvious chords (B [which you can learn more about here] and F for example) there, but I’ve got a good reason. To make them sound how they’re supposed to, you need to use something called a barre chord, and they’re much harder than these simple chords.
Barre Chords
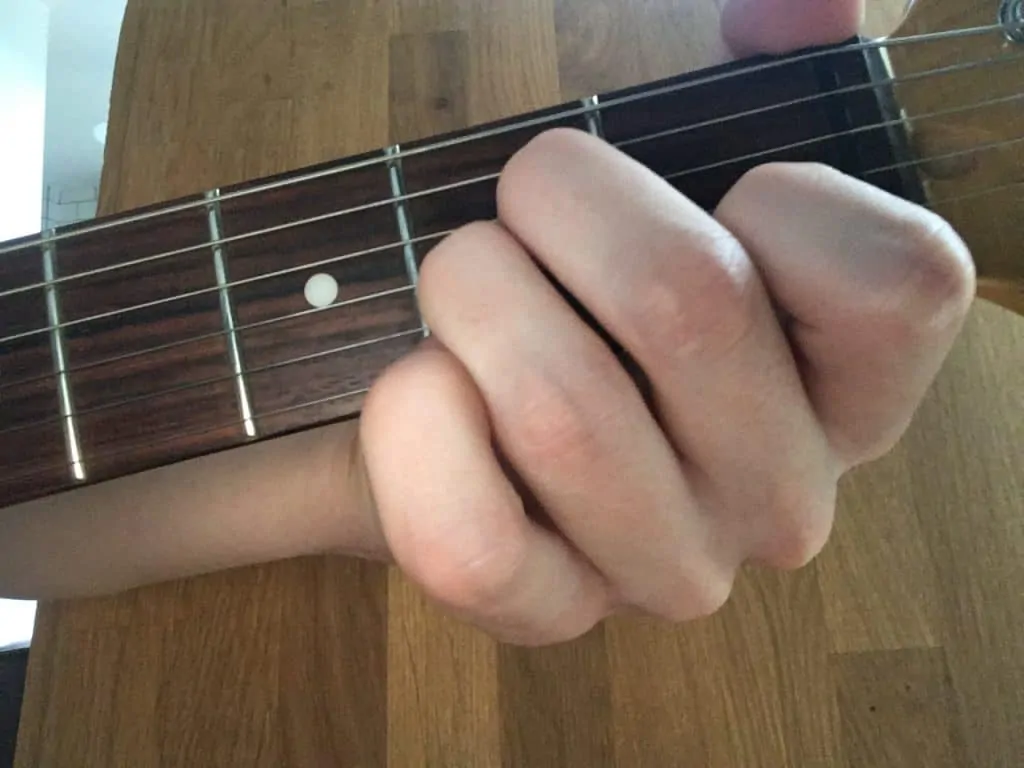
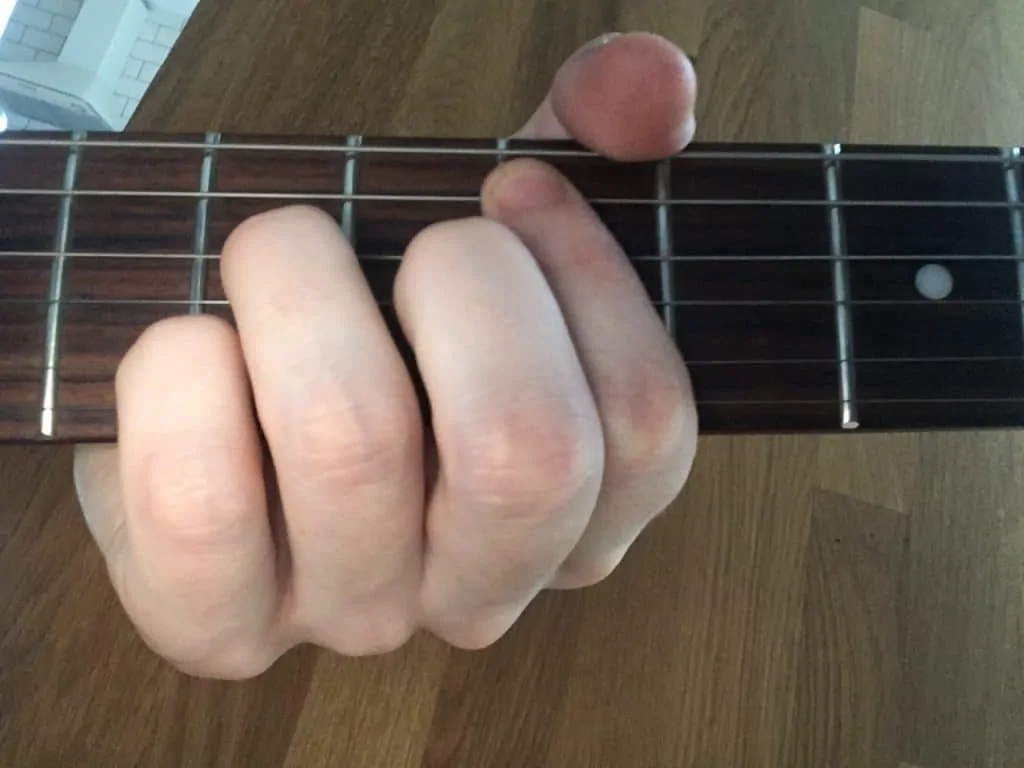
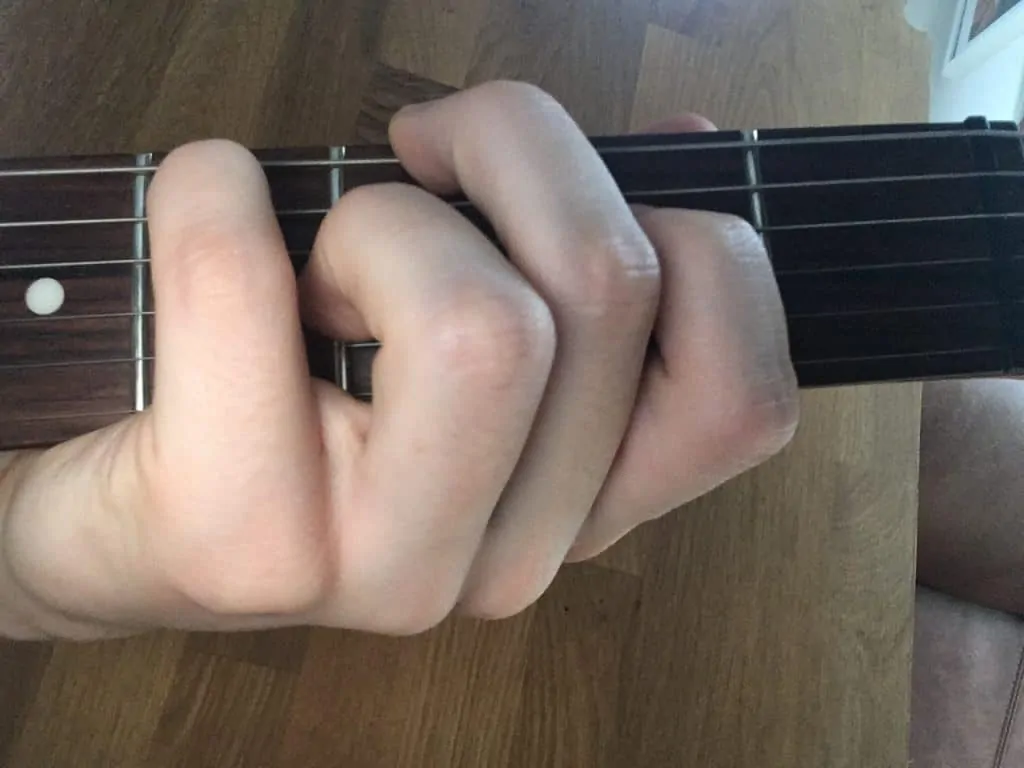
A barre chord is named after the ‘bar’ you create across the strings with your 2nd finger. The rest of your fingers will be used to add extra notes. The good (and really helpful) thing about barre chords, is that you only need a few shapes that can be moved up and down the neck to create new chords. The technique of playing barre chords is always one of the hardest things for everyone starting out with a guitar, so don’t give up!
- Major Chord Shapes (lowest note on 6th string): Let’s make this example start on the 2nd fret (but don’t forget you can move the position up the neck to make new chords). As we’ve started on the 2nd fret, it’s an F# major chord, but move it up to fret 5, for example, and you’ve got an A major chord. Press your 2nd finger across the entire 2nd fret of the neck of the guitar so each note can be heard when played; your 4th finger on the 4th fret of the 5th string; your 5th finger on the 4th fret of the 4th string; 3rd finger on the 3rd fret of the 3rd string.
- Major Chord Shapes (lowest note on 5th string): When starting on the 5th string, the major chord is formed slightly differently. Firstly, you’ll need to make sure you’re muting the 6th string so it doesn’t ring out. Again, this example is going to start on the 2nd fret (but can be moved up the neck). Press your 2nd finger across the entire 2nd fret of the neck of the guitar so each note can be heard when played; your 4th finger on the 4th fret of the 4th string; your 5th finger on the 4th fret of the 3rd and 2nd string (you can press your finger down to cover both).
- Minor Chord Shapes (lowest note on 6th string): The minor barre chord is very similar to the major one. All you’ll need to do is lift your 3rd finger, so that the 3rd string is being barred on the 2nd fret- creating a minor chord.
- Minor Chord Shapes (lowest note on the 5th string): Again, this change is pretty similar. Rather than pressing your 5th finger down to cover two strings, you can lift it from the 2nd string and instead use your 3rd finger to press the 3rd fret on the 2nd string.
Power Chords
Now that you’ve conquered something as hard as barre chords, we can go back to something nice and easy: power chords. They’re a bit like a barre chord, but less complete and a lot less painful.
It’s a simple concept made up of 3 notes (the root note, 5th and octave) so if you were to play a C power chord, the notes would be C-G-C. Let’s say we’re starting with this C chord. Press your 2nd finger onto the 3rd fret of the 5th string, your 4th finger onto the 5th fret of the 4th string, and your 5th finger onto the 5th fret of the 3rd string.
A great example of the use of power chords is Green Day’s ‘American Idiot’. Note how quickly they can move between the chords while using power chords, something you wouldn’t be able to do as well with barre chords.
Extended Chords
An extended chord is the addition of an unexpected note to a triadic (3-note) chord. There are hundreds (probably thousands) of different extensions you can add to a chord, from sus4 to maj7 to 7#9b13. I’ll just show you some of the more common/useful ones, and the easiest way to play them. And as always, remember I’m just showing you the shapes here. You can move these shapes up and down the neck to change note.
- Dominant 7th: (7) Simply take your major chord shape (when starting on 6th string) and lift your 5th finger. This takes the octave down by a tone and adds a m7th to a major chord (for example, adding a Bb to a C-E-G C major chord).
- Major 7th: (maj7) Make a major chord shape (starting on the 5th string this time), but you don’t need to press your 5th finger across two strings now. If you start on the 5th fret of the 5th string with your 2nd finger, your 4th finger will need to be on the 7th fret of the 4th string, your 3rd finger on the 6th fret of the 3rd string and your 5th finger on the 7th fret of the 2nd string.
- Minor 7th: (m7) Take the major 7th shape you’ve just learnt and swap your 3rd and 5th fingers! So now your 5th finger is on the 7th fret of the 3rd fret and your 3rd finger is on the 6th fret of the 2nd string.
- Diminished 7th: (dim7) This one is a bit harder to form and might need a bit of a stretch. If we start by putting your 3rd finger on the 3rd fret of the 6th string, your 5th finger on the 4th fret of the 5th string, your 2nd finger on the 2nd fret of the 4th string and your 4th finger on the 3rd fret of the 3rd string.
- 7#9: (7#9) Also known as the ‘Hendrix’ chord, this one is dissonant (and can be heard throughout Jimi Hendrix’s ‘Purple Haze’). Let’s say we’re starting on the 7th fret of the 5th string (like Hendrix does)- put your 3rd finger there. Your 2nd finger goes on the 6th fret of the 4th string, your 4th finger on the 7th fret of the 3rd string and your 5th finger on the 8th fret of the 2nd string.

A Few Ways To Play Chords
- Strumming: This is one of the most common ways to play chords, and you can learn a few patterns here. Strumming is basically the technique of sweeping your hand up and down the strings, hitting multiple at once. You can strum with and without a pick. An example of strumming in action can be heard in The Who’s ‘Pinball Wizard’.
- Fingerpicking: Typically used in softer music, finger picking is a technique that uses your fingers, rather than a guitar pick. It can be done gently and slowly, but can also be percussive and fast. One example of fingerpicking in action is in Mark Knopfler’s playing in Dire Strait’s ‘Sultans Of Swing’.
- Palm muting: Not so much a chordal technique, and more of something often used alongside the playing of chords, palm muting will normally coincide with power chords. While playing chords with a pick, you’ll slightly rest your picking hand down onto the strings to stop them from ringing out unpleasantly. Green Day provide another good example of this in action, with ‘Basket Case’.
- Arpeggiating: This is a simple technique that can be approached from a few different angles (with a pick or fingers- whatever sounds better!). The idea is that you outline a chord by playing notes from the chords one by one, rather than all together. The accompaniment of Led Zeppelin’s ‘Stairway to Heaven’ uses this technique throughout.
Final Thoughts
- Remember that chords can use different voicings. This is something you won’t want to approach for a while, but remember it in case you need the chord to take a different tone.
- Match your chords with the style you’re playing: metal/rock with often use a lot of power chords, acoustic music will tend towards simple, open chords, while one of the defining features of jazzy music is the use of extended chords.
- In terms of how you play the chords, it’s another decision based on your style. Arpeggiation would normally work pretty well with softer music, plucking strings could give a jazzy tone to your playing, while palm muted chords will work well in metal styles.
- Finally, don’t give up on barre chords! They’re hard, but they aren’t impossible. Eventually, you’ll get the hang of it and it’ll come naturally to you forever!

Dan is a music tutor and writer. He has played piano since he was 4, and guitar and drum kit since he was 11.
He plays a Guild acoustic and a Pacifica electric. He has been sent to many festivals and gigs (ranging from pop to extreme metal) as both a photographer and reviewer, with his proudest achievement so far being an interview he has with Steve Hackett (ex-Genesis guitarist).
He ranks among his favourite ever guitarists, alongside Guthrie Govan, Jimmy Page, Jimi Hendrix, David Gilmour and Robert Fripp. His favourite genre of music is progressive rock, which he likes to use as a reference point in my teaching, thanks to its huge complexity in structure, rhythm and harmony. However, he is also into a lot of other genres including jazz, 90’s hip-hop, death metal and 20th century classical music.
