Whether you’re looking for your first guitar or your twentieth, testing out an instrument is still a unique and tricky process. How should you determine whether or not a guitar offers the specific sound and feel you’re looking for? And how can you ensure you don’t buy a lemon that may develop hardware or body issues down the road?
There’s no substitute for diligent, focused research, but there are certainly some tips that can help demystify the routine for players in need of help. This guide runs down all the different things to look out for, whether buying a new or a used guitar.
Contents
Basic Guitar Characteristics
Before testing any guitar, you need to be familiar with the different components of the instrument. Failing to understand what each part is and how it functions can lead to buying a guitar carrying hidden (or not-so-hidden) flaws. More often than not, these axes can cost hundreds or even thousands to fix or become downright unplayable in the future. A little care and focus when testing out a guitar can help you avoid these problems.
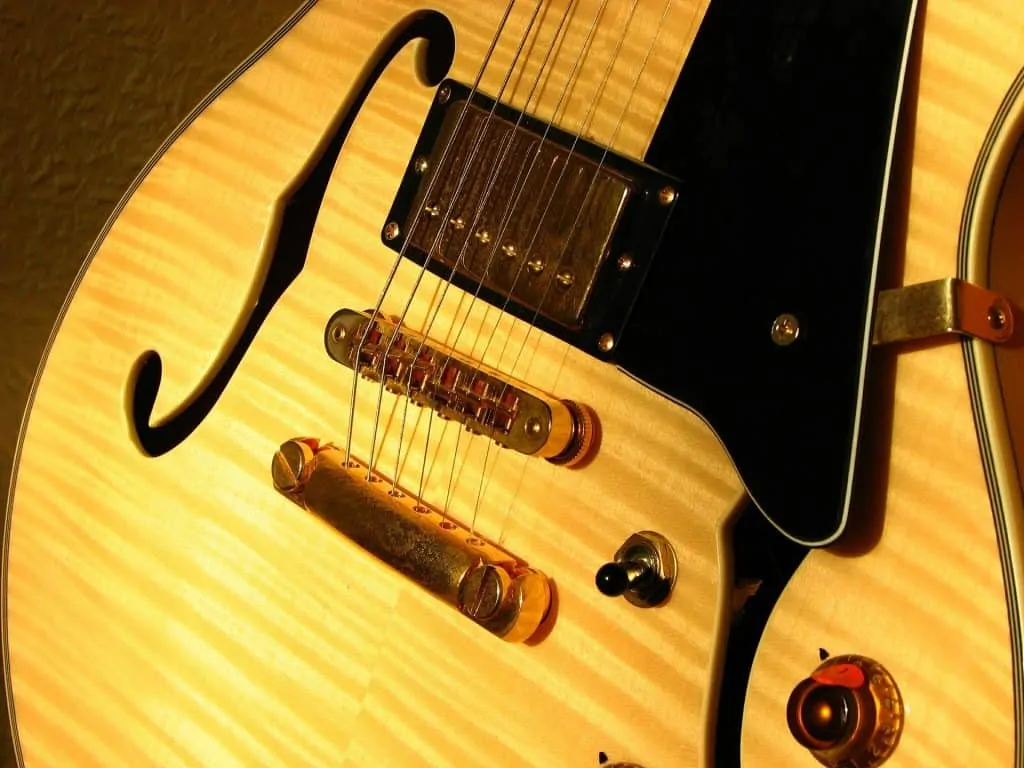
Hollow and semi-hollow guitars like this one are constructed like traditional acoustic guitars, with thinner pieces of wood and interior cavities for increased resonance.
Body and Neck
The primary part of any guitar is the actual wood itself: the body and neck. Unlike pickups and wiring, which can be swapped out if they malfunction or don’t fit your needs, the body and neck of a guitar are far more permanent and so require more care.
Solid-body electric guitars are often simply slabs of contoured wood with holes cut for electronics and a neck attachment. They’re by far the most durable electric guitars, and the bodies on these can function perfectly for years without much special care (preserving the finish is another matter).
Semi-hollow and fully hollow-body guitars are a different matter entirely. In many ways, these are constructed like true acoustic guitars and require the same amount of care. The delicate interior bracing and thinner pieces of wood in the back, sides, and top lead to more possibilities for damage, and make the damage more expensive if it does occur.
Besides the body, the neck is possibly the most important part of any guitar — after all, it’s where we play the notes and what holds the strings in place. Because of the massive tension created by stringing metal wires across the scale, steel-string guitars include truss rods inside the neck. These metal rods can adjust the curvature of the neck, either bending or flattening the wood to compensate for the stress and keep the neck properly aligned.
The fretboard, where our fingers press when playing, can be made out of a variety of different materials. Maple and rosewood are the two most popular options, though tonewoods like ebony, mahogany, pau ferro, and many others also appear. Some guitars are even constructed with composite fretboards!
While some solid-body models (most notably Fenders) feature bolt-on necks, allowing you to replace the neck at will without affecting the rest of the instrument, guitars with set necks or neck-through construction are much more expensive to repair and may need to be replaced entirely in the event of neck damage.
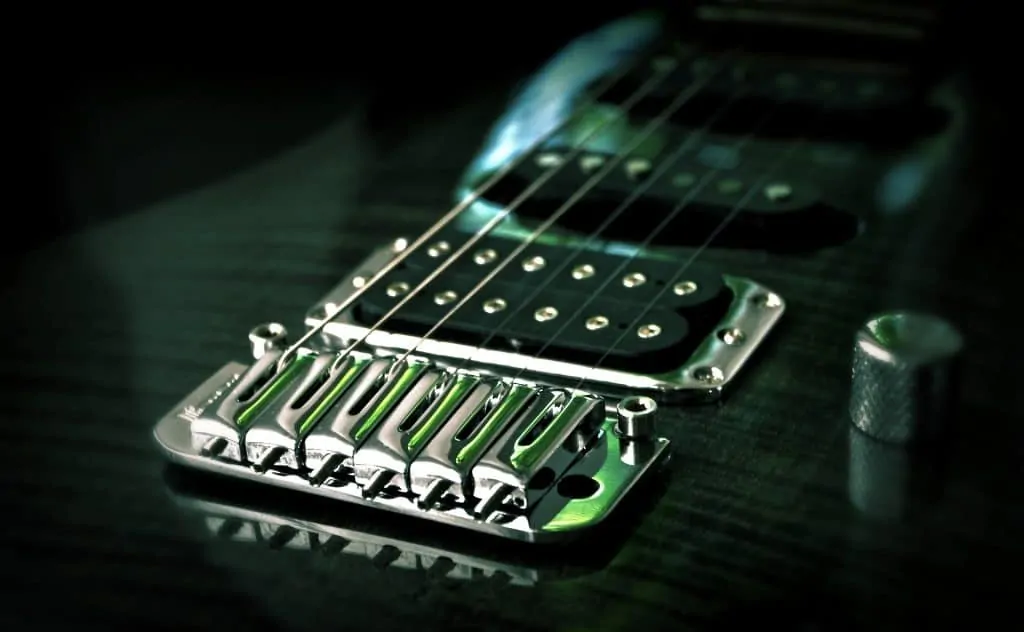
String saddles, like the chrome ones shown here, hold the strings and set the intonation and action for the length of the instrument’s scale.
Hardware
While many players might instantly think of pickups when asked about the hardware on an electric guitar, the term actually refers to all the other parts of a guitar that aren’t the electronics: the bridge, tuners, saddles, nut, and on some guitars the tremolo system.
Proper hardware is essential to any guitar, for functional reasons as well as aesthetics. Without saddles that can properly maintain intonation and action, or without tuners that can keep the guitar sounding good over long periods, even a well-constructed instrument loses much of its value.
Depending on the brand, different guitars feature different saddles and bridge styles. The only real universal factors are the string slots — where the ball ends of the strings are fed through before running over the bridge — and the string saddles, which adjust the height and spacing of the strings for the guitar’s actual scale.
Different guitars may also feature different scale lengths, ranging from 24” to 25.5” or more. Scale length can be measured by taking the distance between the guitar’s bridge and nut. Tremolo systems work by quickly moving the bridge to change the scale length as you pull the bar, which changes the pitch of the string.
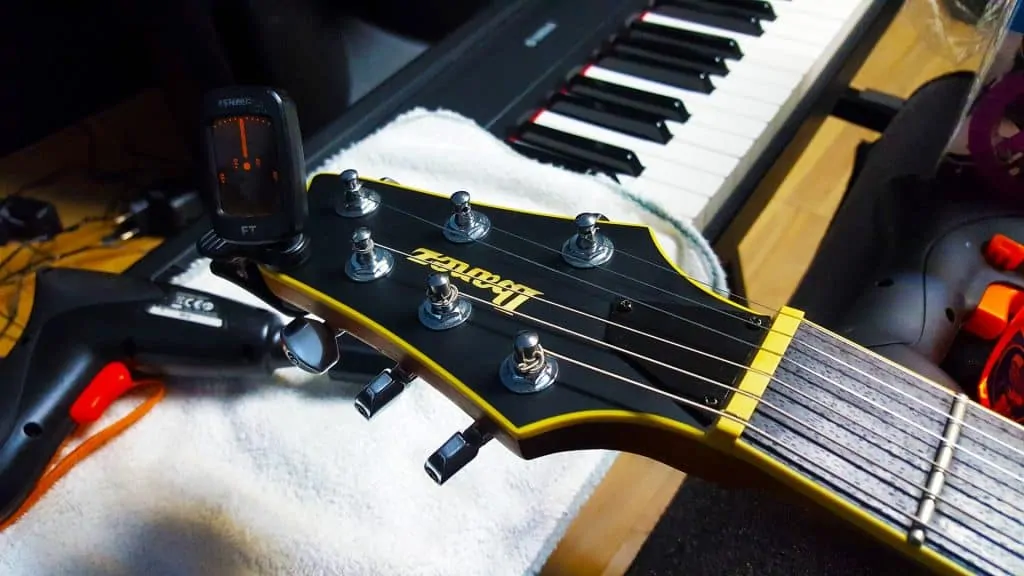
At the headstock of the guitar, the nut is a piece of bone or composite with grooves for each of the different strings. Tuning machines wrap the strings around peg heads and tighten them to change the pitch. Tuners are measured in gear ratio, which can range from anywhere between 10:1 up to 40:1. Larger numbers mean the gears are more precise and enable you to make finer tuning adjustments.
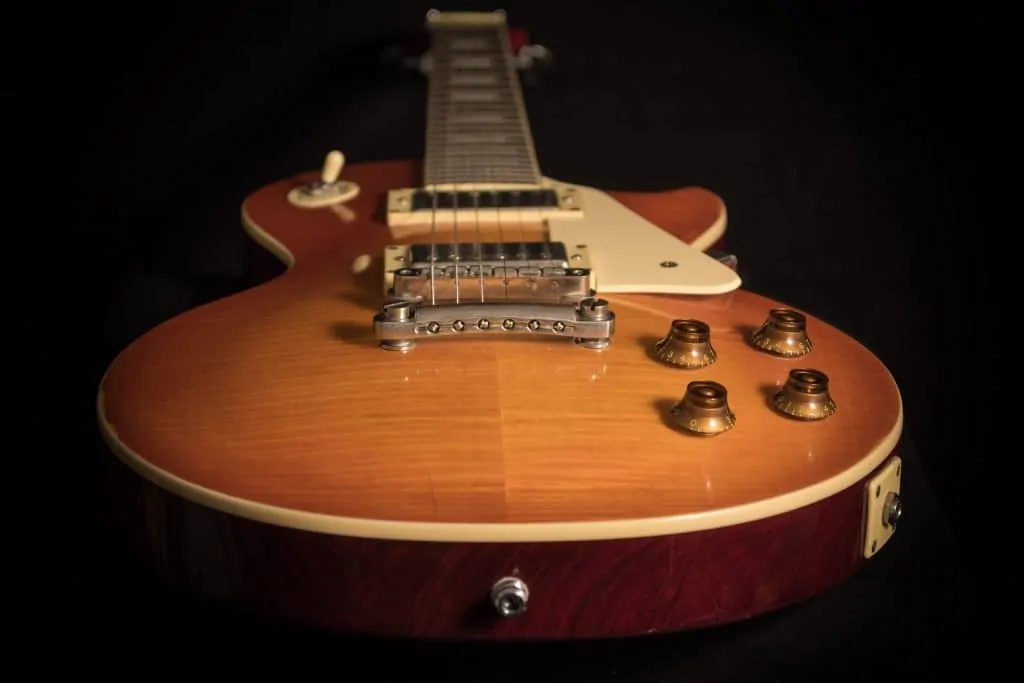
Humbucking pickups, like the ones on this guitar, are known for their fatter, warmer sound when compared to traditional single-coil pickups.
Pickups and Electronics
Finally, and perhaps most importantly for electric guitars, come the pickups and other electronics. More than the wood of the body and neck, the pickups are the central factor in your guitar’s sound.
Electric guitars generally feature single-coil pickups, humbuckers, or a combination of the two. Single-coils are known for their added top-end brightness and clarity, and convey pristine dynamics and articulation. Unfortunately, they can also produce “60-cycle hum,” an omnipresent, humming feedback when the guitar is plugged in.
Humbuckers, named for their ability to suppress 60-cycle hum, feature a second coil run in series with the first. Humbuckers tend to be warmer and chunkier than single-coils, with less pop and sparkle and more depth, especially when distorted. They’re great for playing bassier styles of music.
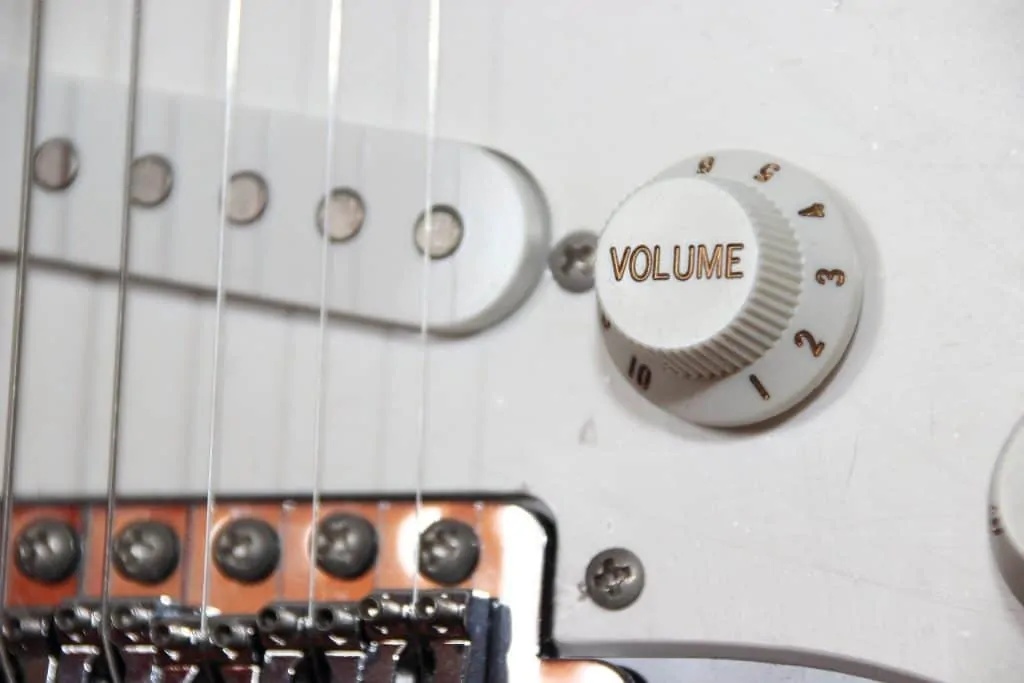
All of your guitar’s electronics are routed through a central body cavity, which generally shields them from outside damage. Volume, tone, and occasionally filter controls are wired to the pickups to give you a greater degree of control over your sound.
How to Test Out a Guitar
Now that we’ve run down all the basic characteristics of an electric guitar, we can discuss how to properly test one out. Depending on whether you’re buying new or used, your process may vary. Each choice has benefits, but also certain things to look out for when testing the instrument.
We’ve created a pair of guides to help you make the right purchase no matter which option you take.
While you probably won’t use vinyl, you should make sure you pick a wide variety of songs to test out new guitars with.
Testing a New Guitar
If you’re buying a new guitar, chances are you’re protected by a manufacturer’s warranty or can return an instrument after purchasing it. If so, the testing process is a lot easier — while you’ll obviously still want to check for glaring defects, your risks are much lower and you’re free to focus on sound and feel without stressing out over buying a lemon.
You can start by simply holding the guitar in your hands and noticing how the instrument feels. Is the weight well-balanced? Is it comfortable to play sitting down? How about when standing? If you notice any serious comfort issues right off the bat, don’t hesitate to move on.
While you want to give every guitar a fair shot, especially if you’re in love with a certain axe’s tone, it’s hard to change that cutaway that digs into your ribs at just the wrong angle, or fix the guitar that just can’t seem to stay balanced on your knee. Nagging issues like these can detract from even the greatest-sounding instruments.
If you’re happy with the guitar’s initial look and feel, plug it in and play some music to test out the sound. Make sure you have a balanced list of songs in mind that reflects what you generally play on your own guitar at home. While “Stairway to Heaven” may be fun to show off with, it’s highly unlikely that’s what you’ll be playing most of the time you actually use your axe. Besides, there are plenty of other options that won’t make every guitar store employee hate you.
As you test the sound, switch between the pickups and roll the volume and tone knobs up and down to get a true sense of the guitar’s capabilities. Knowing the guitar’s different tonal qualities is especially useful when selecting songs to test it out with — for example, the bridge pickup on a Fender Telecaster is known for its spanky, biting clean tone. Country chicken-pickin’ or percussive funk songs are great choices to emphasize that natural tone.
If you’re comfortable with both the feel and sound of the guitar, and you’ve tested out every pickup and knob, give it a solid inspection around the body, neck, and headstock. Check that all the hardware is in working order, just like the electronics. If everything is clean, you’re good to go!
Testing Essentials:
- Play sitting down and standing up
- Test every pickup and knob
- Play a variety of material to evaluate sound and feel
Testing a Used Guitar
The testing process is a bit different when buying a used guitar, especially if you’re buying from a site like Craigslist. With wear and tear on the instrument and without the protection of a factory warranty, thorough testing to verify there aren’t any problems is critical.
This step-by-step rundown displays everything you should check when testing out a new used guitar to prevent ending up with a junk instrument. Remember to stay focused, take your time, and to not be afraid to walk away from any deal — a diligent inspection can save you hundreds or even thousands of dollars in the long run!
Looking down the scale of a guitar from behind the bridge is a great way to examine the neck for any bowing or tension problems.
Body and Neck
Carefully inspect the body for dings, scratches, scuffs, or checking. Cosmetic bruises are a part of life — many players even prefer worn instruments for their added character — but you should be sure there aren’t any serious cracks, deep cuts, or other flaws in either the wood or finish. Even if the guitar is structurally sound, stains or discolorations in the finish can also seriously harm the axe’s sale value. Don’t assume you can just polish out any issues!
As you move up the guitar, check that the neck has been correctly bolted to the body and verify that there’s a tight fit at the neck socket. With set-neck or neck-through guitars, you just need to confirm that there aren’t any separation issues; this is easily accomplished with a glance at the neck heel.
Once you’ve checked the body, it’s time to inspect the neck itself. Like with the body, you should give it a good once-over for any cracks, especially near the headstock. The place just past the nut where the neck transitions into the headstock is one of the weakest places on any guitar. In addition to cracks, look for wrinkles or ridges here — telltale signs of a past headstock repair or deeper structural issues.
Run your hands along the fretboard to feel the finish. Some players prefer satin fretboards while others favor high-gloss finishes; whichever one you like, take your time to feel how the finish on the guitar you’re inspecting plays. While checking the neck, inspect the edges of the fretboard to see that they’re properly rolled — this small touch can prevent the board from digging into your hands and increase your comfort while playing.
Look out for:
- Cracks or splits in the body and finish
- Finish discoloration, flaking, or stains
- Headstock wrinkles, ridges, and cracks
Hardware on used guitars may lack the fresh luster of new metal, or bear small signs of corrosion. Unless the damage is very severe, this tends not to affect the functionality.
Hardware
If the body and neck are all sound, the hardware is the next thing you’ll need to inspect. This includes things like the bridge and saddles, tuners, and nut.
When looking at the bridge, check each string saddle to verify that they’re not rusted and that all the adjustment screws are working properly. If you want, a small Allen key would be helpful here to briefly test the action adjustments. Don’t worry about the cosmetics too much — few used guitars will have a bright, spotless luster on their hardware — but make sure that rust isn’t eating through or seriously corroding any component.
Run your hands once again along the sides of the neck to feel if the frets are leveled. Sharp frets are liable to poke you while you play and can be a major hassle. While you may be able to make minor adjustments with a standard file, some fret issues may require a trip to a tech to correct.
At the headstock, twist each tuner to make sure it functions smoothly, and try some hard strumming to make sure it can hold the tuning stable. Inspect the nut carefully for any cracks, chips, or dents, especially near the string slots. Keeping each string secure in its slot is essential!
Look out for:
- Rusted or twisted string saddles
- Sharp frets that stick out from the board
- Sticky or broken tuners
As you test the electronics on any guitar, be sure to adjust the dials as you play to uncover any scratching, buzzing, or feedback.
Pickups and Electronics
Now you can plug the guitar in and get to real playing. Like with a new guitar, you should have a few songs in mind to test on this axe. Aim for a mix of the different genres or styles you play, and look for songs that each emphasize a different aspect of the guitar. For example, you might pick one song that involves fingerstyle playing, another with picking, and another with heavier strumming.
As you play, switch between pickups. You shouldn’t hear a pop, crackle, or loud thud when switching. Likewise, turn the volume and tone knobs up and down as you go. They should move smoothly and quietly, without adding any crackling or fuzz to your sound. And while the sensitivity will vary from guitar to guitar, don’t blindly crank the dials. Be deliberate, comparing the differences in tone at each level.
Depending on your amp and power source, you may hear some background hum when you’re not playing, especially from guitars with single-coil pickups. Though to some extent this hum is an unfortunate fact of life, there are ways to minimize the buzz after buying a guitar, like shielding the internal cavity. Serious hum can be a symptom of greater electrical issues, but a small background noise is to be expected on many instruments.
Tone is a notoriously subjective topic, and it’s obviously pretty hard to reach an absolute consensus on what sounds good and what doesn’t. As long as you can verify the guitar is free from any electrical issues, the rest is up to your ears to judge. Like we said above, take your time to make the right decision.
Look out for:
- “Pop” or “thud” sounds when switching pickups
- Scratchy, fuzzy dials
- Dead pickups or pots
Professional technicians can often make finer adjustments to your new guitar that may dramatically improve its performance.
After You Buy
In the process of testing a guitar, you may discover some minor flaws. Maybe the strings feel too high off the fretboard, the neck is slightly bowed, or the pickguard is loose. If you still love the sound and feel enough to buy the instrument but want to upgrade or fix certain issues, you can always take your guitar to a professional technician for a setup.
A standard setup generally involves adjusting the action, string spacing, and intonation, cleaning and conditioning the hardware, electronics, and fretboard, perfecting the neck relief via the truss rod, and restringing your axe. While it’s an added cost you may have to factor into the price of a guitar, a professional setup is a great way to make sure your new axe plays as well as possible.
Summary
Guitar buying is a tricky process for even the most seasoned players. The plethora of options, both new and used, on the market is enough to confuse anyone. When testing out an instrument, then, it’s crucial to know your priorities and be able to quickly identify any flaws. . Whatever you’re looking for, whether it’s an axe to make you play just like your personal guitar hero or simply a fun instrument for travel, you’ll be able to find it somewhere.
Remember that diligent, thorough testing is the best way to avoid buying lemons; patience will often save you money over time. We hope this guide has been helpful for you as you search for your next new instrument!
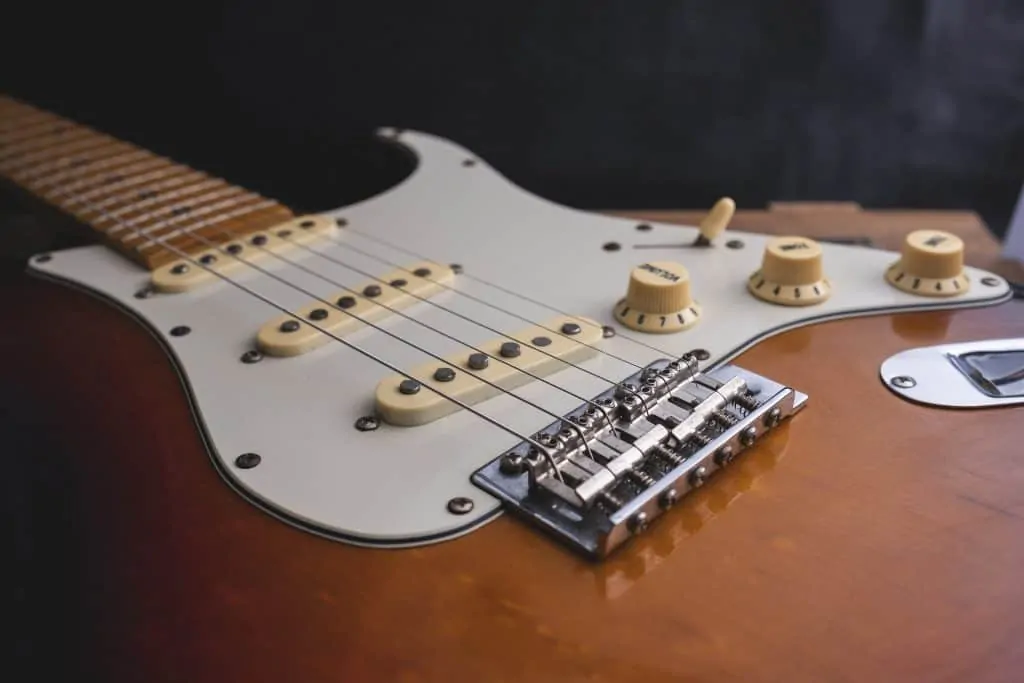
The Fender Stratocaster, one of the most popular and iconic guitars in the world.

