Once you’ve grabbed a good guitar, learnt how to play it and bought all the stuff that needs to go with it, then you may want to start thinking about the timbre of its sound without relying just on an amp. We’ve talked you through many pedals and the sort of thing they do, but they take up a lot of space and are pretty hard to organise when on their own.
In this important guide, I’ll show you how to create your own pedal board in order to maximise your efficiency.
If you’re looking to create your own pedal board on a tight budget, then this guide will help you out!
Contents
What Is A Pedal Board?
You’ve probably seen guitarists on stage with a massive pile of pedals all lined up in front of them. Somehow, despite having about 20 different effects at their disposal, they know exactly where each one is and how to combine them all without them sounding weird, or simply breaking.
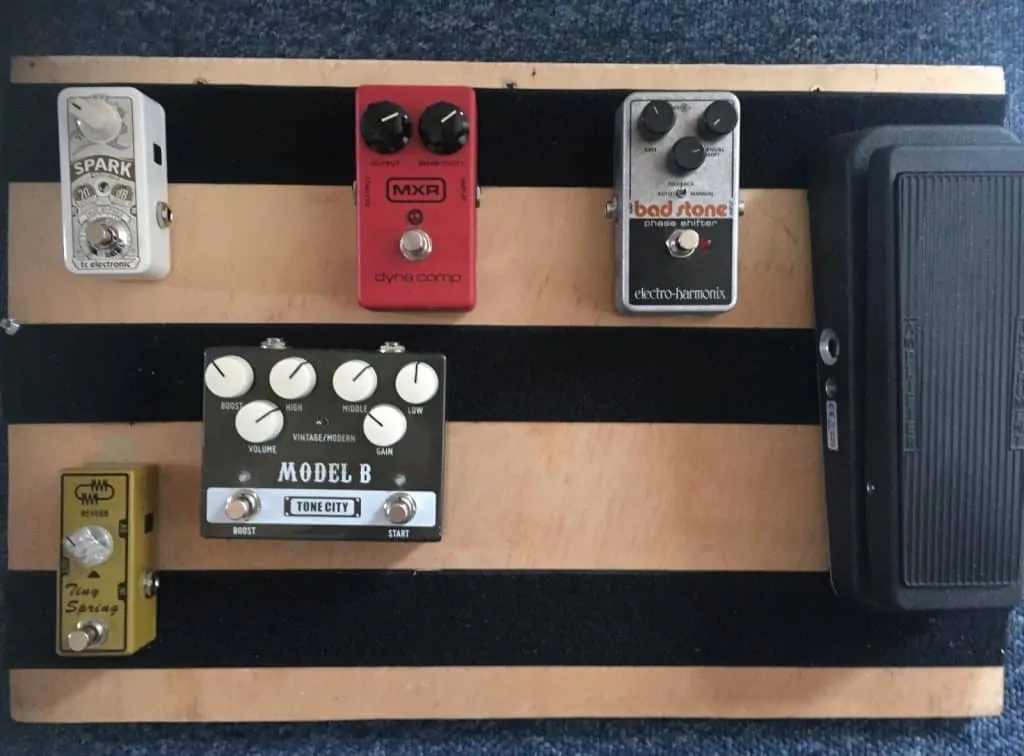
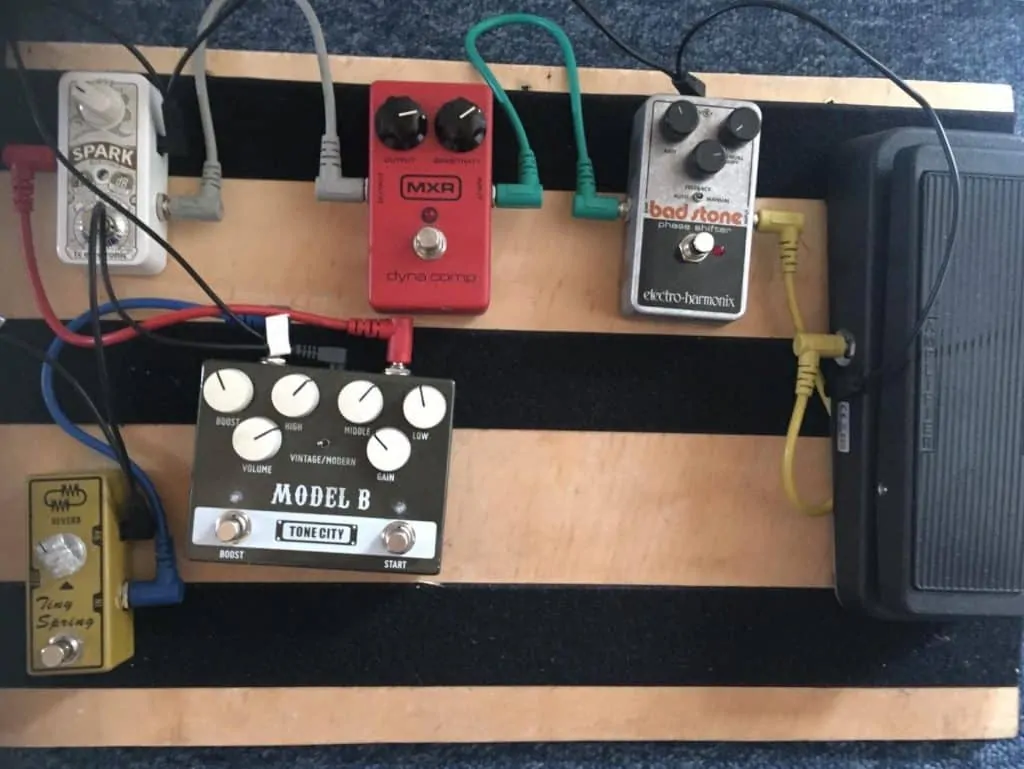
To help them understand and organise all of this, they almost definitely have a pedal board of some kind. It is typically a big board of some kind, where all of their pedals are organised and attached to each other. This will then be connected to power sources and, of course, the guitar.
Which Pedals To Go For
We’ve put together a lot of articles on the best guitar pedals on BeginnerGuitarHQ, going into detail about how to produce various effects and which specific pedal may be best for each one. In terms of creating a pedal board, especially a small one on a budget, you won’t be able to put them all in. You’ll need to refine your choices based on the sound you’re going for.
Funk: To get the most funky sound you can manage, you may want a wah, phaser and compressor.
Metal: If you’re looking for a metal sound you may want a few different types of overdrive, and maybe a volume boost of some kind.
Blues: If you’re going for this, maybe add a bit of fuzz, wah and clean boost in order to bring out your solos.
At the same time, there might be a lot of overlap. A tuning pedal, for example, might be a mainstay across all of your combinations of pedals, as would your favourite overdrive pedal. Make sure you make a decision on which pedals will be permanent on your board.
Choosing The Base
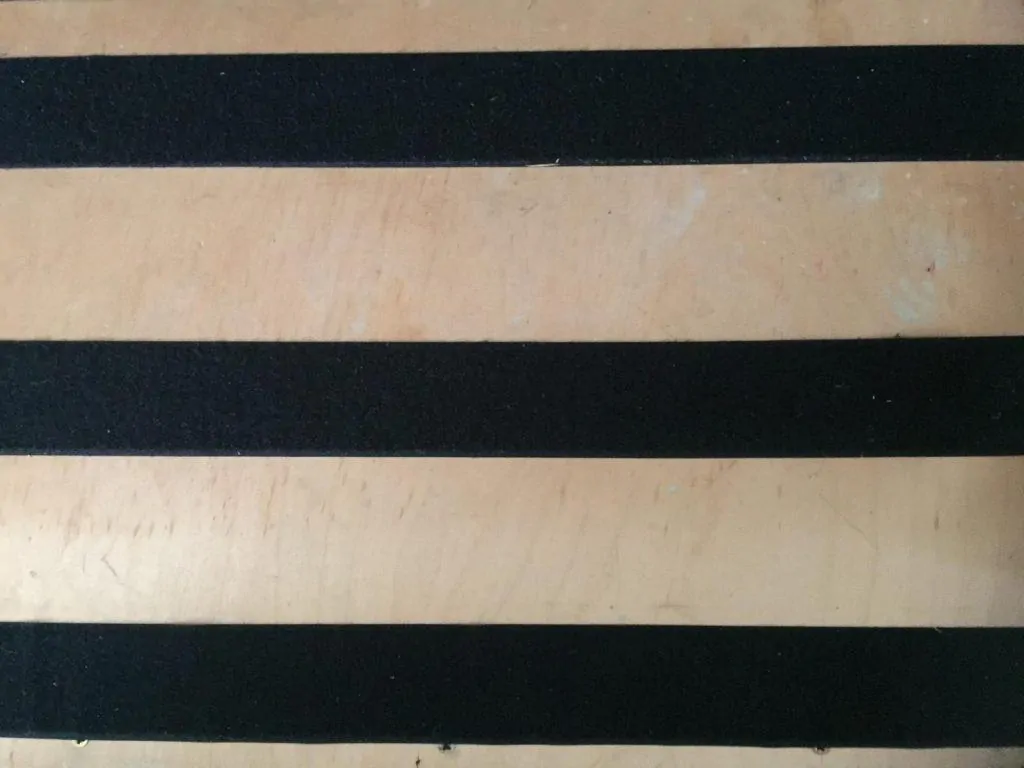
Arguably the most important element of the pedal board is… the board. If you don’t have one, you’ve essentially just got some pedals on the floor. You don’t want it to be too heavy, but you also don’t want it to be flimsy (you are going to be repeatedly treading on it, after all). Therefore, you can’t go for the cheapest thing you can find; but at the same time you don’t want to break the bank.
You also want to find a middle ground between building a complex system with layers and a frame, and just chucking a piece of wood on the floor. My personal approach is to find a base that is sturdy enough to support the pedals, without the need to go into the depths of difficult DIY. So essentially, you are just chucking a piece of wood on the floor; but a good piece.
Wood is a good option to use as your base material. It is quite heavy, but also nice and sturdy. Also, there is always the chance that you may be able to find your own bit of suitable wood. My board is made up of a big slab of wood which was just laying around unused. Obviously, you may not have access to this but if you do then it’s not a bad idea. For example, an unneeded shelf may be able to be cut up and turned into the basis of your board.
Plastic takes the alternate approach, as it is a lot lighter and easier to transport, but it doesn’t have the same sturdiness of wood. It’s a lot harder to just stumble upon a piece of plastic, though, so this one has the potential to be harder to access without paying. For example,
I’d suggest you avoid metal at all costs, as it is hard to manipulate and attach to, and would be really heavy and impractical; not to mention it probably isn’t best to have loads of electricity potentially pumping through it.
How To Attach Your Pedals
The best way to go about this on a budget is to get some Velcro. If you get a few pieces, you can stick one piece (per pedal) onto the board, and then one piece on the bottom of each pedal in order to connect them to the board. This will allow you the freedom to take them on and off whenever you want without it impacting the board.
There’s also an alternate approach, by putting a piece of carpet on the board. This gives traction that will keep your pedals in place, but you’ll have to put your pedals back on every time you transport your board.
There are a few options that I don’t really recommend, such as Blu Tack or two sided sticky tape, but they’ll still work up to a point. It mostly depends how budget you are intending to be.
How To Connect Your Pedals To Each Other
So for this key step, you’ll need to invest in some small leads that can connect all of your pedals to one another, keeping the noise and feedback between them to a minimum.
Then in terms of your order, there are a few rules you should follow.
- You’ll want your tuning pedal first, as this works best on a completely clean tone. After all, each pedal receives the signal that comes before it, but isn’t impacted by what comes after it. So if you go straight from guitar into tuner, it won’t be affected by an overdrive pedal, so long as this comes after.
- After this, you’ll want pedals that impact volume, such as overdrive, compression and wah. If they come too late in the queue, they’ll try and change the volume of the signal of all of the previous effects, as well as the guitar- this could be noisy.
- Tonal pedals come next. Those which create a tone should come first, for example, an octave shifter or acoustic simulator. Those which impact a tone should come next, such as EQ or suppressor.
- Ambient pedals come next, such as reverb or delay, as we want them to impact the entire sound of the guitar. If you put a delay in the middle of the signal path, for example, it’ll only delay the sound that came before it and won’t be impacted by the pedals set after it.
- Finally, loop pedals come dead last. These are recording sound, so setting them in the middle would be very impractical and would be impacted by the same problem of putting a delay pedal in the middle of the signal path: it wouldn’t pick up all of your desired sound.
Transporting Your Pedal Board
This is quite an easy one. If you’ve got all of your pedals permanently attached to the board, you could just put it in a bag big enough (and strong enough) to carry it around.
If you’ve gone down the carpet route, your pedals would be separate. You’ll need to make sure your pedals don’t get bashed around, so maybe have separate, more padded methods of transportation for those.
Also, if you’ve got a heavy, wood base, then I wouldn’t recommend taking them around by hand, maybe make sure you have a vehicle.
Things To Look Out For
- Make sure you don’t connect your pedals incorrectly or in a bad order, this could lead to them short circuiting, or simply sounding weird and not as intended.
- If your pedal board is big, be aware of some basic electronics rules, so you avoid any technical issues that could crop up from plugging so many things in at once.
- If you’d like to take a look at the perfect use of a guitar effects pedal board, then this video from Mike Love demonstration the perfect combination of effects.

Dan is a music tutor and writer. He has played piano since he was 4, and guitar and drum kit since he was 11.
He plays a Guild acoustic and a Pacifica electric. He has been sent to many festivals and gigs (ranging from pop to extreme metal) as both a photographer and reviewer, with his proudest achievement so far being an interview he has with Steve Hackett (ex-Genesis guitarist).
He ranks among his favourite ever guitarists, alongside Guthrie Govan, Jimmy Page, Jimi Hendrix, David Gilmour and Robert Fripp. His favourite genre of music is progressive rock, which he likes to use as a reference point in my teaching, thanks to its huge complexity in structure, rhythm and harmony. However, he is also into a lot of other genres including jazz, 90’s hip-hop, death metal and 20th century classical music.


