The Stratocaster is one of the most versatile guitars on the market. It’s used in many styles of music.
Contents
Guitar greats like Clapton, Hendrix and SRV played Stratocasters.
Now I don’t have the ability to play like Mr. Clapton but I have my fair share of strat parts laying around so I dove head first into putting together a “partscaster”. We’ll get into some of the process but before we get into it remember it’s your imagination and if you have the will to make it happen then it will!
It’s rumoured that Eric Clapton’s famous ” Blackie ” strat was a partscaster assembled from three different guitars.
What is a Partscaster?
In the simplest of terms It’s a Stratocaster made out of parts from other Stratocasters or new parts that have never been used. What’s great about that is you can customize it and make the guitar you have always wanted at a low cost compared to ordering a custom model from a well-known manufacturer. It’s not difficult to build and if you don’t have all the parts on hand, they can be located online or at the big chain guitar stores.
Now we’re not talking about DIY Kits or getting blank pieces of wood and cutting the guitar bodies from them and milling and shaping the necks. We’re talking about using existing guitars or ordering parts from places like eBay, Amazon or Stew Mac.
What parts did I have?
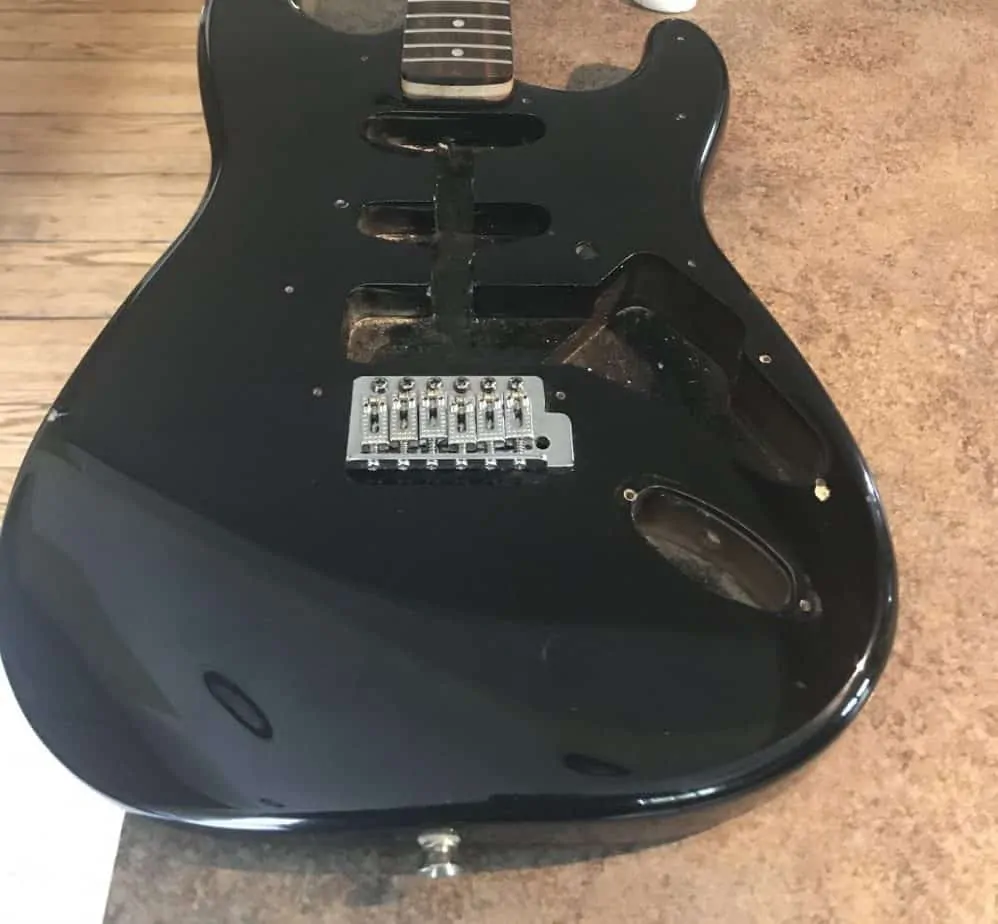
- Two stratocaster bodies
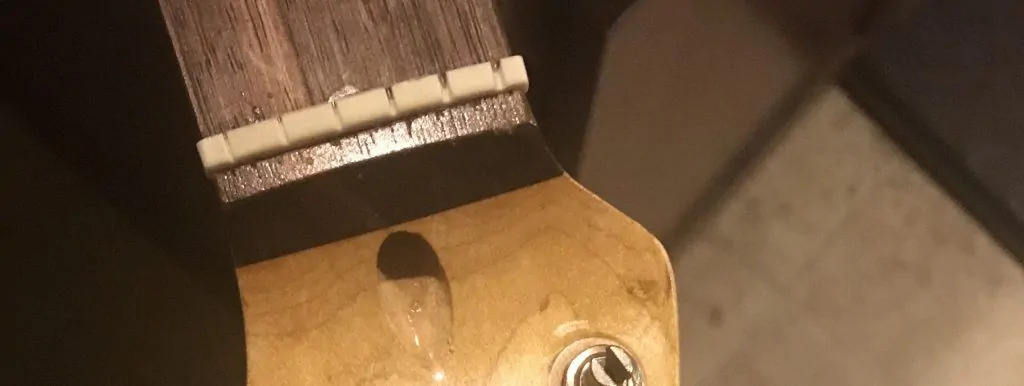
- A neck with a broken nut
- Some miscellaneous hardware, neck plate, tuners, bridge
Parts I needed.
- New pickguard, pre-wired (I am terrible at soldering so this makes life easier).
- New Nut
- Bridge saddles (I went with roller saddles, something different for me).
I needed saddles and knew that I wanted to try something different, so I ordered some cheap saddles from amazon and installed them on an existing bridge. No need to be intimidated by doing this, all that’s needed for this is a small Phillips head screwdriver. The height of the saddles are adjusted later with a small Allen wrench provided with the new saddles when you’re adjusting intonation.
I had the neck but the nut was cracked.
I had one stratocaster style neck but the nut was cracked at the low E string slot. I’m not confident enough in my luthier skills to buy a blank, so I searched out other options. There’s a lot of options here if you have a neck that needs to have the nut replaced. I looked at roller nuts which basically have a roller mechanism where the string lays and are metal.
There are also pre-cut and slotted nuts made of graphite and bone you can buy. I decided on a bone nut already slotted that needed minimal sanding to be installed on my neck. Sandpaper and glue are your friends here, take your time and watch as may YouTube videos as you can on this. It can be tricky. Standard size for a pre cut nut is 1-11/16, you may want to measure first before buying one to make sure.
My low cost build needed tuners.
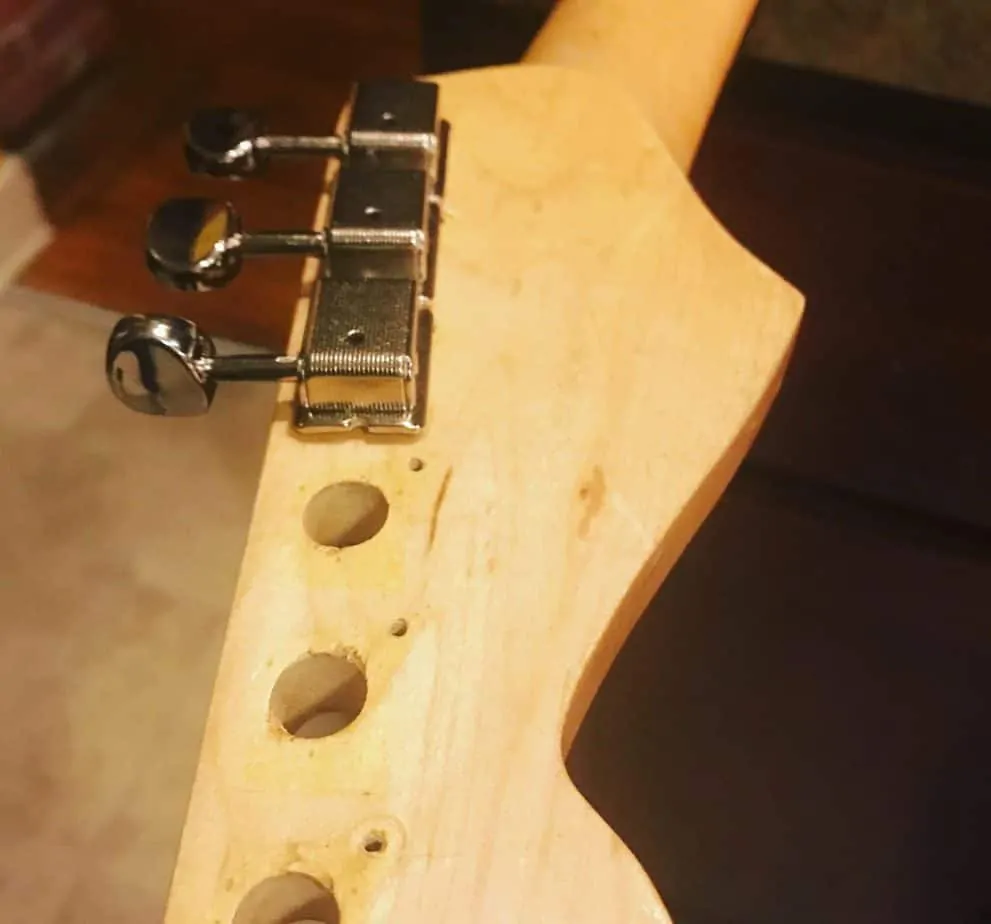
I love the way vintage style tuners look. I think it’s the way the stems look coming from the headstock and I also like the fact that you can tuck the strings inside them after they’ve been cut. The problem you can run into here is that modern necks are reamed for larger style tuners so you may have to find something to fill the hole to make vintage ones fit. I used painters tape folded many times over to fill up space. I would recommend on your first build to stick with what fits. This will require you to take some measurements on hole size and comparing that to what you want to use.
A drill, small drill bits and a set of small Phillips head screwdrivers are needed here. Again YouTube and making notes of what you have to work with are useful. These vintage style tuners that I used come individually or on a strip. I ordered the strip to make life easier but was shipped the individual ones. I went with it, challenge accepted. For my first time it wasn’t so bad.
Installing the neck.
Installing the neck requires a back plate and 4 screws, using a Phillips head screwdriver with care. If the neck was installed before on the body you’re using then you should have no problems as the hole will line up.
If you’re using a new neck then it might be in your best interest to pre-drill the holes taking care not to go too far as you don’t want to over drill into the fretboard. You may need to shim or make adjustments on the angle relative to the body and the bridge. I’ve used wood shims before and even guitar picks to do this. I didn’t need to do that this time as the neck was native to this body.
Prewired Pickguard.
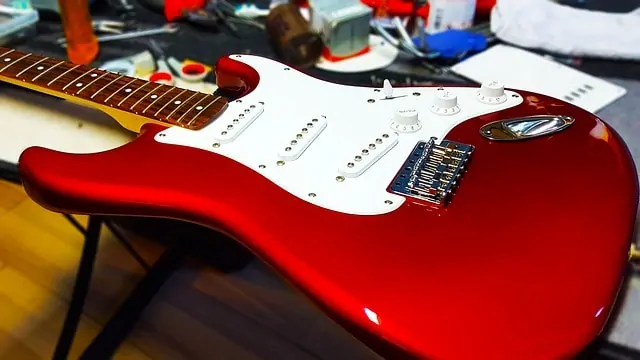
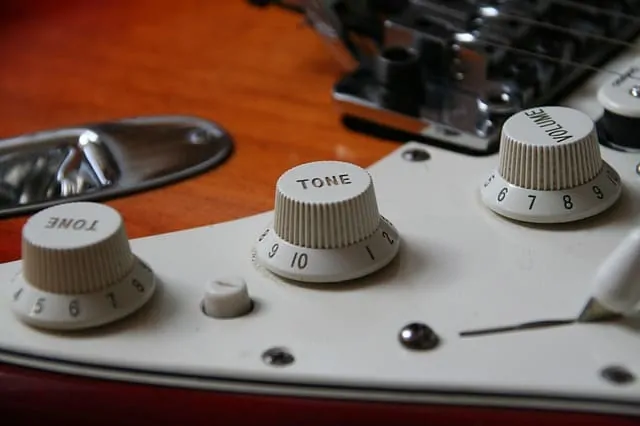
I went with a prewired pickguard with standard single coils already wired up and soldered to install on my stratocaster. The reason I did that was because my soldering skills suck. My hands shake and they are big. If you feel confident in your skills in this phase of your project then you have the opportunity to really customize your guitar.You can find a wide range of single coil pickups on the internet that will give you classic sounds to modern sounds. My suggestion here is do some research and think about what sounds you like, make your choice based on tastes.
When installing a prewired pickguard the only soldering needed is for your ground wire. In most cases you’ll find a spot on the back of the bridge near the springs to solder your ground to. It’s important here to have as clean a spot as possible when soldering. Again watch some videos on this process, it’s not really difficult and it’s probably the best route to go when just starting out or completing your first project.
A quick video of the finished product!

