Mixing and mastering are two crucial end-steps to producing a completed work. A common misconception, however, is that both of these terms are interchangeable, and therefore, result in them being glossed over and forgotten. This article aims to help you understand their importance, and why both steps deserve much-needed attention.
Contents
Mixing and Mastering – What’s the Difference?
As far as an individual song goes, mixing is the second last step in your process. This is where you adjust the levels in your song, combining elements such as panning, reverb, EQ, compression…etc. Your role in the mixing process is to tighten up the track, adjust conflicting frequencies, and emphasize certain elements.
Mastering more often than mixing gets overlooked because in this phase you’re adjusting the levels of several grouped tracks.
For example, let’s say that you’re producing for an artist who wants to release an album. You’ve finished each individual track, they’re all mixed and they sound great! However, when they are played back in sequence, they don’t sound that well together. An example of this could be because the bass frequencies are too high compared to the following track where there is very little emphasis on the bass. To fix this, one might reduce the low frequencies on the bass-heavy track or increase the low frequencies on the other to compensate. Adjusting both slightly may work as well.
The importance of mastering is that you want one song to flow to the next and not be in direct contrast with the others.
Music Production’s Natural Process
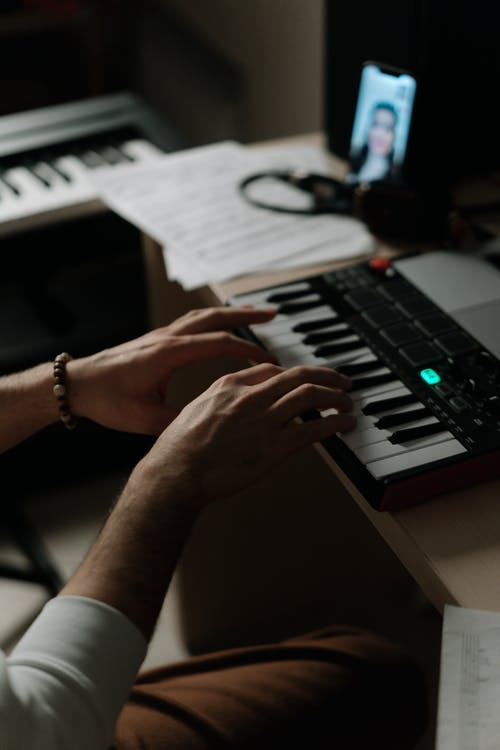
A man hashing out song ideas on a MIDI keyboard. The first step of music production.
Within the margins of producing music, there are 6 major steps to creating a finished work. These steps from start to finish are:
- Composition
- Arrangement
- Tracking/Sound Design
- Editing
- Mixing
- Mastering
This is a fairly common sequence of how the process of producing music unfolds, however, sometimes it may vary. For instance, the recording/sound design process could move into the composition process and provide the foundation for the song. The result in that may mean that the editing process gets shifted to an earlier slot in the production process. The important thing is defining your process, as nothing here should be taken as strict advice.
Let’s dive further into each of these steps and cover what they’re all about.
- Composition
This step might otherwise be known as the songwriting stage, where many ideas, themes, and recurring elements get hashed out. This is what ultimately defines the genre, style, and feel of a song.
It’s important to know that everyone has their own process in how they handle the composition/songwriting step. Personally, I like starting out with chord progressions to lay out the mood and overall vibe of the song that I’m working on, and building layers over that. However, here are a few other ways to go about it:
- Record ideas – this can be as simple as humming melodies to yourself or playing an instrument. This can be an easy way for you to generate ideas if you thrive with a more hands-on approach to things.
- Create a Rhythm – Sometimes it doesn’t take much more than a rhythm or a simple beat to get the creative juices flowing. In fact, some genres of music are more heavily recognizable through their rhythm. Eg. Dance Music, Swing, Waltz, and Ragtime to name a few.
- Transposition – Taking a melodic idea, or a chord progression and shifting it to a different group of pitches can sometimes help refresh your approach and encourage new ideas.
This stage, however, isn’t only limited to coming up with the main themes of the song, but other elements that give the song its unique characteristics, such as:
- Instrumentation – these can be anywhere from guitar, bass, percussion, and vocals, to presets/VST instruments.
- BPM/Tempo – How fast or slow the song is, measured in beats per minute. Is it more upbeat, hectic, and lively? Or is it more mellow, gentle, and calm? Is it steady? Or does the pace change?
- Key Signature – Defines the “correct” notes within the confines of the key we’re using for this song. Is it Major or minor? Does this reflect the vibe of the song that I am aiming for?
- Time Signature – Most modern pop music follows “common time” (the 4/4 time signature). Depending on the genre this could change. Waltz music follows 3/4, Doo-Wop music typically uses 12/8, and Rock music doesn’t always follow the norm and uses unique time signatures, like Pink Floyd’s “Money” which is in 7/4.
- Arrangement
The best way to visualize the arrangement is that of a “musical timeline”. With the ideas you’ve brainstormed, you’ll be arranging them, and possibly re-arranging them to capture your/the artist’s vision, kind of like building blocks. The idea here is that it’s like you’re telling a story, and the story should flow, and more importantly, make sense.
Working within a DAW (Digital Audio Workstation), it’s fairly standard to see this timeline laid out in front of you. If you’re working in Ableton Live, this may be somewhat different, as Ableton has two different views to choose from; session and arrangement.
When you’re at this stage in your music production project, it’s important to decide on the structure of the song you’re going with. When describing the structure of a song, it’s common we follow the A-B-C’s.
- A = Verse
- B = Chorus
- C = Bridge
Examples including these A-B-C’s would be:
- (AABA): Judy Garland – Somewhere Over the Rainbow as this song has 2 verses, a chorus, followed another verse. AABA is otherwise known as the 32-bar form. Deck the Halls is another example of this structure.
- (ABABCB): Radiohead – High and Dry follows this popular song structure. Verse, chorus, verse, chorus, bridge, chorus, outro.
- (ABAB): ACDC – Back in Black uses the verse, chorus, verse, and chorus structure.
Even when you have your structure figured out, you may even tweak the arrangement in ways to have a powerful effect on the listener. For instance, one of my favorite little tricks is to trim all of the tracks, except for the main theme, for a bar right before the chorus. Then have them all come back after that bar for a chorus that hits harder. Little elements like this are things you can utilize for more powerful arrangements.
- Tracking/Sound Design
You’ve got your main themes, and they’re all neatly arranged along the timeline; perhaps if you’re recording vocals, you have already written down the lyrical phrases or verses that you have planned to record. This is where you can bring feeling to your music, and provide a real human element to your overall song.
On the other front, if you’re an EDM producer or a beat-maker, then you may dabble in sound design, which may consist of utilizing wavetables or sampling.
Wavetable synthesizers like Xfer Serum, Massive X, and Spectrasonics Omnisphere are great for creating original sounds but also contain some very nice presets. If you’re strapped for cash, Vital is a great free plugin to use, that offers more content upon upgrading tiers.
- Editing
This phase of music production involves editing, anything and everything you have put together. This entails:
- Your audio recordings (This may include your chopped samples)
-
- Applying effects to your recordings/VST Instruments (Reverb, chorus, delay..etc.)
- Adding unique effects to change the auditory aesthetic of your song (Reverse effects, slowing down audio, glitch effects…etc.)
- Automation (Increasing/decreasing volume, panning left and right, EQ/filter effects)
- Rearranging (Readjusting all of the tracks and audio recordings to fit the arrangement appropriately)
- Adding on to the arrangement (This can include any FX, transitions, removing or adding layers that you feel need to be thrown on top)
- Fixing problematic areas. (Fixing popping/clicks, quantization… etc.)
- Mixing
The mixing stage is one that eludes many music producers. A common question you hear is, “how do I know if my mix is done?” or, “how can I tell if it’s mixed properly?”. The trouble is, there really is no right or specific way to mix music. As Nick Mira of Internet Money once said, “It’s not how to mix music, it’s how you mix music.” which beautifully sums up the dilemma that many producers face, in finding the right way you can mix your music, which contains a lot of trial and error.
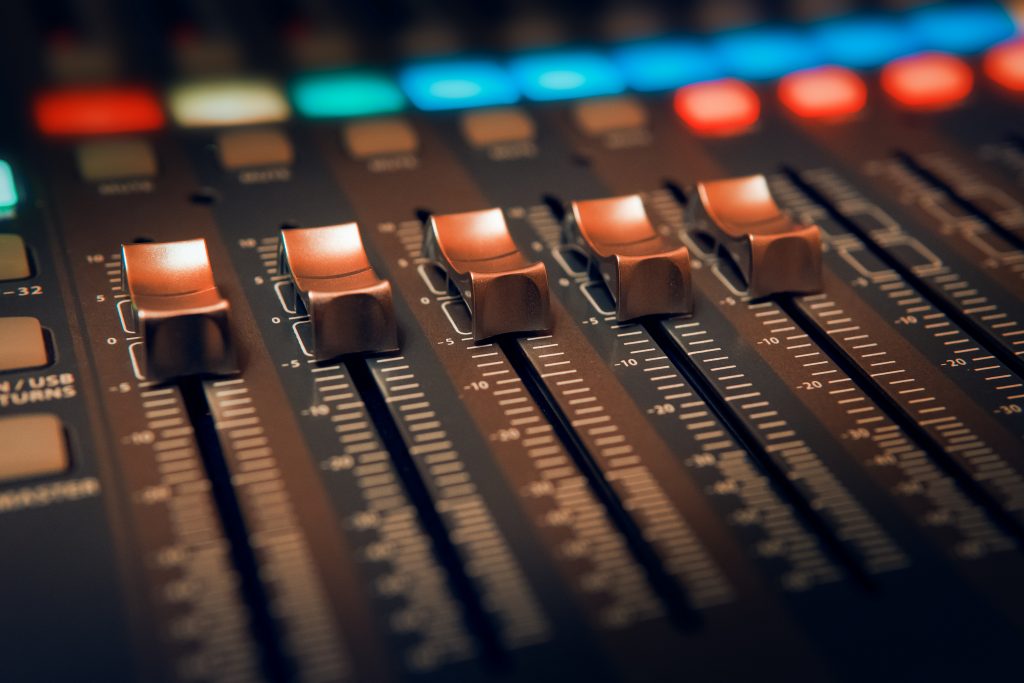
A closeup of a mixing board, showing the various buttons and knobs used for mixing.
The mixing process, in a nutshell, is combining the various layers and elements of your track to make a finished work. Mixing typically entails the use of panning, compression, EQing, leveling, automation, effects, and fixing issues with the track. The importance of this step is that every sound should have its place in the greater whole of the track, and not clash with one another. Unless that happens to be your vision, however, it may not be entirely pleasant to listen to.
On the front of mixing your music “correctly”, there are some general guidelines you might use, depending on the genre of music you’re looking to produce. For instance, hip hop places a lot of emphasis on the lower frequencies, so it requires a lot of space to be left for bass/808s. They also leave a lot of headroom for the vocals to shine through. In EDM, automation is fairly common. An example is when you hear risers (a sort of transition to the next section, like a white noise buildup). They also use automation to control the ambient features in the background, giving more life to your mix.
When you mix music, you’ll also want to make sure that it’s playable from just about anywhere, so it’s important that you playtest your mixes on different sources. These places could include, your studio monitors, headphones, car speakers, smartphone…etc. The reason why we check all of these different sources is that the output of audio frequencies is different in each one. For instance, if you spent all day mixing your music to sound great on your studio monitors, it might not be that good when you play it from a smartphone. The reason behind that is that your smartphone might be great at outputting higher frequencies, but many of the lower frequencies are cut, and that may make your mix sound very shallow. EQing these frequencies to be playable on different devices is essential.
No mix is perfect, in fact, many well-renowned producers still find problems with some of their mixes and little things that they would go back and change. However, obsessing over a mix is counterproductive to the process, and time is always a factor. Sometimes it’s better to move on and let it be.
As a final note, while you’re in this stage, be mindful of ear fatigue. This is something that occurs from prolonged exposure to sound. Ultimately, this will worsen your judgment, and hinder the quality of your mix. A good practice is to work away for an hour, then take a 10-15 minute break, then come back and assess your mix and gauge what needs to be kept or changed around.
- Mastering
This is the final stage of your production process. This step often entails a lot of what the mixing stage covers, and it’s more about “perfecting” that mix to sound good with the rest of the tracks it’s grouped with (like a grouping of tracks on an album). This can be anywhere from:
- Equalizing (EQ): An EQ can help you shape some sounds/frequencies and give them their own shelf space. Sometimes you will find that one track has a lot of lower frequencies than another, which can make it sound somewhat shallow in comparison. So you’ll want to either find a halfway point between the two or have one compensate for the other. In another case, maybe it’s too bright, in which circumstance, you’ll want to either tone down or trim some of the high-end away. You want to achieve a nice balance between each track without sacrificing the impact it’s supposed to have on the listener.
- Compression: Using some compression can be a great way to alter the dynamics (volume). This is used to bring a balance between louder and softer sounds, allowing both to be heard clearly. The way it works is that a compressor will have a ceiling for volume; this is referred to as the threshold. When the volume breaches the threshold, then it reduces the volume of anything past that level.
This brings us to the ratio, where you may decide how much the compressor will reduce the volume levels once the threshold is breached. Lower settings, mean less compression, while higher settings indicate more compression.
After you’ve set your ratio, you need to decide how quickly it reacts to these waveforms; this is called setting the attack and release. This should entire entirely on the waveform you’re working with, as well as the effect you’re searching for.
- Limiting/Maximizing: Provides a ceiling for all of your sounds, solving issues such as clipping and peaking. In other words, it limits the volume from going above a certain level providing more stability. A limiter shares similarities with compression, as it manages your dynamic range, however, it can provide a “hard stop” to any waveform trying to exceed a certain level. A maximizer, on the other hand, can do what limiters can, while increasing the volume level, while avoiding clipping. They also offer the option to tweak the timbres and add character to the mix.
- Stereo Imaging: An important step for making the most use of “space”, used in modern music. This can be achieved by utilizing stereo imaging. Back in the day, people used to playback music on a single speaker, which receives a mono signal. Nowadays, we rely on stereo speaker systems, which receive a stereo signal, that can playback sounds independent from each other. By using stereo, we can make the most of space within a 180-degree radius. This is where things like panning, delay, and phase cancellation can add some interesting elements to your mix.
.
- Exciters: Otherwise known as Harmonic Exciters, is a term for adding more character to sounds and instruments used inside of the mix by altering the timbre. This is achieved by adding harmonic distortion, taking advantage of frequencies across the whole spectrum. It’s better to use a harmonic exciter rather than relying solely on EQ, as that may result in adding unnecessary noise. An exciter can be used to revitalize old recordings, as well as enhance higher frequencies.
Methods to Improve a Mix
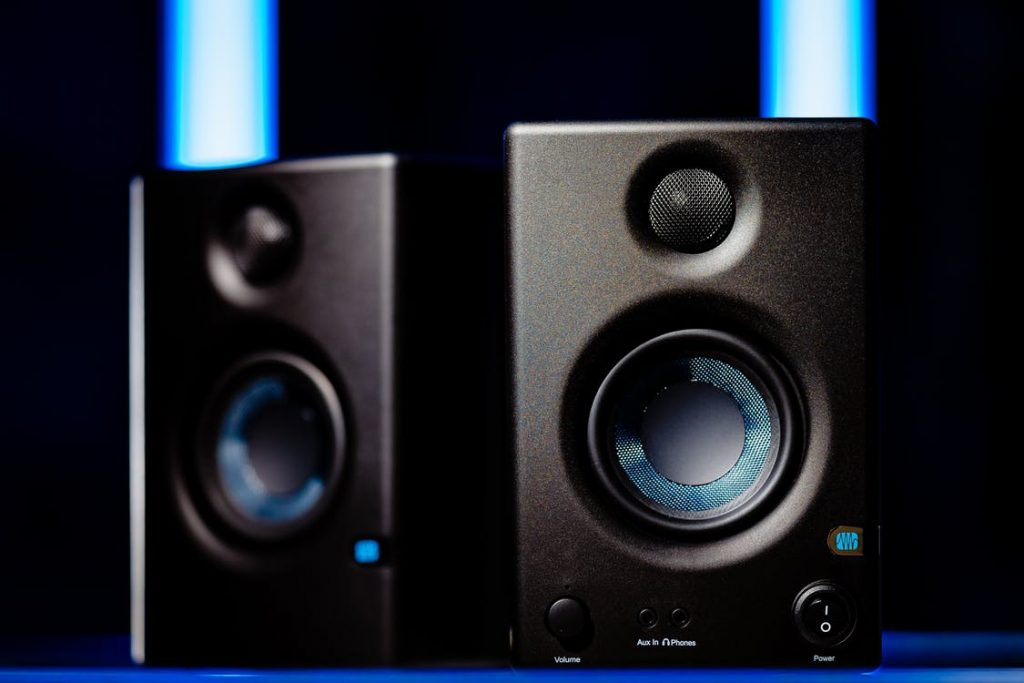
A pair of stereo speakers being displayed, essential as a playback source to judge your mix.
Just like anything else, developing good habits to improve your overall mixing process is a good start to making sure that your mix is done well. Here are a few habits that you may choose to add to your process:
Cut before your boost – Getting into the habit of cutting out frequencies before boosting anything when you’re EQing. You want to carve out space for other instruments, and make sure that there’s shelving and space for everything in the greater whole of the mix.
Use references – Is there a particular mix that you like? Does it match the type of music you’re working on right now? Sometimes it helps to listen to something fairly close to what you’re working on to give you a good to reference source and improve your own mix. VST plugins can help you compare your mix’s audio waveform to that of another track.
Don’t add effects (yet) – It’s sometimes tempting, that when you’re working on producing a song, that you can implement several effects and mess around with the overall characteristics. However, if you can find a way to make a track that sounds good on its own, then when you add effects later in the mixing stage, not only will your judgement be better, but you can take solace in knowing that sometimes less is more.
Make the most of space – Space is a luxury we can apply to today’s music. It can provide ambience and allow room for more layers of instruments. Making the most of aspects like, panning, reverb, delay, phase cancellation and dynamics can really bring a mix to life.
Do it your way – Everybody has their own process to music production. The important thing is doing what makes you feel comfortable and what improves your workflow. If you haven’t gotten that figured out yet, then perhaps hashing out a checklist/blueprint as to what you need to do in sequence can prove useful! This can be a good way to develop a routine that over time becomes your unique process to mixing.
Be okay with your mix – You can spend days, weeks and months trying to “perfect” a mix, only to have it not reach your expectations. Sometimes, the best thing you can do is to let it be, and to move on. This applies heavily if you have deadlines to meet, and if it’s holding you back from working on other projects. In other cases, sometimes it’s hard to know when enough is enough. It’s likely a done mix when you’re making very minor, and unnoticable tweaks, and are unsure of what else needs to be changed.
Conclusion
As an exercise try to see the process through, and practice, practice, practice. Most aspiring music producers will start a project, and not see it through, so the odd-time, when they get to the mixing and mastering steps, they are inexperienced, resulting in a sloppy mix. Mixing and mastering music is an art, and while it might be a tedious task, the time put into it, can make or break a song.
Remember it’s okay to make bad music. We all start from somewhere, and it’s by producing bad music, that we can make better music. Overcoming that mental hurdle is the first step, as John Steinbeck once wrote, “And now that you don’t have to be perfect, you can be good.” so, what are you waiting for?

