Are you ready to take your music production to the next level? Perhaps, you’ve started out with a simple laptop and a DAW, and are looking to enhance your space. Maybe you’re new to music production and aren’t sure where to begin. Either way, you’ve come to the right place. We’ll delve into the essentials for a person to get started with recording and producing, especially for those on a tight budget. Let’s dive in!
Contents
Why a Bedroom Studio?
Technology has advanced far from the days of needing to work within a brick-and-mortar studio space. In fact, much of the production process can now be carried through our home computers and laptops, allowing us to take our work to more suited environments, or on the go.
Having a space to be able to record, whether that be vocals or instruments, can really take your process to the next level, adding a human element to your music. However, if you’re new to music production, then it’s helpful to know that your environment can have a hand in how your recordings turn out. It’s important to take multiple things into account such as space, cost, and efficiency when setting up your home studio in your bedroom.
Lastly, a bedroom studio is where many great producers have started out. The ability to produce in an easily accessible, and somewhat isolated environment is essential for you to improve, and perhaps finish some song ideas floating around in your head. It makes a world of a difference.
Producers on a Budget
Let’s cut right to the chase, if you’re interested in setting up your own bedroom recording studio space, it’s fairly likely you are on a budget, and to be fair we all have to start somewhere! So what are the essentials to get you started on this endeavor?
- Computer/Laptop
- Your DAW of choice
- Audio Interface
- Microphones and Accessories
- Headphones and Studio Monitors
Computer/Laptop
A computer is the most vital part of producing music, as without it you couldn’t run your DAW or any other software and hardware to produce your music. This is why it’s important that you have at least the minimum computer specs to run the software with ease.
Here are the minimum computer specs needed to run your DAW and begin producing music:
- A 2.2Ghz quad-core processor (i5, i7)
- 64-bit operating system
- 8GB of RAM (however this can be bumped up to 16-32GB as your sample library
expands)
- 500 GB of internal storage (You can upgrade to a 500GB SSD in the future, which will make the process of loading things faster and more responsive)
- 500 GB of external storage (Great for storing audio files. It is also great for backing up your work. It’s not required, but heavily recommended)
- At least a 13” monitor (Dual monitors would be an asset, as it may improve your workflow and create less of a headache)
- Any standard mouse (Preferably one that has a scroll wheel. It’s not essential, but an asset)
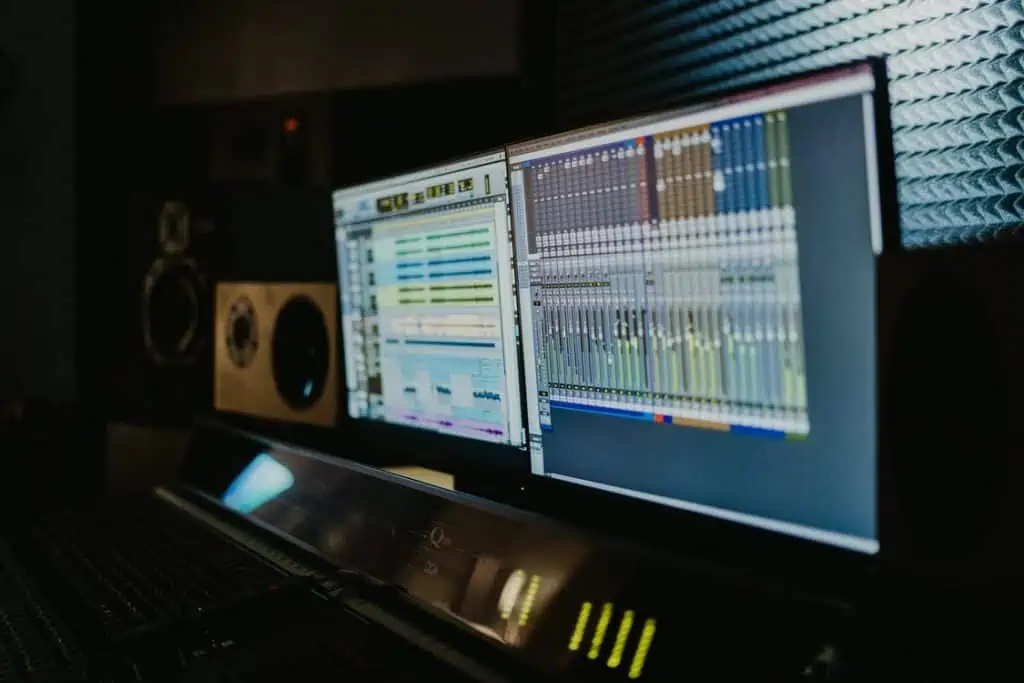
DAW – Your DAW (Digital Audio Workstation) is the software that you will be spending hours upon hours in to produce music. Since you will be spending much of your time in your DAW, it’s important that you choose one that’s the right fit for you. There are many different options, much of which do the same things but go about it slightly differently. This can all come down to different aspects, such as its layout, the stock plugins, and handy features that may come built within.
If you’d prefer to learn something simplistic, DAWs like FL Studio are a great choice, and it’s also used by many beat-makers and producers, as it comes with excellent stock plug-in options. However, Ableton Live may be your preference if you’re looking to produce EDM, hip-hop, DnB, and even DJ music live. There are many other options out there to choose from. The best service you can do for yourself is to do your research and demo some of these different DAWs to see which one you like best. There are no wrong answers.
Audio Interface
As someone interested in setting up a recording studio, an audio interface will be your best friend. There are several different audio interfaces out there, such as the Scarlett 2i2 by Focusrite which offer multiple inputs allowing more instruments to be plugged in. Each input will typically come with a gain knob so you can tweak the volume parameters of each instrument separate from each other. These also come with an area to hook in studio monitors and headphones, with their own adjustable volume knobs as well.
A simple audio interface is fairly inexpensive but can improve your process, as well as keep your space organized.
Microphones & Accessories
It’s fairly difficult to record without a microphone, making this essential for your space. When you’re starting out, you may only be able to afford a single microphone. It’s best to choose carefully what you plan to record and hone in on that. For instance, a condenser microphone is fairly versatile and can record most things. However, you may prefer a dynamic microphone, as these are great for vocals, guitar amplifiers, and generally anything with a high output volume. Finally, the ribbon microphone, which provides a lot of sound quality and detail to instruments, and vocals. However, if you choose the ribbon microphone for vocals, be very careful to avoid having it exposed to large gusts of air, as it may damage the ribbon.
USB microphones are generally not recommended for the studio unless you happen to be buying a higher-end one. Although they are compact, you will be sacrificing quality for convenience. This sacrificed quality may come in the form of unwanted noise and latency. A USB microphone is also incompatible with the audio interface, putting a ceiling over the things you can do compared to having an XLR microphone.
Fortunately enough, there are fairly cheap options in the way of condenser, ribbon, and dynamic microphones, making this all the more achievable.
As for the accessories, investing in a pop filter can help in terms of vocals. When you speak or sing, it’s the words containing letters like b, d, and g that may create a sound that can have a harsh popping effect. There are known as plosives. A pop filter can reduce or completely remove these plosives, making recordings more pleasant to listen to. Other optional accessories you may choose to look into eventually include: a mic stand, higher quality microphone cables, a portable vocal booth, or a Cloudlifter mic activator.
Headphones and Studio Monitors
The main feature you will want to look out for is the quality of the sound you are going to get. For instance, it’s highly recommended that if you are a producer who will also be recording, you get two different pairs of headphones. A pair of open-back headphones, and a pair of closed-back headphones.
These two types of headphones each serve a different purpose in regard to the stages of the music production process. The best option for a producer, especially one who is in the mixing and mastering stages is the open-back headphones. These headphones excel in replicating a flat frequency response. What that essentially means, is that when you’re monitoring your mix, you are hearing a fairly accurate representation, with fairly minimal changes to the audio. We say fairly, as no open-back headphones are perfect at replicating this flat frequency response, however, some get pretty close.
Furthermore, another reason you would choose a pair of open-back headphones over a pair of closed-back headphones is, that a closed-back pair will seal in a lot of the audio. This results in a lot of the lower frequencies getting boosted, giving you an inaccurate representation of your mix. However, closed-back headphones are excellent for recording because of their ability to hold sound in. This prevents sound from leaking from the headphones into your microphone, something that open-back headphones tend to do.
The ultimate question now arises: “headphones or studio monitors?” and the answer lies within the environment you will be recording in. If you are a bedroom producer, then it’s likely that there is very little that studio monitors can do, even if you buy a very expensive pair. As soon as the sound leaves the monitors, if your room is not acoustically treated, it will sound fairly poor. In this case, a pair of headphones would be ideal. It’s important to note, that whatever decision you come to, a pair of closed-back headphones will always be needed for recording.
Cheaper Methods
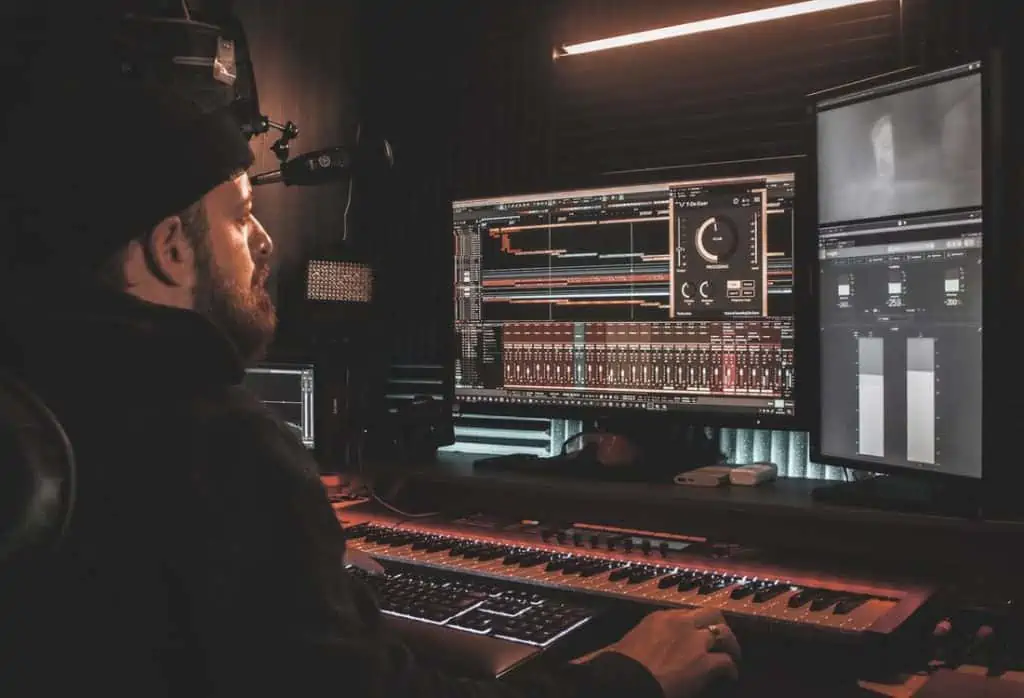
Music producer in a studio working on different aspects of the song.
You may have hit a wall where you want to improve your recordings, however, you don’t have the space or funds to invest in a ton of upgrades to your studio. Here are a couple of ways you can improve your recordings:
Reduce environmental noise – take a listen to your environment, if you have a fan running in the background, or perhaps a tv on in the background, turn them off. This will improve the quality of your recording by reducing unwanted sound getting picked up by your microphone. However, in the way of outdoor traffic, or loud neighbors, there is very little you can do, but try investing in some soundproofing.
When in doubt mix it out – sometimes you’ll have an excellent recording, but the issue lies with the buzzing you hear in the background. Fortunately enough, you can use an EQ on the recorded audio frequencies which may help with that. Of course, it may be hard to get it to sound good, or completely unnoticeable, however, with time and effort, you stand a better chance of saving a recording.
To avoid this trouble in the future, it’s important that you keep the microphone close to the vocalist, or musician and avoid the places that could be causing this feedback to be picked up. If possible, do your best to eliminate or reduce the sound.
Adjust your microphone placement – There are a few different types of microphones out there, so it’s important to be aware of your microphone’s limitations, and where it performs best so you can use that to your advantage.
Be mindful of things like the proximity effect, caused by low frequencies being amplified from getting too close to the sound source. It is also beneficial to invest in a pop-filter to reduce plosions and their effect on your recordings.
If you cannot change your environment, the next best thing you can do is to find small ways to reduce the causes of unwanted sound. Performing multiple sound tests, and tweaks before doing a serious recording can help you out in a huge way.
Moving Out of the Bedroom
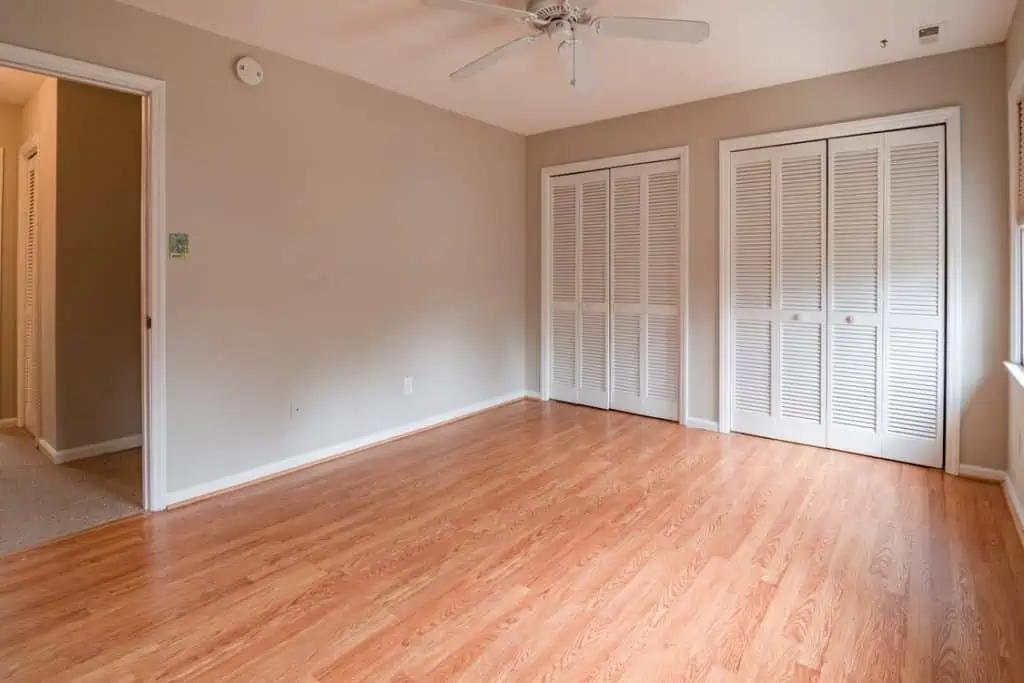
A big empty room with different acoustic features
If you have the luxury of choosing a place to set up your studio, you will want to check for things like acoustics, and if the environment will make it difficult when you have to record. You will also want to check if the floor is heavily carpeted, floor-to-ceiling drapes over windows, and furniture as these can all absorb sound and make the space sound dead. Performing a simple “clap test” can help you get a feel for how the room responds to sound.
Getting Creative
There is nothing like a raw vocal recording to send chills down your spine or a clean take on an acoustic guitar that really captures the contrast between its bright and warm features. Between the producer and the musicians involved, there is another factor that makes for a great production: the environment the recordings took place in. Artists have recorded themselves in all sorts of creative places, including the bathroom, stairwell, and even in an Apple store. Each of these environments holds different characteristics that give the recordings their unique sound.
In the case of a recording studio, these characteristics also play a part which we use to not only improve how our recordings sound but get an accurate representation of the audio when played back on studio monitors. It’s something to be mindful of.
Future Investments
These are all optional choices for somebody starting out, however, the day may come when you move out of the bedroom and get a dedicated space solely for recording. These are things you will more than likely need:
- Acoustic Treatment
- MIDI Keyboard/Controller
- Instruments
- Preamp
- Cables
Acoustic Treatment
Having the correct acoustics in a room can allow you to trust your ears and make well-informed judgments on your mix. Not only that but having poor acoustics can really make or break a recording. Flat surfaces like windows, tabletops, hardwood floors, and even your walls are all reflective surfaces for sound, thus creating “reverberation”. Try performing a clap test in several rooms of your house, you may notice a tinny sound following after – this is reverb.
Acoustic Paneling can absorb and control the reverb in a room, reducing unwanted sound. In fact, they may come in a few different forms:
- Wall-mounted – This kind does as the name implies, staying on your wall.
- Free-standing – These have two legs that are supporting them from the bottom, and create a wall, which may be ideal for rooms that cannot serve as a music studio alone as these can be adjusted and angled to control the reflections.
- Ceiling panels – These square panels get mounted on your ceiling, helping reduce ambient noise. You may even opt for ceiling tiles, which are another great option for reducing noise.
Sound bounces off flat surfaces; so when it hits a wall that has acoustic paneling, it’s reducing the effect the sound has on that surface. Acoustic paneling, however, is not the only type of treatment to consider:
- Bass traps – These, as the name implies, help manage your lower frequencies. Bass traps are placed within the corners of a room, as that’s where much of the lower frequencies wind up. You have other options, in regards to a standard bass trap, as others may be better at absorbing your high and mid frequencies as well. Ultimately, having bass traps will help you make these frequencies sound quieter in your studio space.
- Diffuser panels – These three-dimensional panels help liven up the sound within the space. The panels contain bits and pieces that will stick out at different angles, allowing sound to reflect off from it, and scatter in different locations.
- Ceiling clouds – Much like acoustic paneling, these however stick to the ceiling. Regardless of whether the ceiling is high or low, you will likely want these in your studio space for reducing ambient noise.
It’s highly recommended that if you live in a busy area, whether that be within the same building, or outdoors, you look into eliminating additional noise. This can be achieved by modifying your door and door space, adding carpeting to the room, and layering your walls.
A bigger room will often require less treatment than a smaller room, as a more confined space makes it easier for sound to reflect off of these flat surfaces due to them being closer to the source of the sound.
MIDI Keyboard/Controller
Having one in your bedroom studio is completely optional, however, you may someday choose to invest in one to help improve the creative process. A MIDI controller may come in the form of a keyboard, drum pad, or various other creative innovations. MIDI controllers can help you produce your music with a more hands-on approach, which may be helpful if you have a musical background, or are rhythmically inclined. You simply hit the record button and get to playing. The best part is if you make a mistake, you can choose to record again or most DAWs will allow you to quantize your melody/rhythm to the grid. Which may/may not be for you as it can remove the “human feeling” behind a recording.
Preamp
Adding a preamp to your studio can help you apply additional gain to things that inherently need it. An excellent example of a device that requires this gain is a microphone. Microphones naturally contain a fairly low signal, due to the nominal level, it was designed for. Therefore, a preamp can help you increase the volume of equipment like this, beyond what it would naturally be capable of producing.
Fortunately, you don’t need one immediately, as most DAWs have one built-in, and do the job fairly well. If you would rather go the way of a digital preamp, there is always room to upgrade in the future, as it’s all right at your fingertips.
Cables
Needless to say, cables are essential to making your recording setup run smoothly. In fact, it’s good to invest in multiple cables for different purposes.
It’s highly recommended that you have at least one long XLR cable for your microphone, and a couple of shorter ones for your monitors, as your monitors will always be in the same place. Investing in higher-quality cables can be very pricy, however, they are often worth it as you are paying for something built-to-last, as well as something that provides little to no feedback, or cuts in the audio while recording.
Finally, it’s great to invest in backups, as anything can happen and it’s always good to come prepared and not waste valuable studio time.
Conclusion
Setting up a recording studio can be quite a loaded task, especially if it’s your first time, but in the end, it’s very rewarding. You cannot compete with a studio space that’s been treated, versus an untreated space hindering your recording quality. As a bedroom recording producer, while you may be limited in ways to compensate for this, it still does make a difference. Not only that, but you will be on your way to making better recordings, versus doing nothing at all. By taking advantage of what you have, carpeting, furniture, and investing in some cheap wall panels, you can have a fairly decent studio space in the making. Most importantly, nothing has to be perfect, as we all have to start somewhere. So what are you waiting for?


