The idea of beat-making excites you, but for many of us, learning something new can be intimidating. Getting started with beat-making software doesn’t have to be. In fact, it can be a very rewarding artistic outlet that you can pour hours into, and not feel a shred of regret. Let’s dive in!
Contents
What is Beat-Making?
In a nutshell, beat-making is literally the art of making the beat for a song. The beats that a beat-maker would produce consist of more than percussion, but chords, layered vocals, synths, and other instruments may be present as well. Most beat-makers compose a beat with an artist in mind, something that emulates their style and vibe. This is what separates one beat from the next, and where a beat-maker has to utilize good judgment in giving the beat good direction. Decisions like instrumentation, FX, structure, tempo, melodic content… etc. come into play under the umbrella of being a beat-maker.
At its roots, beat-making may feel/appear to be simplistic, however, it takes a lot of time and dedication to compose a beat that sounds great.
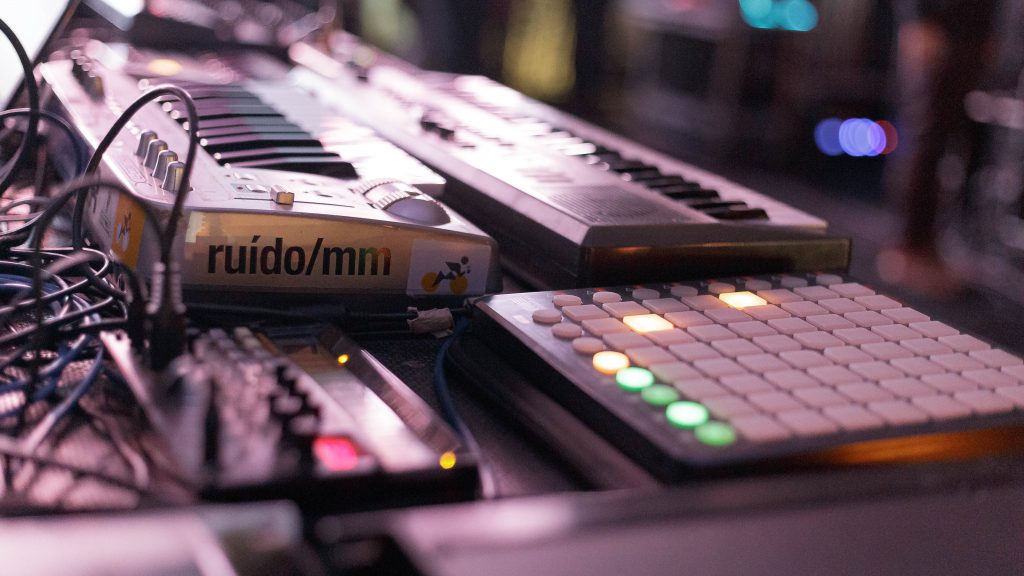
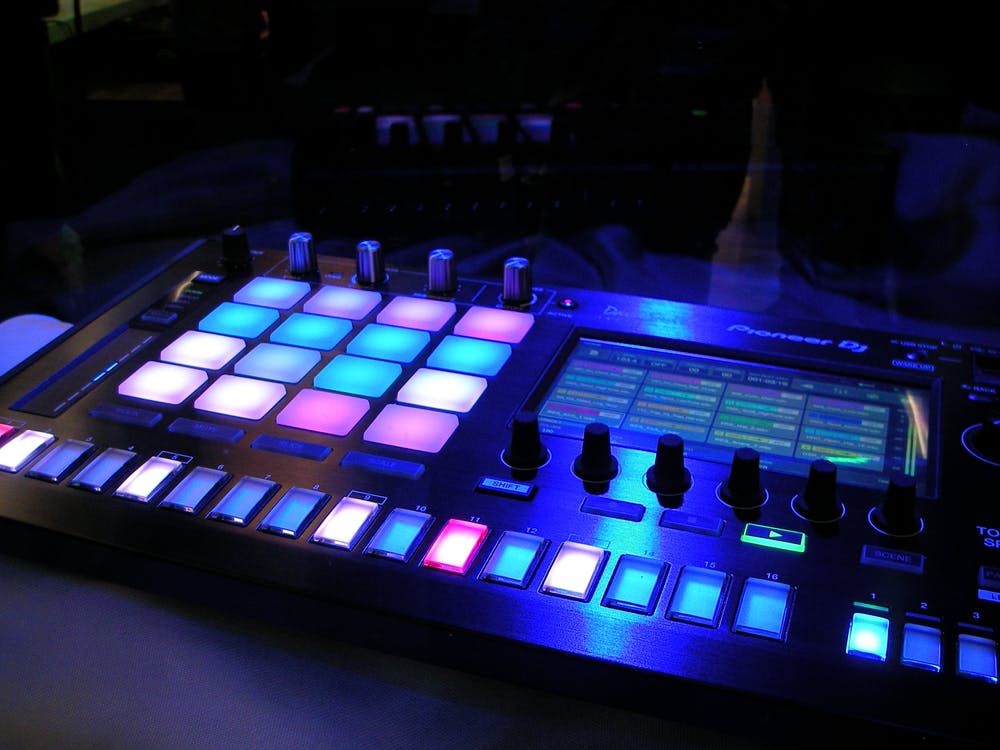
Music setup with midi controllers (keyboards and launchpad) ready to go.
Beat-Making VS. Producing
There is somewhat of a thin line between what separates a beat-maker from a music producer. However, this only applies to what happens within the studio. On the surface, both have to make a lot of critical decisions involved with what they are producing:
- Instrumentation
- Vocals
- Melodic Content
- Mood
- Rhythm
- Dynamics
- Structure
- Tempo
- FX
- Mixing and Mastering
Beat-makers usually start their career off in a home studio, with the DAW of their choice, and sell their beats for money. There are several platforms online that can help you set up shop to achieve this step. The beat is a beat-maker’s priority, once the beat is sent off, their work is done. The production process involving your finished beat is someone else’s job, typically the music producer.
A music producer is a vital role the artist heavily depends on. While a beat-maker, most times, is indirectly working with other artists, a music producer works with the artist from start to finish. The music producer’s priority is to make sure that their vision of the project comes to life.
First, to achieve this vision, they may reach out to a beatmaker, or another producer to make their desired beat. The artist will need to write down some lyrics for the next recording session, and it’s the producer’s job to make suggestions on what lyrics should stay or be vocalized and worded differently. If the producer has the luxury of working with a sound engineer, then they may have some input on the overall structure of the beat, and things that need to be improved.
A music producer can also wear many other hats, like developing an artist’s brand, and changing an artist’s look and sound. Forming connections, and getting the right people for the job to see the project through. (Typically someone who has the skills that they don’t). Lastly, maintaining enthusiasm towards the project and keeping the wheels turning.
A producer carries a lot more responsibility than a beat-maker, however, always remember, that a lot of successful producers once began their career as a beat-maker.
Why Beat-Make?
Beat-making is fun. It’s that simple. If you love music, however, you don’t know how to play an instrument, and you don’t have the time to learn, beat-making is something that you can pick up fairly easily.
Easy to learn, yet hard to master, as they say.
It can be an expensive hobby to get into when you consider the number of VST plug-ins that exist out there to make virtually any sound you’re looking for. The good news is that there are a number of legally free VST plugins that you can use to get by. These may come in the form of stock plugins (ones that are included with your DAW of choice), and newer releases of free VSTs that you can obtain from trusted sites.
Getting Started – Essential Tools For Beat-Making
When it comes down to it, if you have an ideal place to work, with very little that could distract you, you only really need three things to get started. You need a computer, a nice pair of headphones and you need your DAW of choice.
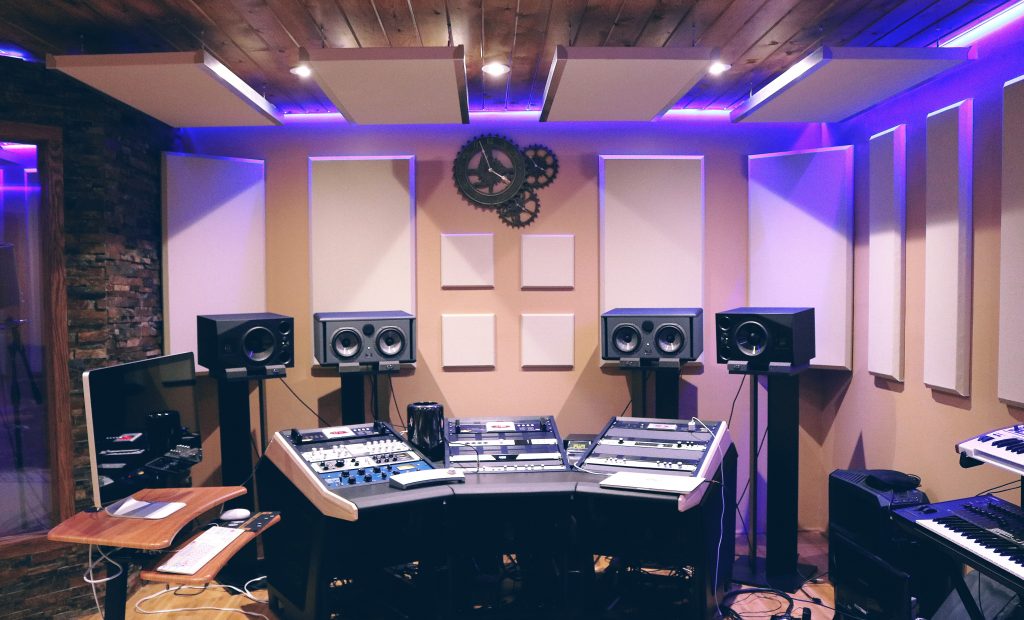
An expensive studio setup, showcasing the goal we hope to achieve with our own setup.
Computer
It doesn’t take too much to run music production software, and while it’s not necessarily something you will want to cheap out on, it’s a way for you to get started. If you are looking for the bare minimum computer specs, here are some to aim for:
- 2.2Ghz quad-core processor
- 64-bit operating system
- 8GB of RAM (16-32GB of RAM would be useful if you have a large sample library)
- 500GB of Internal Storage (If you can get a 500GB SSD, that’ll be faster)
- 500GB External Storage (Would be an asset for storing audio files. Not required)
- At least a 13” Screen (If you can get dual-monitors, that may improve your workflow)
- Standard Mouse (Preferably one with a scroll-wheel)
The best part is that all of these parts are temporary, as you are welcome to upgrade and swap these out when you can afford a better alternative.
Headphones
Headphones are an absolute necessity when it comes to beat-making/producing music. Of course, when you get to the mixing/mastering stage, you will want to test your mix on more than just headphones, but studio monitors, your smartphone, and even car speakers. However, I digress. The reason headphones are recommended, especially for a beginner, is because you likely don’t have that high-end, acoustically treated studio space, with excellent studio monitors to boot.
Headphones are a great, and cost-effective way of isolating yourself with your mix, especially when the space around you won’t permit that. Here are options to make your production process more efficient.
-
- Open-back headphones are useful for the mixing/mastering stage. These types of headphones offer the listener an equal output at all frequencies, which is otherwise known as a “flat frequency response”. Of course, no headphones can provide this perfectly, some are naturally better than others. However, some do get fairly close. There are some very trusted brands with headphones capable of this feat, such as Sennheiser, Audio-Technica, and AKG to name a few.
- Closed-back headphones are mainly good for the recording process if there’s a microphone involved. If you want to produce a clean recording, one where the audio from your headphones isn’t getting leaked into the microphone, then closed-back headphones are your best choice.
However, it’s important to note; that if you are only able to afford one pair, and you’re simply looking to beat-make, then your best option will be to stick with the open-back headphones. Closed-back headphones don’t give you the “true” sound of your mix, as it’s more exaggerated on the low end. This is caused by the pressure being trapped inside the headphones. Ultimately, using these headphones for mixing will hinder your mix.
- Other options to improve the listening quality may include using a high-grade headphone amplifier, headphone optimization software, and plug-ins that assist you with leveling your mix.
DAW (Digital Audio Workstation)
A digital audio workstation is the most important part of beat-making and music production. There are many different DAWs to choose from, and it all comes down to preference. Some DAWs can do things better than others, or at least more efficient and user-friendly. You have DAWs like Ableton Live, FL Studio, Logic Pro, Reason+, Pro Tools, Maschine, Reaper, Cubase, and many more, which we will go into more depth later. The point is, that you want a DAW that does what you’re looking for, with an interface that you can appreciate.
Optional Additions
If you feel invested enough, and would like to go the extra mile, there are a couple of more things you may decide to add to your setup: a MIDI controller, and an audio interface.
MIDI Controller
A MIDI controller gives the producer/beat-maker a more “hands-on approach” to composing their music. One of the most common forms of these is a MIDI Keyboard. These often vary in size, anywhere from 25 keys (2 octaves), to 61 keys (5 octaves). On top of being able to play MIDI instruments from the controller, some might come with additional features, like pitch bend, modulation, velocity, arpeggiation, and even launchpads.
Of course, there are some standalone MIDI Controllers that focus on these specific features and don’t take the form of a keyboard. Controllers such as Push from Ableton, or Novation Launch Control XL are some examples.
Audio Interface
An audio interface will typically come in handy for those who have a pair of closed-back headphones or a speaker setup. If you need to monitor live vocals or instruments, an audio interface can help lower the latency upon playback.
To explain this in further depth, let’s talk about buffer size. Buffer size relates to how long it takes for your computer to process audio from either your soundcard or audio interface.
Your buffer size can be set in one of two ways, which will depend on your interface; milliseconds (latency), and samples (sample rate). If we set our buffer size to milliseconds, then we are controlling the latency measured by time. However, if we set our buffer size to samples, then it’s based on the samples processed per second.
To put things into perspective, if we set our buffer size to 512 samples, and our sample rate to 44.1/kHz, then the equation would be: 512 Samples divided by 44.1 = 11.7 ms of latency.
The side effects of changing your buffer size are usually a trade-off. For instance, lowering your buffer size can improve latency, but lead to potential pops, glitches, and drop-outs (short loss of audio signal). On the other end of the spectrum, increasing your buffer size can lead to increased latency (delayed audio upon playback), but sound more stable on playback, naturally less glitchiness. You will want to find a healthy balance between the two.
Now that we’ve gone through latency, here are some other useful perks to getting an audio interface for your setup:
- It allows you to connect multiple microphones at once. Any XLR microphone (analog) will work with an audio interface, as these don’t plug directly into the computer. However, if you’re using a USB microphone, you will be out of luck as USB microphones are of the “digital” variety and aren’t currently supported by an audio interface. In this case, if you’re not in the market for an XLR microphone, it’s better if you just stick to plugging your USB microphone into your PC.
- A lot of audio interfaces provide support for instruments aside from microphones. Instruments can include guitar, bass, and keyboards.
- Excellent volume control all in one place. You can change the output volume of your speakers to the output volume in your headphones, (and depending on the audio interface, you may have the option for more outputs).
Selecting the Right DAW For You
There are many different flavors of DAWs (Digital Audio Workstations) to choose from. The best thing you can do for yourself is to choose one that’s right for you. You’re going to be working within it for hours on end, so here are some things to consider:
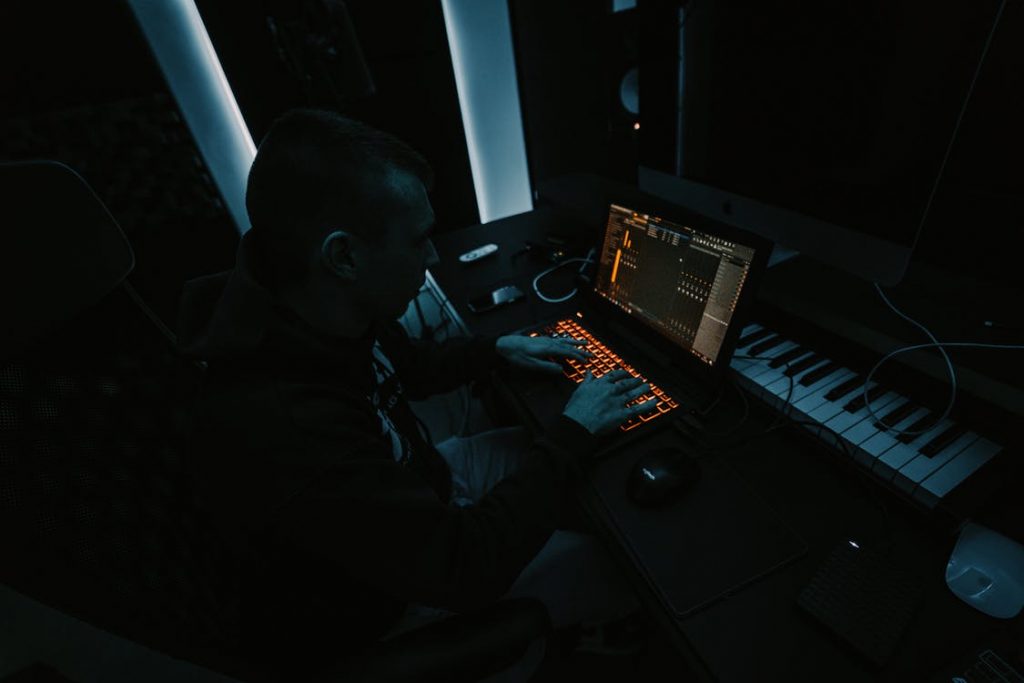
Producer in his studio making some music on FL Studio
- Your Operating System – If you are running a PC or Mac, you may have different options. For instance, Logic Pro runs exclusively on Mac devices, however, Cakewalk runs exclusively on Windows. However, you’re welcome to ignore that and go with a DAW that runs on both operating systems. This is good for the simple reason of collaboration and making sure things run smoothly for both parties.
- Your Budget – How much are you willing to spend? Normally, when starting out, not a whole lot, but that can open the doors just enough for you to get started on some beats. Sometimes paying the bare minimum is worth its weight, as DAWs like FL Studio come in different tiers offering you more with each level. This can lead to you investing more and upgrading over time.
- Your Vision – What type of music are you looking to produce? How do you want to achieve that? Some DAWs are set up efficiently around different aspects of music production. Some make it easy to chop and edit samples into loops, some put a lot of emphasis on their recording features, and others are built more around composing great works. In a lot of cases, these DAWs come with stock plugins to make this possible. You want to get the most bang for your buck. It’s best that you do a lot of research on your DAW of interest before spending the money on it. Trying a demo, and watching tutorials online is a good start.
- Organization – This one doesn’t matter much in regards to how nice it looks, but how it makes you feel. For instance, one might not like the overall feel of Ableton Live, it comes with two different layouts; session and arrangement view and some people might not get it. Then they may come across a different DAW like Pro Tools and decide, this feels right. I like where things are placed, it’s easy to learn, it makes it easy to do this and that…etc. (Ableton is a great DAW, this was not to steer you away from that).
Different DAWs to Consider
We’re going to cover five different DAWs that are great for beat-making, and these don’t come in any particular order:
Logos for each of the 5 main DAWs we’ll be covering for the beat-making process
FL Studio
Easily one of the most popular DAWs for beat-makers and aspiring music producers alike. It’s extremely user-friendly, coming with many preset melodies, samples, and rhythms making it easy for a beginner to pick up and get started. Many popular EDM artists have used this DAW to produce top hits, including Martin Garrix, Avicii, and Deadmau5 to name a few. It’s an excellent plugin to get you started for a relatively low cost but opens the door for free lifetime updates, and to pay for further upgrades and additional content.
MASCHINE
From Native Instruments, MASCHINE is a very powerful DAW, that also may double as external hardware. From the software side of things, it may be installed into another DAW as a plugin of sorts. A DAW within a DAW. You may also use it as a standalone DAW as it contains a great preset library and plenty of effects and plugins. You can also capture and manipulate audio samples in real-time without the need for a mouse.
From the hardware side of things, MASCHINE really extends the limits of what to expect from a DAW. It comes with a built-in screen, that displays the DAW and menus. On the bottom, it has 16 back-lit pressure-sensitive pads (a mini launchpad), making it easy to craft up rhythms and melodies by hand. However, those are only to name a few of the features. It continues to evolve with more features, one of which introduces WiFi capabilities, allowing you to send and receive sounds and files with a nearby computer.
Ableton Live
Similar to FL Studio, Ableton allows you the option to upgrade through a tier system for more content like sounds, audio effects, and quality of life features. The unique aspect this DAW brings to the table is its ability to shift from session and arrangement views. Session view allows you to have layers of sorts and choose when they play or become silent. This feature allows you to improvise a song with multiple elements and maintain a constant flow.
The arrangement view is similar to most other DAWs out there. Some people find it intimidating at first. It’s not the best looking of all DAWs and the view is a bit strange. After some time, you might grow to appreciate it for what it is. It aims to be simple, and fairly minimalistic. It’s a great option for anything you have to do; mixing, recording, beat-making…etc. Ableton has a lot to offer, regardless of the type of music you wish to produce.
Reason+
This DAW is great for music producers/beat-makers of all levels. In fact, it is much more than just a DAW but can work as a plugin within another DAW as well. The really cool selling point on Reason+ is the ability it gives the user to take sounds and make them your own. This subscription-based DAW has many instruments and effects you can work with, a huge library of sound packs and samples, and it’s fairly cheap to get started with it!
MPC
If you liked the sound of MASCHINE, this one operates very similarly to that. MPC used to be a highly reputable piece of hardware used for performance purposes, but it has shifted into a bonafide DAW for beat-makers. This DAW allows the user to chop samples, manipulate recorded content, change the pitch as well as the timing, mess with drum loops, and more.
If these aren’t quite cutting it for your taste, there are plenty of other viable options: Logic Pro (Mac), Cubase, Pro Tools, Reaper, Studio One, and Bitwig to name a few. The important thing is that whatever DAW you decide on, you enjoy it!
Conclusion
There are so many layers to beat-making, from having the right software and hardware to producing beats that sound nice and aren’t over-saturated.
Take your time producing beats, and enjoy the process. Ear Fatigue is a real thing beat-makers and producers battle. This is what worsens our judgment in the whole process, and when we should welcome breaks. A nice routine to get into is to work on your project for an hour, then take a 10 – 15 minute break. Enjoy some silence for a bit, relax, and maybe get some food, or some water, as it’s easy to forget when you’re extremely focused on your work. After this time is up, return to your project and give it a quick listen, and assess the things that you do and do not like about it.
Maybe you’ll hear something different? Maybe what you thought sounded good, doesn’t so much anymore? Maybe you have a new direction to take your project in?
The most important practice is to see your project through to completion. Enjoy the process to its fullest, and keep fueling your love for music. That’s the only way to improve. Now, let’s hear some beats!

