Contents
Common Looper Pedals
Looper pedals come in all different shapes and sizes, with varying amounts of control knobs, added features, and storage space. Even though they don’t distort your signal or add spacey delay to your tone, some looper pedals may be among the most complicated to operate on your board!
Your specific needs will depend largely on your intended use for the looper pedal, along with your familiarity with looping devices in general. Players who are new to looping or who are looking to use their looper as a tool in their practice routine should consider a more streamlined option — in addition to being cheaper, they’re much more intuitive to operate and can help you start creating some layered arrangements right away.
If you’re looking to arrange songs using your looper pedal for shows and other more demanding events, you may need to consider a high-powered looping machine. Any one of the options below will give you everything you need for the most complex loop creations imaginable. Beware, however: advanced looper pedals often involve a nasty learning curve!
Basic Looping Options
Though they don’t provide all the bells and whistles of top-end loopers, these models here are some of the most popular looper pedals on the market today. They offer high-quality sound along with straightforward, intelligible controls. Most importantly of all, they’re nearly totally latency-free — an absolutely critical feature, as any seasoned looper pedal user will attest.
The TC Electronic Ditto is probably the simplest looper pedal imaginable. Just click the footswitch to open and close your loop, as well as add or delete overdubs to your arrangements. The level control adjusts the total volume of your loop for you to solo over.
The Ditto offers a respectable five minutes of total loop memory; that’s more than enough for beginners creating their first loops. As an added bonus, the miniscule enclosure can fit comfortably on pretty much any pedalboard.
Another budget option with slightly more functionality is the Boss RC-1 Loop Station. Boss were one of the first companies to offer mass-market looper pedals, with models like the RC-30 and RC-300 becoming classics in looper pedal history. The RC-1 offers Boss’ classic looping performance with a much more streamlined interface for simple, understandable looping.
The RC-1’s 12 minutes of loop time — over double the available storage of the Ditto — make it a great choice for guitarists looking to create more complex arrangements with multiple different layers. The display loop is another nice touch; it makes it easy to see where you are in your loop and what function (recording, overdubbing, playing back) the pedal is performing at a glance.
Advanced Loopers
Beginner looper pedals have greatly improved over the past decade — yet there are still some more complex features that you can only find on higher-end models. If you’re a seasoned looping pro looking to run multiple loops at once and increase loop memory for storage and overdub layers, you may want to consider investing in a more upscale pedal.
Pigtronix’s Infinity Looper is a very popular pedal for professional loopers — though it’s expensive, it offers the best capability on the market at its price point. The Infinity features a dual-track setup that allows you to create two loops and run them simultaneously or sequentially and overdub over each separate loop. There’s also memory space to store up to nearly one hundred overdub lines in the pedal, and programming options to blend or fade out your overdubs on command.
Unlike the stripped-back looper pedals above, premium looper pedals like the Infinity can be set up to store a whole setlist’s worth of loops at one time, without needing to re-record rhythm tracks for each tune. That extra storage comes in handy for gigging musicians who prefer to improvise and create from a consistent basic track.
TC Electronic and Boss both offer more capable models than the entry-level Ditto and RC1. The Ditto X4, TC Electronic’s flagship looper, is more affordable than the Infinity but retains many of the same features, like the dual-track configuration. The larger Ditto also offers seven special effects to color the sound of your loop; you can program your overdubs to fade away, decay naturally, or cut off immediately when you stop them.
Finally, Boss’ massive RC-300 looper is widely regarded as the most powerful looper pedal on the market — looping experts like Ed Sheeran is among the players who have given the imposing pedal a try. More a board in itself than just a looper pedal, the RC-300 offers an incredible three hours of device memory for loops, along with three separate stereo loops, onboard effects and a volume pedal, and XLR inputs to plug in an entire band through the machine.
If you want the absolute best looper pedal available, the RC-300 is probably your best bet; the Ditto X4 is more than powerful enough for most professionals, with the Pigtronix Infinity offering some decent upgrades at a slightly higher cost. However, unless you’re a gigging musician it’s highly unlikely you’ll take full advantage of the capabilities these complex machines provide.
Beginner guitar players or beginner loopers should stick to a more streamlined looper pedal like the entry-level stompboxes mentioned above. Far from hampering your creativity, this may actually bolster it — working around limitations and devising new and clever ways to arrange songs is an essential step in any guitarist’s development. Focus on your playing when you begin looping. You can always upgrade to a professional-grade looper later if you feel you need one for your creations.
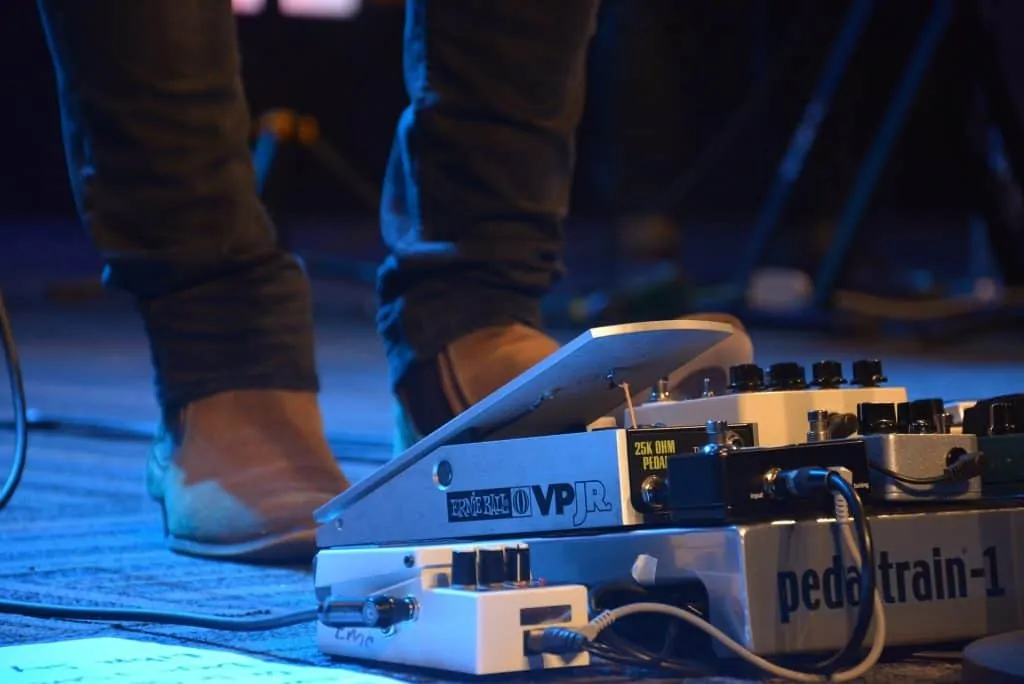
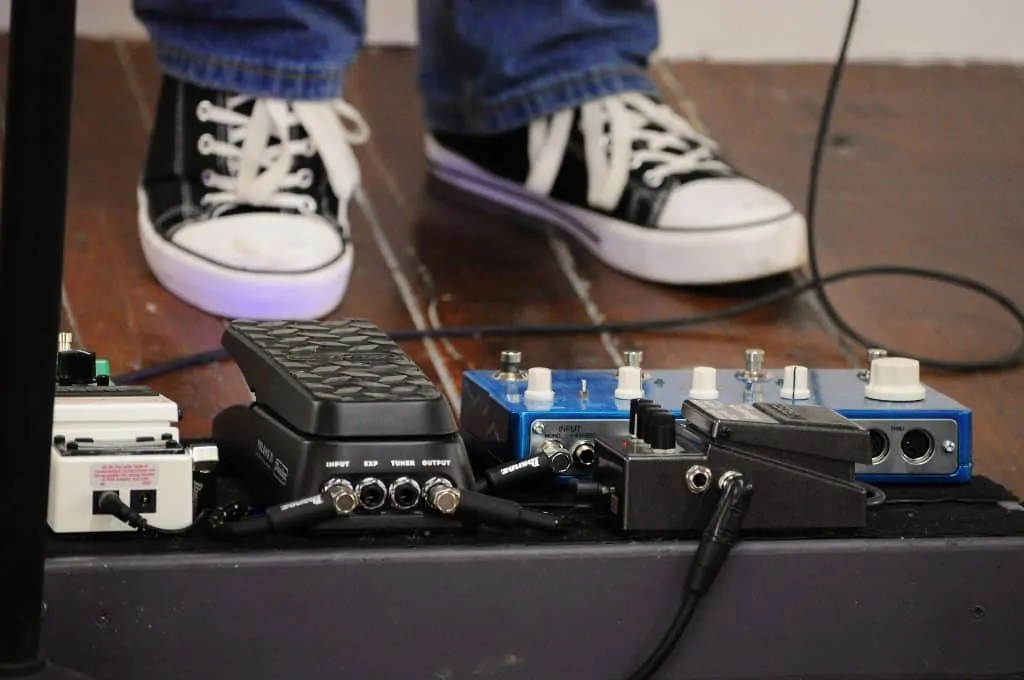
Looper pedals are commonplace on professional pedalboards.
Looping Tips
As many new players find out, incorporating a looper pedal into your sound may involve a substantial learning curve. Before you can create more complex arrangements with the pedal, you’ll need to master the basics. Keep these tips in mind as you start working with a looper.
Opening and Closing Your Loop
Start out by working on getting a clean stop to your loop. If you haven’t worked with a looper pedal before, you might have some trouble cutting the loop off without introducing part of an extra beat at the end. The exact technique may vary depending on your looper pedal, but the general strategy to ensure a clean loop is similar.
Don’t open your loop as soon as you begin playing. Strumming a few bars of your pattern before you trigger the loop will create a more precise start; the crisp opening will aid a smooth transition at the back end. Waiting the extra time can also alert you to any deficiencies in your playing — if you’re having trouble playing the riff you want to loop cleanly, slow it down and practice on your own first
When you close the loop, make sure to click the pedal exactly on the downbeat, even if you’re not playing anything when it falls. Cutting the loop off too soon will create a short “skip” each time the finished loop turns over. On the other hand, waiting too long to hit the button will add in an extra half-beat that can throw off your timing for layering parts of improvising.
Closing your loops at the right time requires a good sense of rhythm and a strong playing feel; if you struggle to find the downbeat in your patterns it may help to practice your rhythm guitar playing without a looper pedal first.
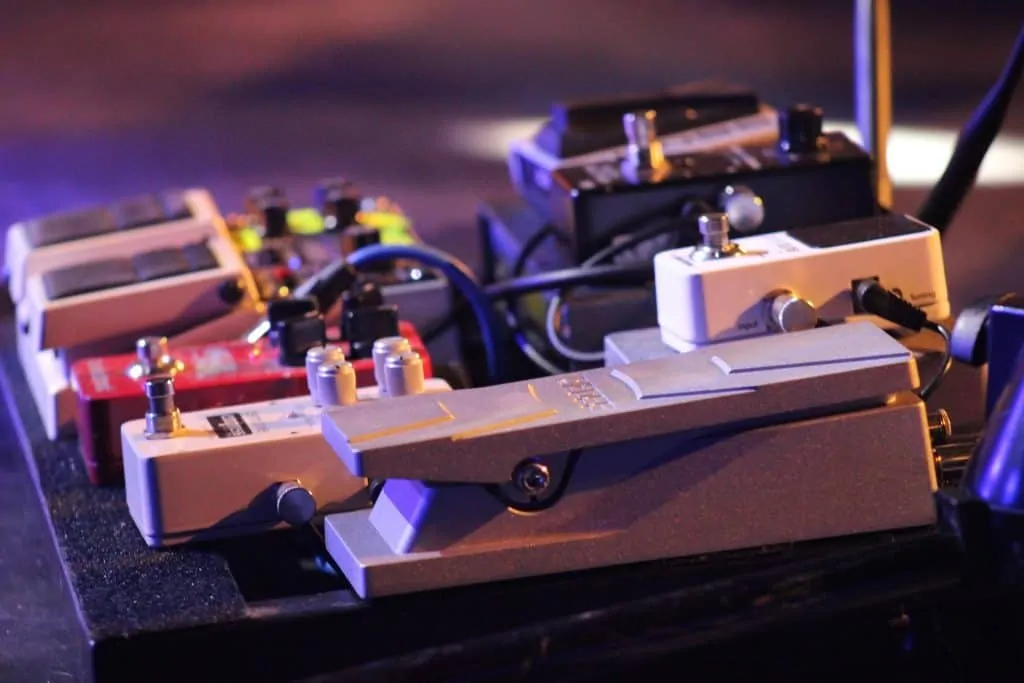
Many looper pedals take up lots of space — they’re often the biggest on a pedalboard.
Overdubbing Loops
Many looper pedals go directly to overdub mode after you lay down your basic track. Like loop timing, this can take some practice to get down. If you feel rushed or hurried, many pedals give you the option to switch to a loop, playback, overdub setup in the pedal settings.
Before you begin looping, sit down and plan out your strategy for both the rhythm track and for overdubs. If you feel like it, you can even practice switching directly from the first track to overdubbing over it before you turn the looper pedal on.
Taking the extra time to get this skill down can save you from having to delete and re-track overdubs, and can relax you when you have to switch quickly from one track to another. Having that skill in your back pocket is particularly helpful when you’re playing very fast exercises and are pushing your max speed. If you plan to use multiple overdubs, consider laying down one of the simpler overdubs first, then moving up to more complex work in other layers.
Loop Levels
The level settings are another overlooked feature of many loop pedals. While it can be tempting to simply plug into a looper and start playing track after track, failing to adjust your level settings will lead to a loud, cloudy mess.
Loop levels are critical to keeping your mix orderly and preserving your audience’s ears when you begin soloing. Many basic looper pedals only have one loop level dial to adjust the level of all your loops and overdubs at once; just make sure you keep the knob sufficiently low when you’re improvising over the loop to maintain a clear distinction between the rhythm and lead parts.
Some more advanced loopers may give you the opportunity to play back multiple loops at the same time, each equipped with their own level control. This gives you more flexibility to raise or lower each track in your mix according to your tastes.
If you’re looking for a rhythmic, percussive feel, you can raise the volume of your backbeat and strummed chords in the mix. More ambient, melodic styles benefit from keeping the overdubs louder than the muted strums and rhythm section.
Creating basic beats with a looper pedal takes timing and skill.
Basic Beats
Once you feel comfortable smoothly opening and closing your loops, you can focus on actually playing songs with your looper pedal. The first step to that is getting a clean beat behind your playing.
When playing with a looper pedal, many guitarists like to first lay down a track of muted percussive strums. This track can take the place of a drummer or percussion section; it’s the perfect way to take advantage of the extra freedom to create a full band arrangement that looper pedals afford.
To create these rhythms, mute the strings with your fretting hand and strum through them with your picking hand. Make sure to press down firmly enough that no open strings ring out, but don’t push any note to the fretboard or it will ring out.
On your strumming hand, keep things loose and flowing through your wrist. Palm-muting after each strum may help to emphasize a stronger, choppier feel to your rhythm playing. Dig in when you strum through the muted notes; the extra punch will create a more aggressive, upfront sound when looped back.
Syncopation and offbeat rhythms can be great to liven up a bland arrangement. However, you can always simply strum downwards on the four beats of a bar if you need a simple backing track to improvise over. No matter what you choose to do, make sure you convey enough of the beat to keep your ear on track when you play back over your loop.
Muting and picking one string is another way to add a boost of percussion to your song with a more streamlined, tighter feel. By cutting out the other strings, you lower the risk of a string ringing out and focus your sound down to one muted “note.” This is great for more relaxed rhythm parts, as well as an overdub over fully muted strums.
Speaking of notes, where you place your hand on the guitar neck can alter the sound of the muted strums (even if you don’t let any notes sound). Experiment with different positions for your hand to alter the sound of your backing strums — lower on the neck generally creates a lower, more tonally neutral sound, while muted strums higher on the neck carry a brighter, more colored tone.
Turn the reverb up on your amplifier for a dripping wet, echoing tail to your strumming. This trick embellishes simple muted parts and allows you to maintain more space while filling each measure with a soft, watery decay. Ambient, indie rock, surf, and stoner songs are the perfect canvases for this technique.
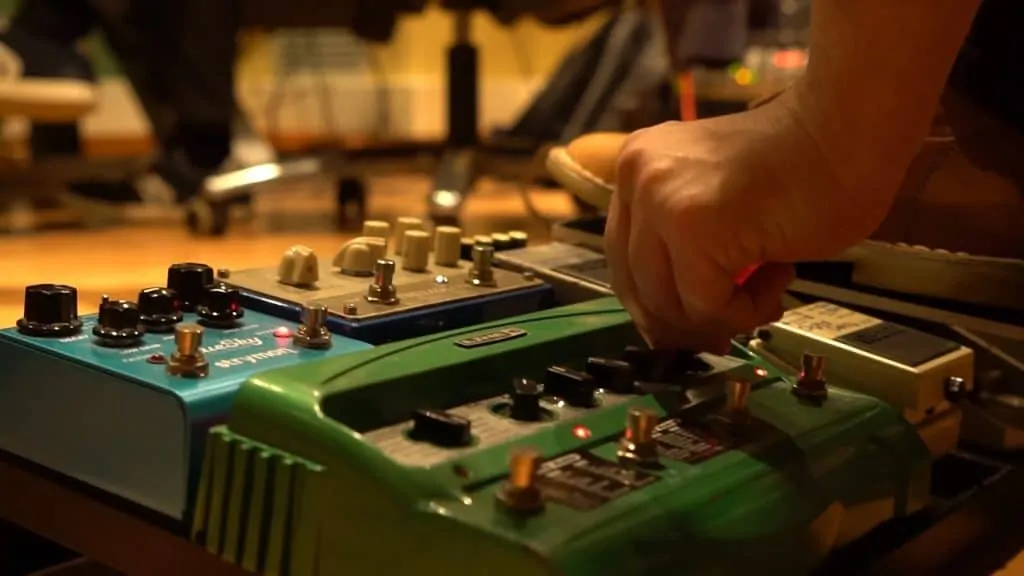
Looper pedals pair well with other stompboxes to create more experimental sounds.
Chords & Rhythm
Chordal rhythm is easy for guitarists to play, and gives a more direct “guitar” feel. If you like to use your looper pedal for simply adding another guitar to your sound, this is the way to go. Play the different chords in your sequence and strum them in a convincing pattern.
If you’re only planning on laying down one rhythm track, it’s important to create enough of a backbone for you to layer multiple parts over. Spacier, more ambient rhythm parts may struggle to hold up in a crowded mix with multiple overdubs on top.
To track a successful chordal rhythm part, emphasize at least some of the downbeats in a measure. A more percussive strumming approach can be helpful to create a full-bodied, unpredictable sound. Try muting your strums and adding 16th note flicks for emphasis.
On the other hand, some genres of guitar music like funk benefit from interlocking, highly syncopated rhythms. For styles like these you can track multiple simpler parts that work together to create a groove. Use simpler parts with choppy, muted strums and keep layering to achieve that funky, offbeat feel.
Vamps
When constructing your loops, keep the number of chords you’re using in mind. Different genres are best suited to different styles looping, and you’ll most likely need to arrange certain tunes to fit within the parameters of a shorter loop. It takes skill to play guitar in multiple different genres — prioritize the genre-specific looping style over your more basic habits.
This is particularly important as you create compositions with more and more overdubs — depending on the total memory time of your looper pedal, you may need to plan out your loop in advance to make sure you preserve enough space for multiple layers over your backing track.
Styles like blues and jazz, which are naturally centered around improvisation, are easy to play with a looper pedal. A simple 12-bar blues preserves plenty of time for multiple rhythm tracks and overdubbed embellishments.
Most jazz songs feature just an A and a B section for soloing; some rely on even shorter sets of chord changes. Playing these full sections generally leaves enough space to overdub additional embellishments without needing to shorten the form to fit in extra space.
However, classic rock guitar songs tend to follow a more complex verse-chorus structure. In addition to eating up more loop memory and cutting out space for overdubs, these full structures are more difficult to solo over because of the greater number of chords involved.
Rather than loop a full song, with multiple verses, choruses, and a bridge, most guitarists choose to just pick a small set of chords out of the larger song as a “vamp.” Vamps are short, rhythmic pieces that involve one or a couple chords and are easy to create solo lines over.
Wes Montgomery’s classic tune “Bumpin’ on Sunset” is a great example of a jazz vamp that straddles the line between blues guitar and jazz. The smoky, laid-back feel of the song is due in large part to its simple chords — the vast majority is just a repeated Am7 chord, with a Dm7 occasionally thrown in for variety. Simple vamps like these are easy to solo over and provide plenty of loop memory for adding in new layers to a composition.
If you’re looking for a more funky, involved vamp, check out this rendition of the Isley Brothers’ 70s hit “Work To Do.” Vamps are often seen in communal jams like this one because they provide lots of freedom for multiple players to create unique lines over.
Look at the video below for this vamp to get a better idea of how to play it; you could also track the single note as a bass part if you wanted to create additional layers of sound. The two-chord structure (moving from a C# triad to a B triad, with some embellishments) creates a sense of movement and maintains a strong pulse without overcomplicating the groove.
<iframe width=”560″ height=”315″ src=”https://www.youtube.com/embed/CpyVP4KGQ4Q?start=120″ frameborder=”0″ allow=”accelerometer; autoplay; encrypted-media; gyroscope; picture-in-picture” allowfullscreen></iframe>
To create your own vamp, simply select one or two chords and repeat them in a groovy, rhythmic pattern. Some of the most common vamps involve chords one whole step (two frets) apart from each other; this makes it easy to use the same set of scales to solo over them if you decide to improvise over your final loop.
Playing the same two chords over and over can get stale pretty quickly. A popular trick to keep things fresh is to play chords centered around the top three strings (in a classic funk rhythm style) and add extensions to the chords on offbeats or unexpected strums.
Usually these involve using your pinky to fret a note on the first string one or two frets higher than your standard position. Most vamps involve barre chords or simple triads, which keep your pinky free to add these extensions to your chords without reconfiguring your hand position.
Unlike other pedals, loopers allow you to create arrangements of songs that resemble a full band.
Song Arrangements
If you’re not looking to improvise over your loops, you can stretch out and include more chord changes in your layers. While they might be more difficult to create solo lines for, these longer formats allow you to build a more textured, in-depth composition with multiple rhythm tracks and overdubs.
With that being said, a verse and chorus is a lot to ask. Ignoring temporarily the problem of loop memory, it’s simply much more difficult to execute clean takes the longer your loops become. Stick to looping over just the verse or chorus chords of a song you want to play, at least until you get the hang of looping.
If you need to, you may also choose to arrange a song into a shorter form to make it more conducive to looping. This can take different forms depending on the song at hand, but can include shortening the verse or chorus, rearranging the order of the parts of the song, or transcribing different instrumental parts onto the guitar to convey the gist of the tune on one instrument
Looping songs is a valuable exercise to learn how to mimic different instruments as well as sharpening your arrangement skills. As you build a rhythm, try to recreate any other instrumental parts besides guitar. Assuming you’ve already figured out how to convey the drumbeat with muted strums (as discussed above), focus on integrating keyboard, brass, or vocal parts into your arrangement.
Looping over the verse or chorus also opens up the opportunity to play back the vocal melody of the song on your guitar. If you’re playing your loops for other people, they may not initially recognize the vocal melody if you play it on guitar. Maintaining a strong basic rhythm to your loops is important to help your audience pick up the format of the tune and make it easier for them to hear the vocal melody on your guitar.
Basslines
Another key component of any rhythm part is the bassline. While many guitarists overlook basslines when playing with a looper pedal, adding one to your track can aid your groove and create the feel of a full band with just your guitar.
Looped basslines don’t have to be complex — in fact, dropping an overly involved bassline on a looped vamp can crowd out any space for overdubs. To start out creating a bassline, simply play the root note of each chord as they change. The extra emphasis on the root will push your rhythm chords through the progression and increase the sense of drive and movement through the vamp.
However, simply playing the root in your bassline doesn’t add anything new to your loop. If you’d prefer to create a bassline that stands alone as a distinct piece to your creation, consider incorporating different notes into the line.
Like the root note, the fifth creates a very strong association with the chord that’s playing over it — nearly every barre chord around includes the fifth note, so doubling that note in the bass won’t add anything to your loop either.
The third and seventh notes are often referred to as the “chord tones” of a particular chord — they’re much more harmonically interesting choices than either the root or fifth. Chromatic passing tones and walkdowns are another great technique to create smoother transitions from chord to chord.
You can also add some intrigue to your bassline with rhythmic changes. Rather than focusing each note in the bass on the chord playing above it, build a simple lick in the bass that operates more independently from the rhythm guitar. Try playing syncopated notes, or creating emphasis in the bass on offbeat points in each measure.
Once again, these more interesting ideas don’t necessarily have to translate into more physical notes; you can use less common notes and rhythmic changes without stuffing a measure full of bass.
Take care to preserve space and movement in the lower register, especially if you want to layer multiple other guitar parts over the backing track. Getting too complex now will force you to sacrifice later. Your goal should be to round out your loop with a clearer bass sound.
Highlighting a distinct bassline can be difficult if you’re playing in the same register as your overdubs and single-line layers. Even if you exclusively play your bassline on the lowest strings, any additional tracks can muddle your guitar’s lower frequencies and overcrowd the loop.
An octave pedal is a great tool to use in tandem with your looper pedal. Use it to double your bass notes an octave down and alleviate the clutter in the guitar’s low range. The Boss OC-3 is a good choice for octave work at a reasonable price; the overdrive settings allow you to add a gritty edge to your “basslines” and to any guitar parts you want to fatten up.
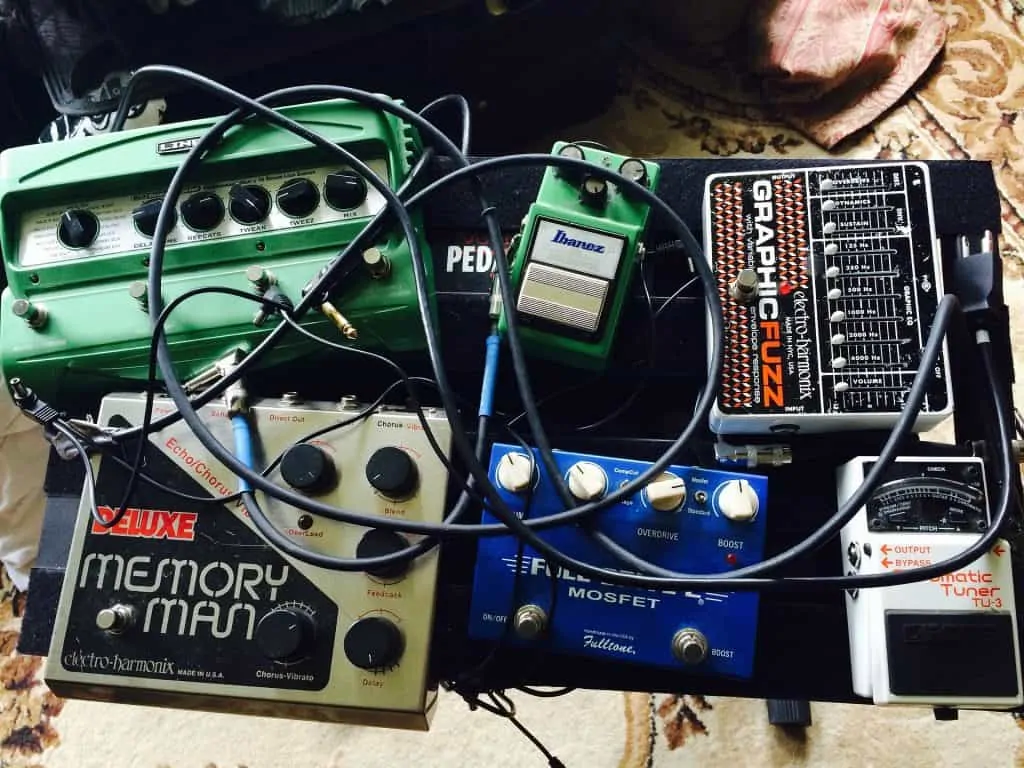
You can add other pedals to your signal for embellishments to distinguish them from your backing tracks.
Embellishments
After you’ve established a backing track and laid down some rhythm parts, you can spice up your loop’s chord progression by adding in some embellishments. These can range from drone notes added just to fill out the sound of an arrangement to more substantive parts meant to emulate the sound of different instruments on a certain song.
Using embellishments properly can strengthen the mix of your loop and bring you closer to the sound of a full band, rather than just one guitar. Unlike more fundamental rhythm tracks, embellishments are often only played over parts of a loop rather than appearing throughout the whole track. This makes targeted embellishments a great option to spice up the sound of a certain loop without overcomplicating or muddying the mix.
To get a better idea of how embellishments can work, it’s helpful to check out some good examples of loop arrangements with lots of layers. Guitarist Michael Lemmo is a fantastic player and often uses a looper (TC Electronic Ditto) to demo different guitars. Watch his demo of a Gibson John Lennon Les Paul below, using the looper:
<iframe width=”560″ height=”315″ src=”https://www.youtube.com/embed/AcSzmJRtEu0?start=270″ frameborder=”0″ allow=”accelerometer; autoplay; encrypted-media; gyroscope; picture-in-picture” allowfullscreen></iframe>
Though he starts off with just a basic rhythm track and some chords, notice how Lemmo builds the loop up over time to include three or four distinct embellishment tracks. No single accent dominates the sound of the mix; together they create a rich, intense sonic palette.
Keeping that aesthetic in mind, a few tips will help you craft stronger, more appropriate embellishments for your own loops.
Most importantly, keep your overdubbed tracks direct and to-the-point: assuming you have a fundamental rhythm already established, there’s no need to overcomplicate the sound on the additional layers. Too many ornaments can combine to drown out the central point of your track under a wall of atmospheric sound.
That’s not to imply that you should only use basic, bland ideas for your embellishments! Different arrangements will require different levels of complexity, and you should always tailor your accents to fit the individual creation. The point here is that the rhythm and melody are the two most important aspects of your loop; don’t add in extra accents that contribute to neither one of those things just for the sake of incorporating an extra sound.
Secondly, use your embellishments to create an extra dimension to the loop — each track you add should contribute something to the overall mix. This can mean a lot of different things. Some loops add background atmospheric sound (like the drone notes in Lemmo’s version of “Imagine” above) while others harmonize the melody or add to the rhythm.
Embellishments by their very nature shouldn’t have to carry the basic beat; if you find yourself relying on dozens of single-note tracks to create a rhythm, you may want to rethink your loop idea from the ground up. Make sure that you establish the rhythm and melody, and that your audience can clearly recognize what you’re going for before inserting accents on top.
Once you get the hang of creating loops, you can incorporate them into jam sessions and live shows.
Ideas To Get You Started
If you’re new to looping and wondering where to start off, it can be helpful to have a few ideas in mind to guide your creativity. The best ideas for you will depend on what you’re using your looper pedal for — are you practicing your improvisation with vamps and soloing, or are you trying to create full-band arrangements of songs?
If you’re looking to solo over progressions, try starting off with some 12-bar blues sequences. Work on your timing and feel, especially when playing blues turnarounds. After you feel comfortable soloing over these, move into different short vamps and eventually into longer styles. You can even lay down the solo sections of your favorite songs as backing tracks and play your own ideas over the famous progressions.
If you’re more interested in creating your own arrangements of songs, start out by listening to your favorite music. Pick easy or shorter songs that might not incorporate as many chords. Then, identify the unique characteristics of each instrumental track and replicate them with your looper.
This means imitating the drum rhythm with muted strums, capturing the rhythm guitar in your rhythm track, and recreating any idiosyncrasies in the vocal melody with your single-line playing. Aim to create as clear of a picture of these songs as you can.
As you gain more experience, you’ll find that it becomes easier to arrange new and unfamiliar songs into catchy looper arrangements. Don’t be afraid to work in other embellishments to recreate different instruments, or to add your own spin on the song entirely! Creativity is your best friend here.
Summary
Looper pedals have long been used as a mere practice tool. However, these stompboxes are so much more — they’re one of the most essential tools any guitarist can employ to inspire their art and sharpen their playing.
Creating arrangements with looper pedals takes time, dedication, and a sharp ear. Keep practicing and you’ll be able to shred a focused, melodic solo or recreate your favorite songs with just your one guitar. Your imagination is the limit!

